Monthly Archives: September 2015

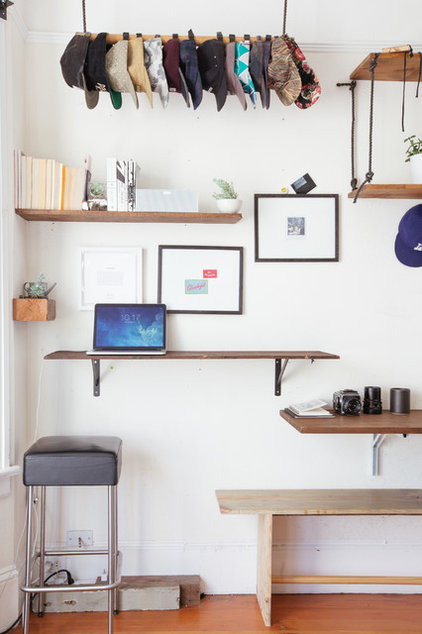
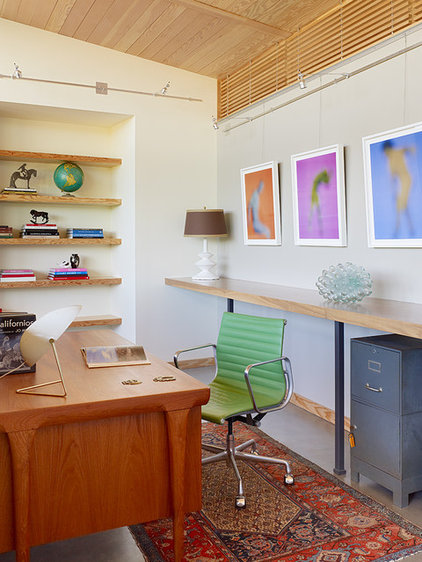
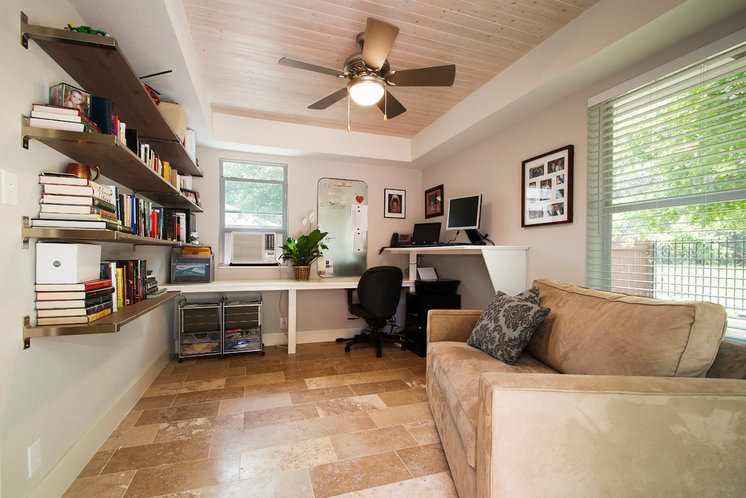
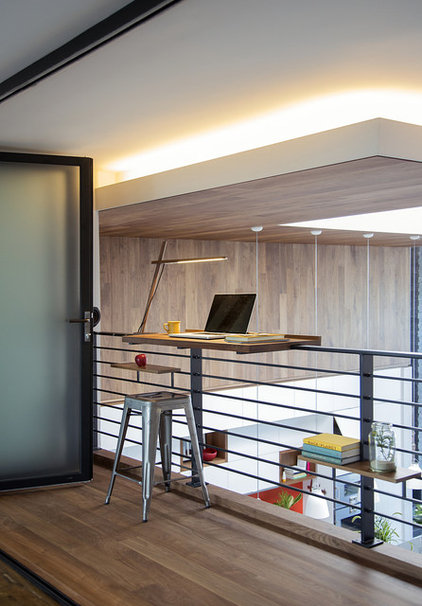
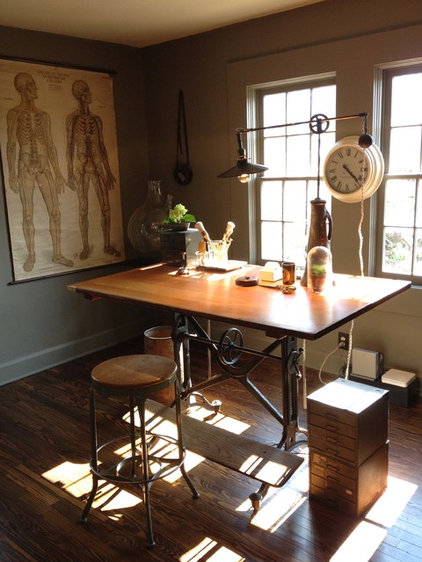
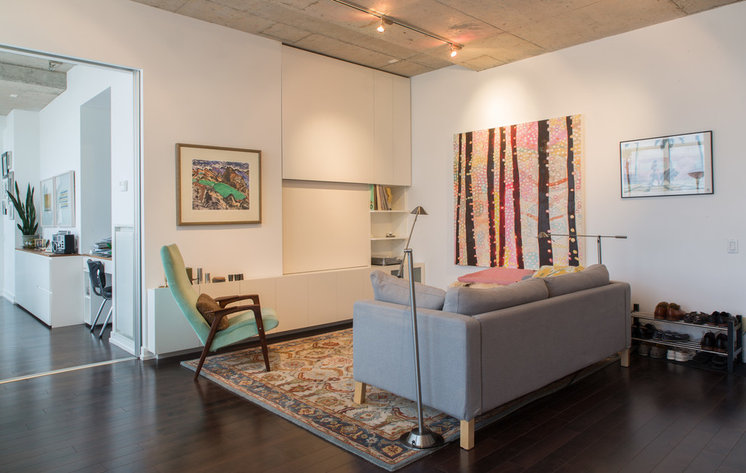
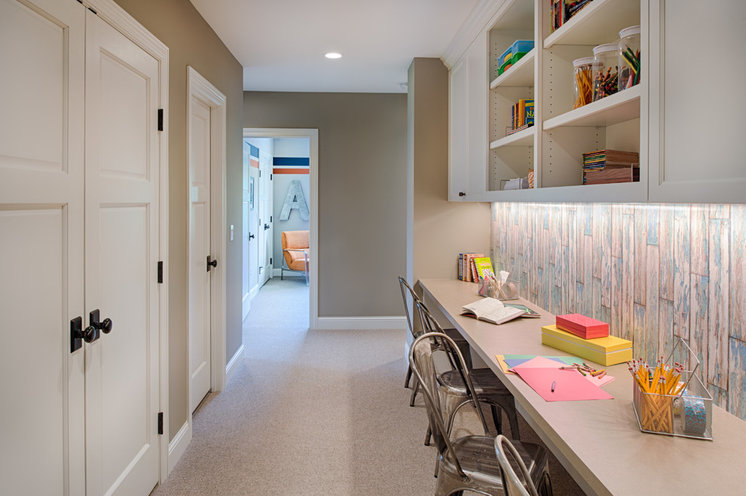
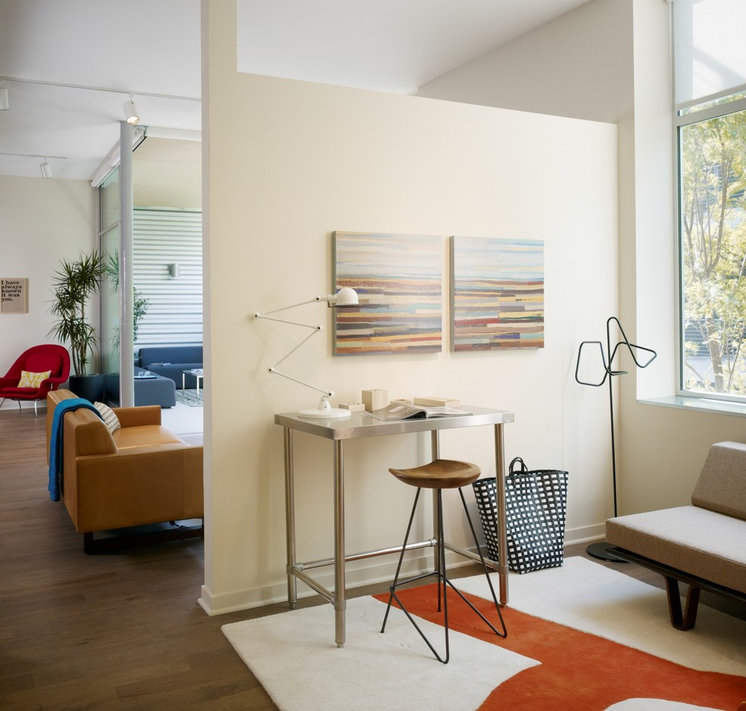
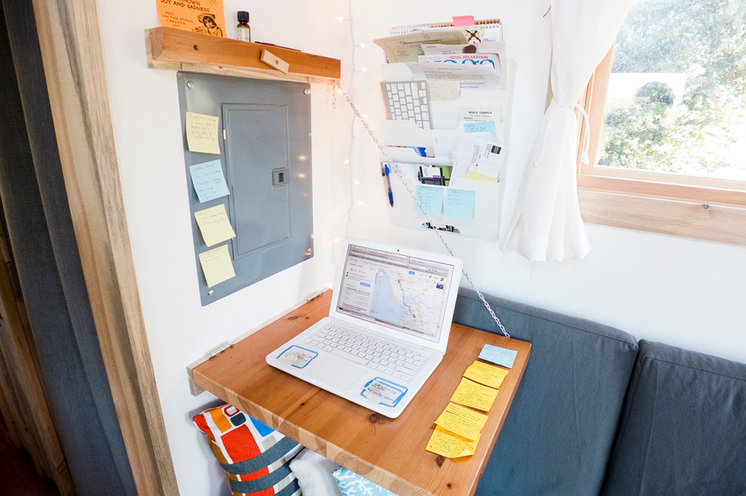
Healthy Home: 8 Ways to Add a Standing Desk

“We’ve all heard that sitting all day is not good for us, but how do you add a standing desk at home?  Here are some interesting ideas….”
Denise Buck & Ed Johnson – DC Metro Realty Team
By Becky Harris, originally published on HOUZZ

Studies showing that sedentary lifestyles are killing us have launched a thousand headlines. By now you’ve probably heard the catchphrase that “sitting is the new smoking,” in terms of danger to our health. The notion has even invaded pop culture. On sitcoms, the forceful corporate female character has swapped her power suit’s shoulder pads for a treadmill desk.

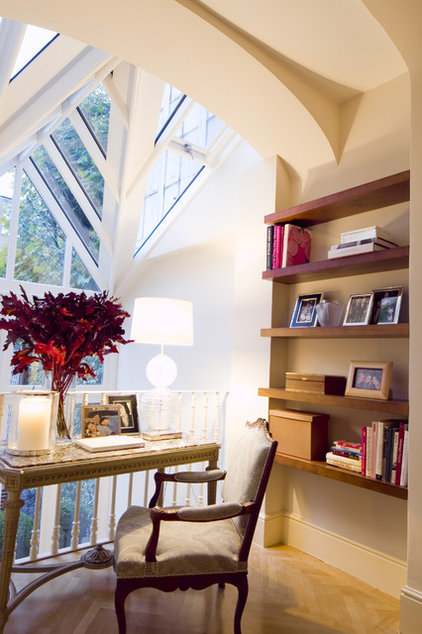
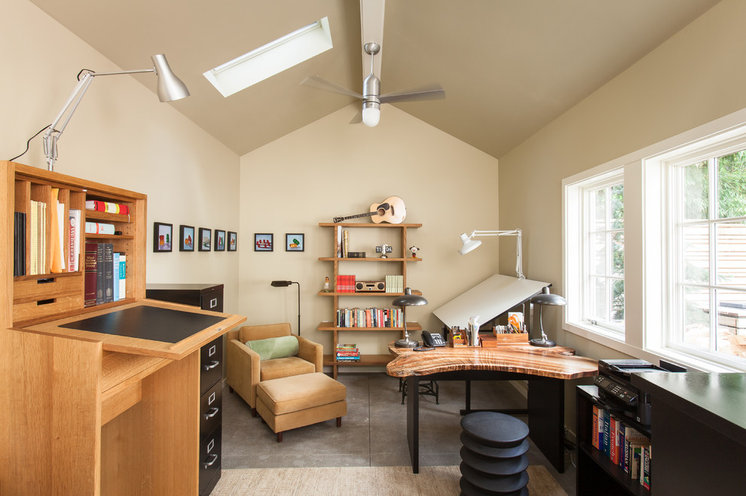
Switching things up from sitting to standing keeps the blood flowing and, according to studies, can help prevent illnesses such as Type 2 diabetes and cardiovascular disease. Here’s how to incorporate some standing room in your office space at home.

11 Smart Decorating Ideas for Wall Niches

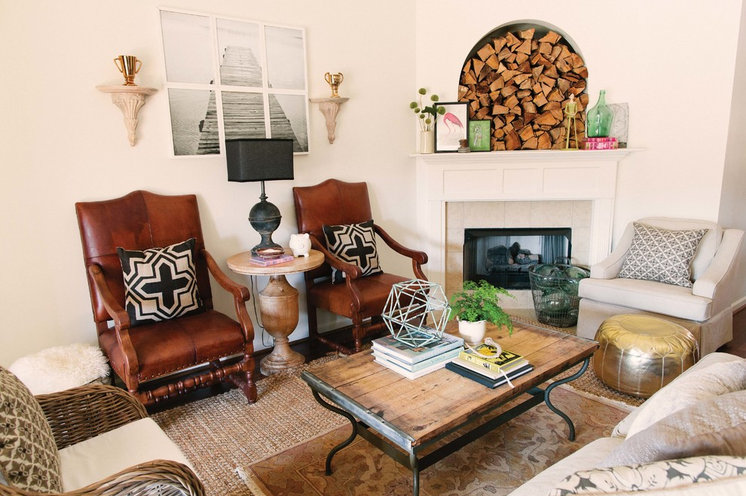
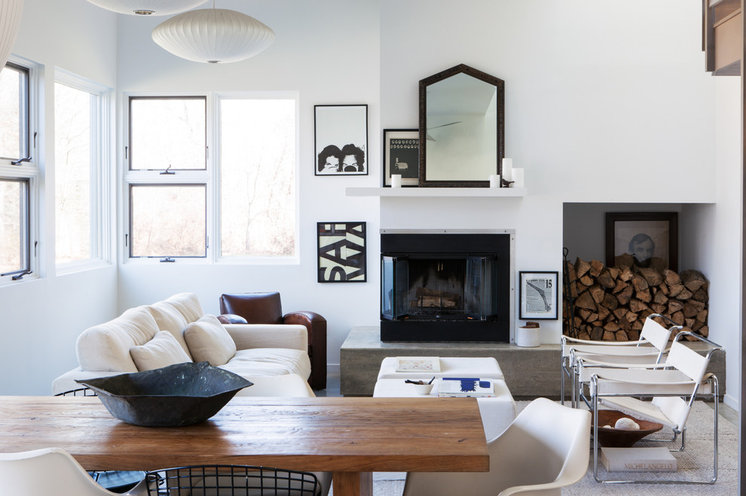
“Do you have an interesting little cubby or niche and not sure what to do with it?  Here are some ideas that just might help you out.”
Denise Buck & Ed Johnson – DC Metro Realty Team
Originally published on HOUZZ, by Yanic Simard
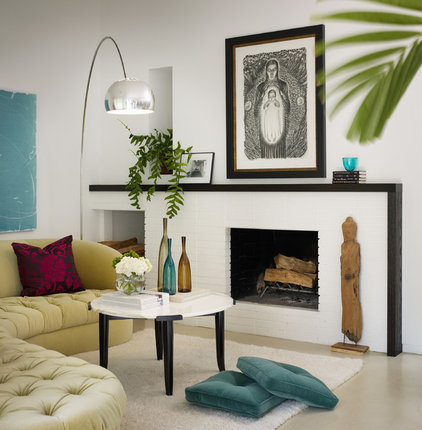
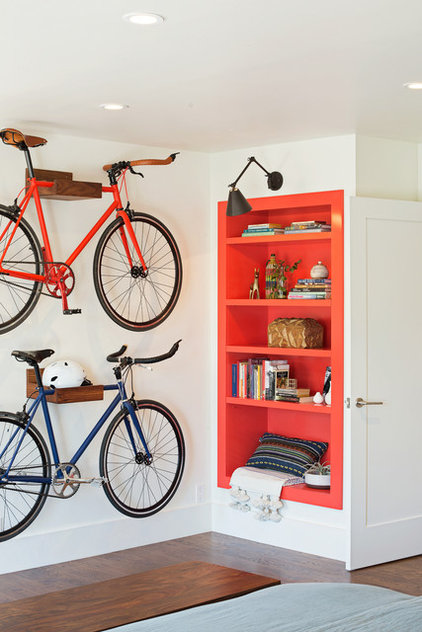
Sometimes a wall niche has an obvious purpose — a cubby for firewood, for example. Other times, not so much. Either way, if you’re not sure what to do with your functional niche or awkward alcove, here are foolproof ways to fill, conceal, feature and otherwise turn that negative space into a positive.

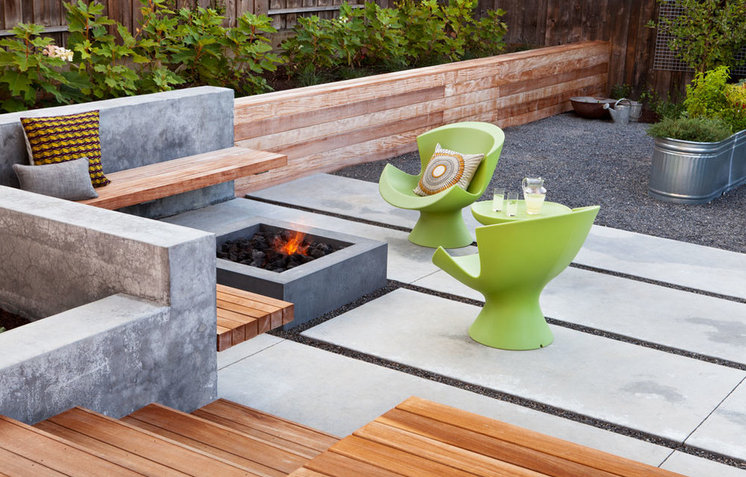
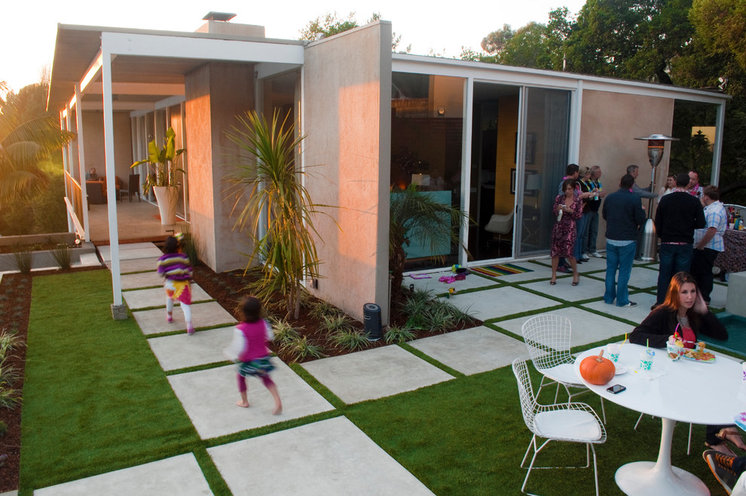
Your Guide to Choosing Patio Stones

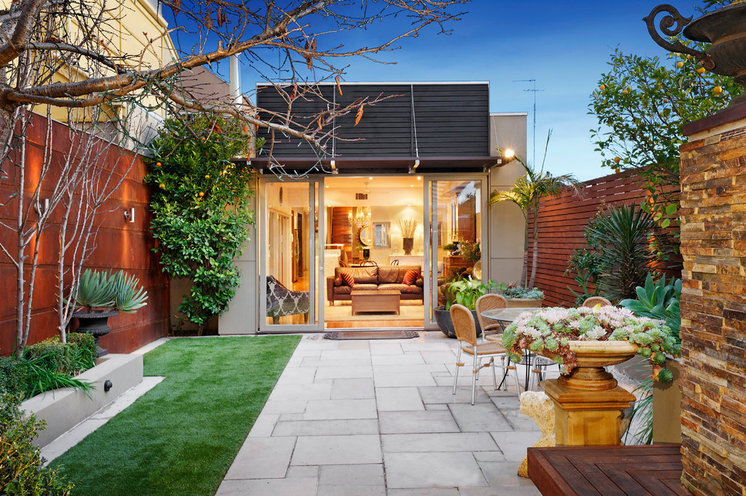
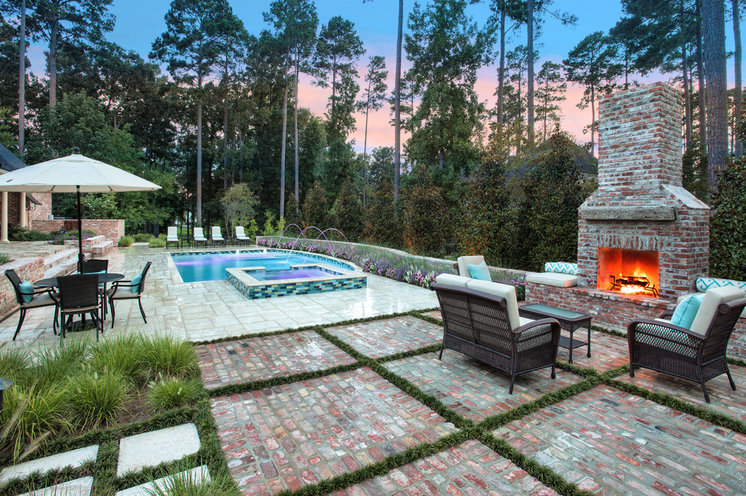
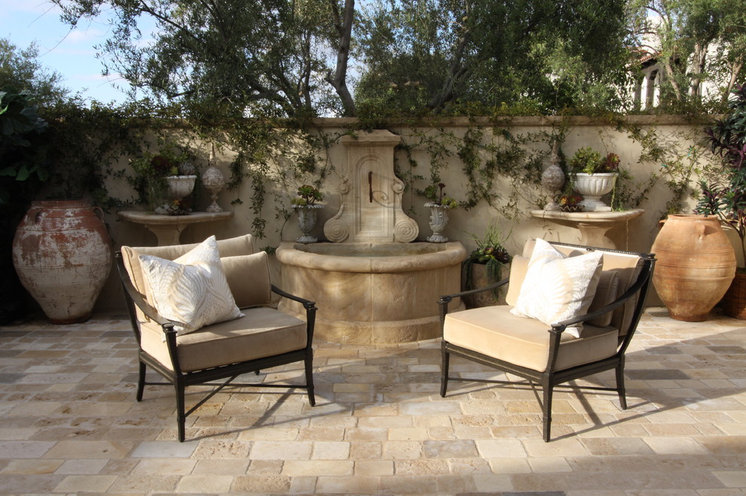
paito pavers

“Creating that special outdoor space to relax in takes some planning.  Patio stones are an easy choice that you can usually do yourself.”

Denise Buck & Ed Johnson – DC Metro Realty Team

Originally published on Houselogic

By: Andrea Nordstrom Caughey

Published: April 9, 2013

With so many patio stones on the market, it can be hard to choose. So we’ve done the research to help you make the right choice for your home.

Brick

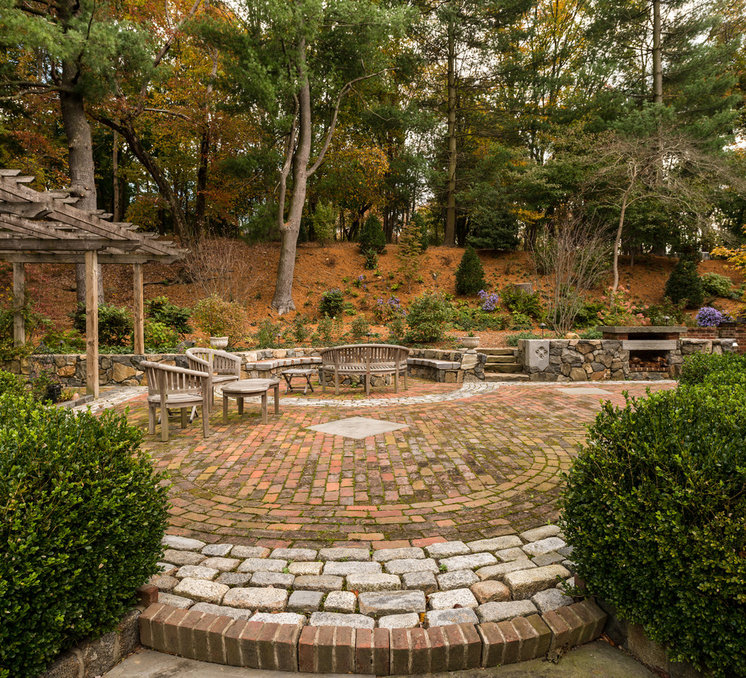
Brick pavers are classic. They’ve got lots of character, and you can explore your creative chops by setting them in intricate patterns. Thinner than typical “builder bricks” used on home siding, they’re made to hold up under heavy foot traffic.

Brick pavers come in a variety of shapes, sizes, colors, and finishes, and can look old or new. Because they’re smaller than other pavers, they take a while to put in place, and installation costs can be higher.

You can do the job yourself for $3 to $5 per square foot. You’ll need to rent a brick saw — a heavy table-mounted saw that makes cutting masonry a snap. Cost: $60 to $95 per day. Don’t forget: You’ll need to figure out a way to get the brick saw to your house.

For a pro-installed brick patio, you’ll pay $12 to $18 per square foot, professionally installed.

Concrete

Concrete can be finished off in lots of imaginative ways — brushed, acid washed, scored, and stamped — and lots of colors. Its long lifespan and relatively inexpensive installation make it a popular choice.

“For colder climates, consider adding $1 to $2 per square foot for a specialized base preparation and concrete additive,” says Chris Fenmore, principal with Garden Studio Landscape Design.

Stamped concrete can simulate flagstone, brick, cobbles, and other decorative patterns, but adds about $3 per square foot to installation costs.

Figure $6 to 12 per square foot, depending on finish and color.

Concrete Pavers

Concrete pavers offer an embarrassment of riches — there are shapes, sizes, textures, and colors galore. Some are plain; some look like real stone; others have intricate patterns embossed on their surfaces. They’re readily available at home improvement centers and are well-suited to DIY patio projects.

Interlocking concrete pavers have tabs and slots so they fit together like pieces of a very simple puzzle. They’re fairly inexpensive, have minimal maintenance, and install quickly.

Concrete pavers are $2 to $8 per square foot. If you’d rather have a pro do it, you’ll pay $7 to $15 per square foot, including materials.

Rubber Tiles

Rubber tiles are made from recycled tires. They’re designed to go over any surface, and their light weight means you can use them on decks. They look like concrete tiles, with finishes that resemble brick and terra cotta. They’re fairly new on the market, so the jury is still out on how they perform over time.

Rubber tiles are strictly a DIY material, and they snap together with connector clips. They’re good for quickly covering up old, cracked, worn patio surfaces. You’ll pay $3 to $5 per square foot.

Flagstone, Slate, and Marble

Almost any stone can work as a paver, but most are either sandstone, limestone, slate, or granite. The materials you select will be especially cost-efficient if they come from locally operated quarries; check your local stone supplier before looking at national home improvement chains.

Stone pavers are cut into modular shapes; 6-by-12, 12-by-12, and 18-by-18-inch sizes are standard. Uncut pavers have rough, irregular edges and come in various sizes.

When it comes to installing uncut stone, an experienced pro works quickly and is your best bet for a good-looking patio with even spaces between stones.

Pro installation is $12 to $28 per square foot, depending on the stone you choose.

Want to see some stone patios that really rock?

Decomposed Granite and Pebble Surfaces

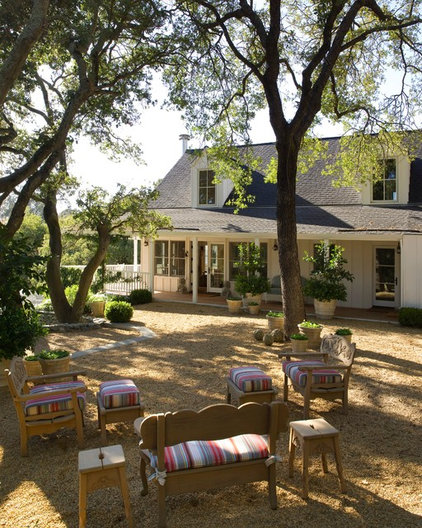
Decomposed granite is made up of very small pieces of granite, ranging in size from 1/4-inch to the size of sand. It’s an affordable way to go, and some folks really love the slightly crunchy texture underfoot, and the way rain disappears — no puddles!

You’ll probably have to refresh and replenish the granite now and then, as the surface can erode with time, so there’s some preventative maintenance involved. Figure about $1 per square foot every three years for upkeep.

Also, decomposed granite isn’t solid and furniture legs tend to sink into the stones. Adding stabilizers that help bind particles together can strengthen the surface.

Cost: $1.50 per square foot without stabilizers, $2 with stabilizers.

Finding Your Own Recycled Materials

Like the idea of upcycling? A patio is a good way to reuse old building materials, and it’s a cost-effective and eco-friendly alternative to new materials. Plus, you’ll be building a one-of-a-kind creation. Tip: Look for materials that provide uniform thickness.

  • Cast-off concrete sections from a neighbor’s old driveway or sidewalk.
  • Check nearby construction sites for old materials — be sure to ask permission before hauling anything away.
  • Know of a building scheduled for demolition? See if there’s any old brick or stone is going to be discarded.

Although the materials are usually free, it’s a good idea to enlist some strong-backed helpers and the use of a pick-up truck. For a typical 12-by-12-foot patio, you’ll save $500 to $800 versus new pavers. Spend some of that on a patio party for your helpers.

(If you’re a salvaged materials aficionado, check out our slideshow on clever ways to use salvage in your home.)

Mixing Materials

Remember, you’re not stuck with one type of patio paver. Combining different materials — such as brick together with concrete, or stone with rock trim, can create a cool, customized look.

Southern California designer Chris Fenmore notes, “Too much hardscape can be tedious. I often like to use four-inch troughs separating masonry from concrete that can be filled with gravel, beach rocks, or ground cover. They provide a bit of relief from the hardscape and nice detail, adding to the custom look of the yard.”

Getting on Base

Choosing paving materials begins with a basic: the base or foundation. The base supports your pavers, and it’s got to be firm, strong, and designed to stand up to years of wear and weather. A poorly installed base leads to shifting and settling that’ll crack concrete and make your patio pavers look like choppy seas.

A sand-and-gravel base is a good DIY project; leave a concrete slab base to the pros.

A gravel and sand base is a simple foundation that lets you “dry set” pavers — you put the pavers on top of the base, then sweep fine sand into the joints to hold them there. Building a gravel-and-sand base is an easy (but time-consuming) DIY project. You’ll pay $2 to $3 per square foot for a DIY job. If you’d rather have a pro do the work, figure $3 to $5 per square foot.

With a sand or gravel base, chances are there’ll be some settling over time. Every couple of years, plan on resetting individual pavers that have gotten out of whack because of settling.

A concrete base offers greater longevity and stability, with less potential for settling. On a concrete slab base, the paving materials are set permanently with mortar, and ongoing maintenance is minimal.

Working with concrete is a challenge for weekend warriors, so skip experimentation (mistakes in concrete are permanent) and go with a pro. You’ll pay $5 to $8 per square foot for a professionally installed concrete base.

If you’re a fan of concrete, check out these imaginative ways to use concrete inside your house.

Read more: http://members.houselogic.com/articles/smart-options-patio-pavers/preview/#ixzz3liNs4OY5
Follow us: @HouseLogic on Twitter | HouseLogic on Facebook
Shave Up to 15% Off Your Heating Bill with This Simple Tip

Thermostat

“So you think you know how to save money on your heating and cooling bills?  Not everything we’ve been taught is correct.”

Denise Buck & Ed Johnson – DC Metro Realty Team

Originally published on Houselogic

By: Deirdre Sullivan

Think you’re saving on your heating bill by keeping it at a constant 68 degrees? You’re not, and here’s why.

It’s easy to imagine your energy bill going sky-high when you hear your furnace fire up.  That’s the reason so many people believe keeping a steady temperature of 68 degrees is the key to energy savings. But that’s a myth.

In fact, the lower the temperature, the slower your house loses the heat, according to energy.gov. And that keeps your hard-earned money from floating out the door.

So if you truly want to see your heating bill drop, you need to turn down the temperature another 10 or 15 degrees for eight-hour stretches on a regular basis — like when you’re at work, sleeping, or out of town.

When you return, turn it back up to 68 degrees. Or better yet, take advantage of what a programmable thermostat can do.

In the summer, just flip the strategy:

  • Set your AC to 78 degrees when you’re home.
  • When you leave, turn the AC off or set your thermostat to a much warmer temperature.

Here are some other misconceptions about and tips for reducing your heating and cooling costs.

Resist the Urge to Crank Up the Thermostat

Turning up the thermostat past your desired setting won’t speed heating. Your furnace works at the same pace regardless of temperature settings. That also applies to your AC; setting the thermostat to its coolest temperature won’t chill your home any faster.

A Programmable Thermostat Doesn’t Automatically Reduce Energy Use

Installing a programmable thermostat with factory settings isn’t going to do you much good. You can only reduce the amount of power your home consumes if you create a personalized heating and cooling program that makes the most of your own energy-saving opportunities.

Programmable thermostats come in four different pre-set schedule styles, so it’s important to pick one that’s in sync with your household’s scheduling needs:

  • 7-day programming offers the most flexibility. It allows you to set a different heating and cooling schedule for each day of the week.
  • 5-1-1 programming is a good choice if you have a predictable weekday schedule. It lets you set an identical heating and cooling plan Monday through Friday, and a different plan for Saturday and Sunday.
  • 5-2 programming is similar to the 5-1-1 programming, except you can only program one heating and cooling schedule for both Saturday and Sunday.
  • 1-week programming is a good choice if you stick to the same schedule every day of the week. It allows you to create a single heating and cooling plan that repeats daily.

Bonus tip: When daylight savings comes around, remember to adjust your settings so your heating and cooling program isn’t off by an hour.

Some Smart Thermostats are a Lot Smarter Than Others; Choose Wisely

Smart thermostats aren’t all the same. Sure, all offer Internet connectivity for remote management using your mobile device. But each thermostat brand uses a different proprietary self-programming technology.

For example, Google’s Nest relies on sensors and a learning algorithm to manage your heating and cooling preferences. Honeywell’s Lyric uses GPS technology to trigger heating and cooling automatically via your smartphone.

But here’s the kicker: Just like manual or programmable thermostats, it’s up to the user to set preferences that enable energy savings. And for those of you who still believe a smart thermostat can shave 30% of your utility bills, here’s a reality check: A study conducted by Nest revealed its users can only save up to 12% on heating costs.

Don’t assume every smart thermostat is user friendly.  A recent study on thermostat usability by the Sacramento Municipal Utility District revealed that the ballyhooed Nest thermostat isn’t all that user friendly. The Nest was tested against a mix of 11 smart and programmable thermostats for ease of use without using a manual. It received the second-worst rating.

Which thermostat came out on top? One by a company with a century of cooling experience: the Carrier ComfortChoice Touch. The study participants also selected it as their preferred choice for purchase out of the models they tested.

Bonus tip: Avoid those wireless apps that let you control the thermostat remotely. A study on Wi-Fi enabled thermostats says that using them remotely can boost energy use. This is because they allow users to crank up the heat or AC remotely before they return home.

Related: The Warm and Cozy Home Guide

Read more: http://members.houselogic.com/articles/ways-to-save-money-on-bills/preview/#ixzz3liLjQX61
Follow us: @HouseLogic on Twitter | HouseLogic on Facebook
Your Guide to 10 Landscape Materials

“Sometimes you want to do something ‘different’ in certain areas of your yard, but your not sure what that might be.  Here are some great ideas as alternatives to grass for your outside areas.”
Denise Buck & Ed Johnson – DC Metro Realty Team
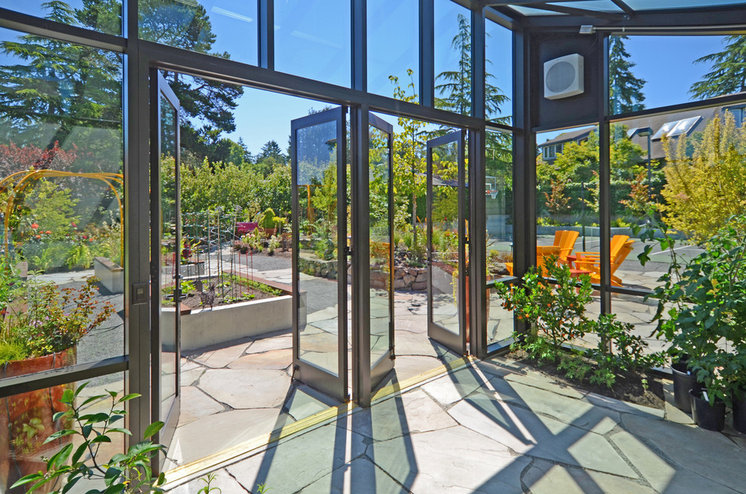
Paving a landscape investment, and the cost varies considerably based on the type used and how readily available it is. Cast-in-place concrete is usually the cheapest and most easily installed paving option, but those who live in regions with naturally occurring stone like limestone, granite or slate can use that local stone at a more affordable price.

Here are our guides to 10 of the most popular paving materials. Whether you are repaving or paving new, you can use them to understand the basics about paving to make an informed decision based on your situation and where you live.

Originally published on HOUZZ, by Falon Mihalic

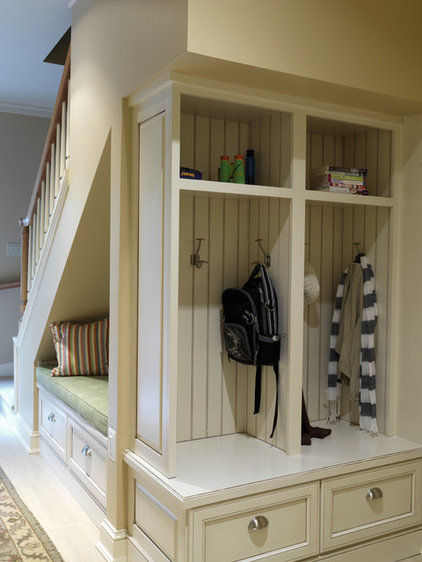
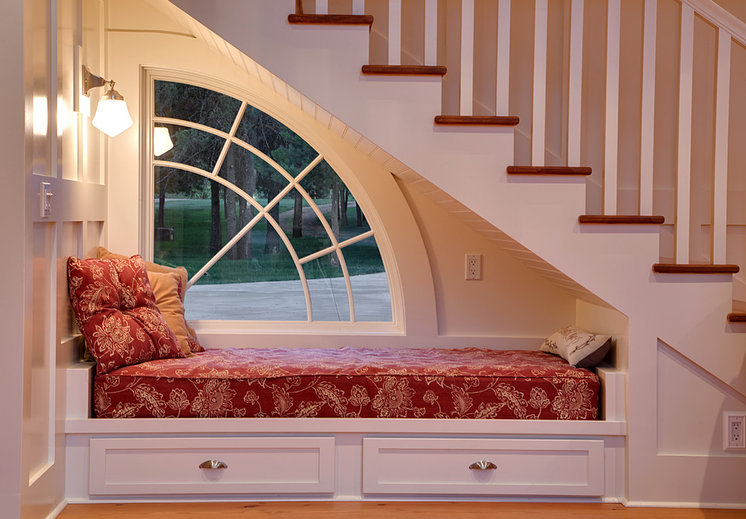
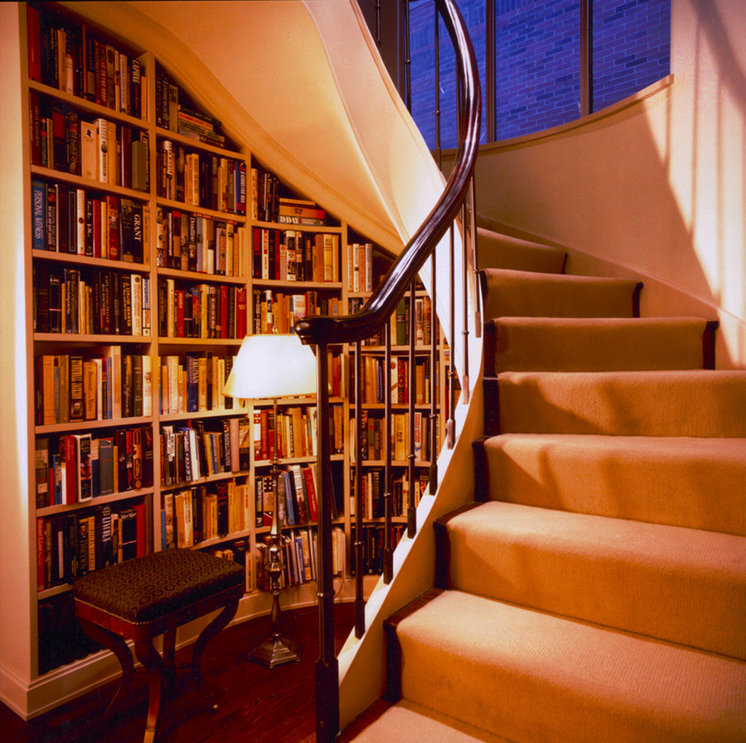
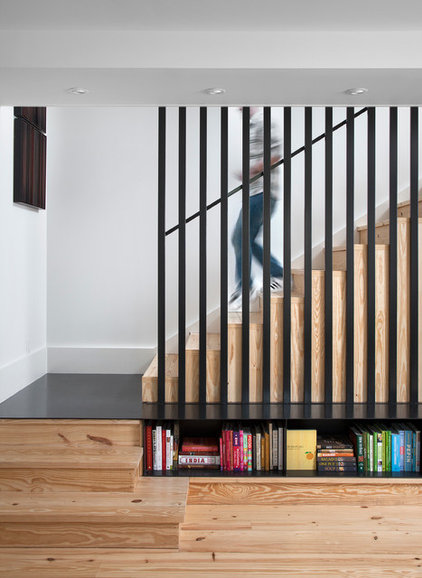
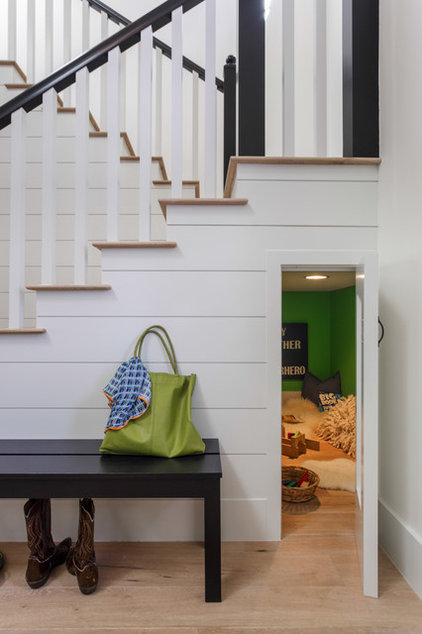
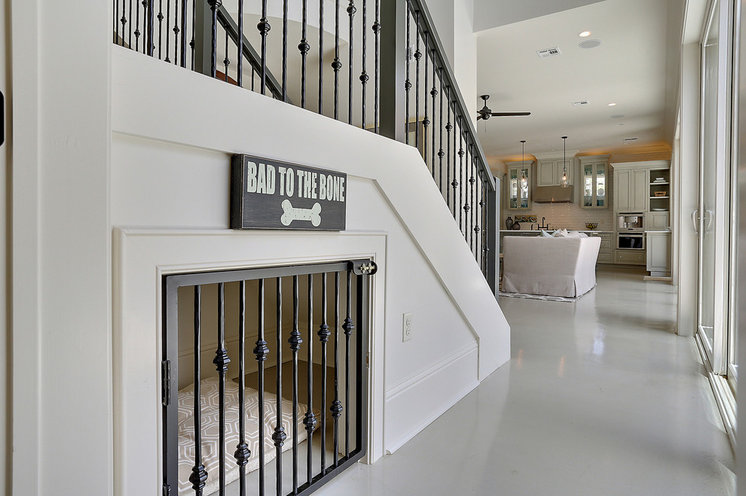
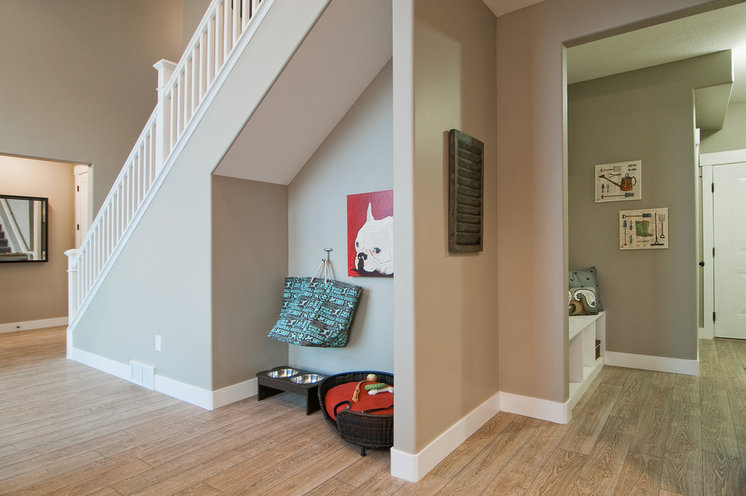
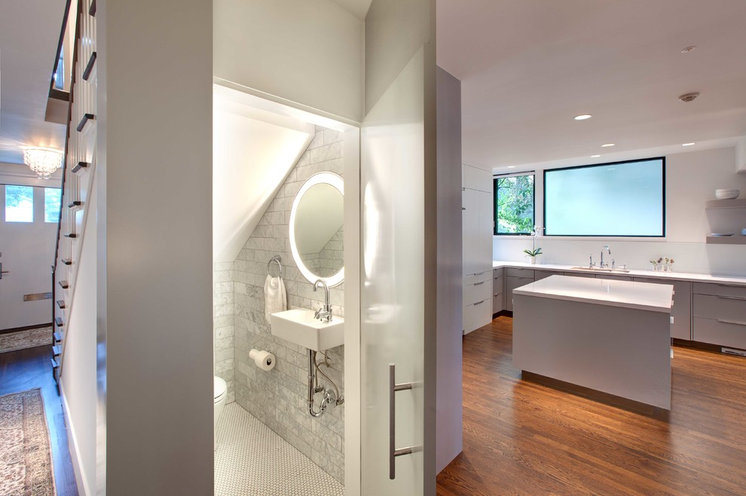
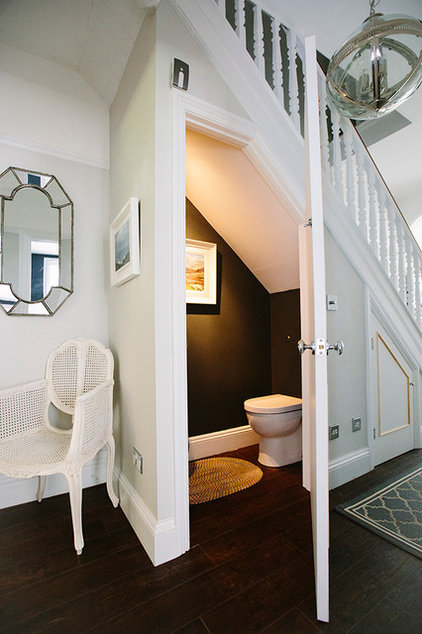
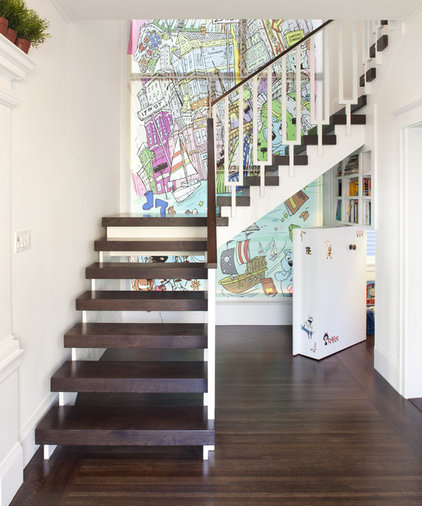
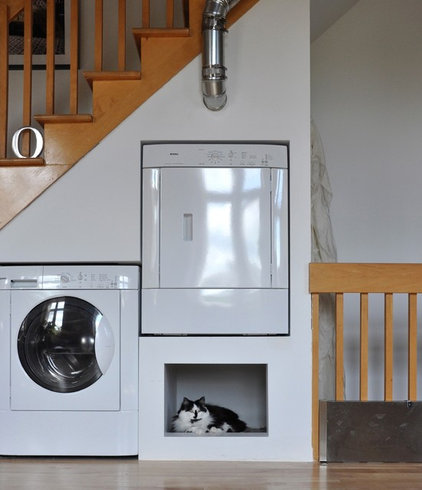
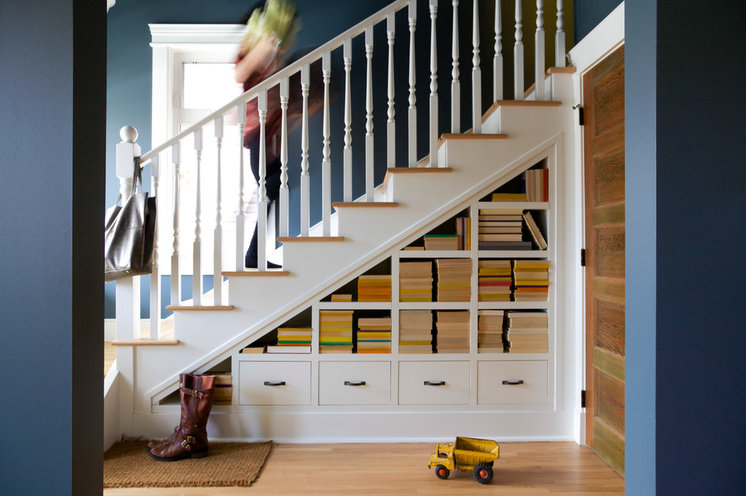
8 Clever Ideas for Under Your Stairs

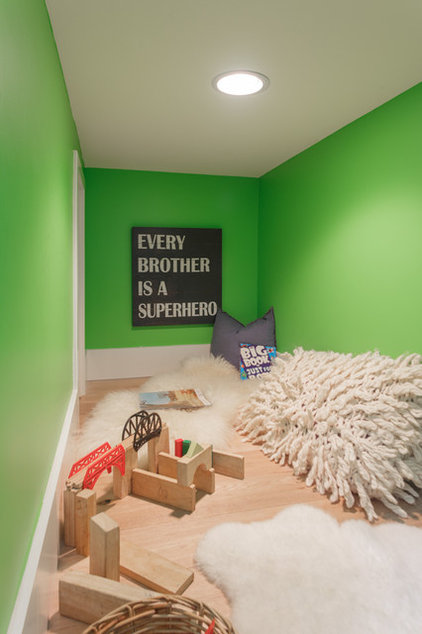
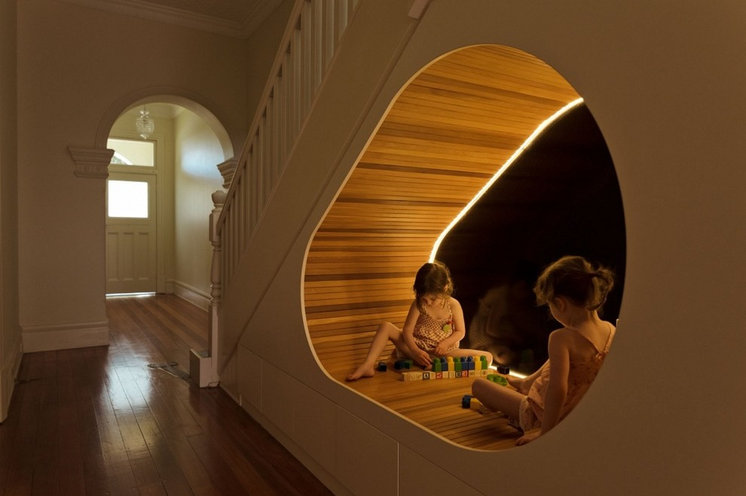
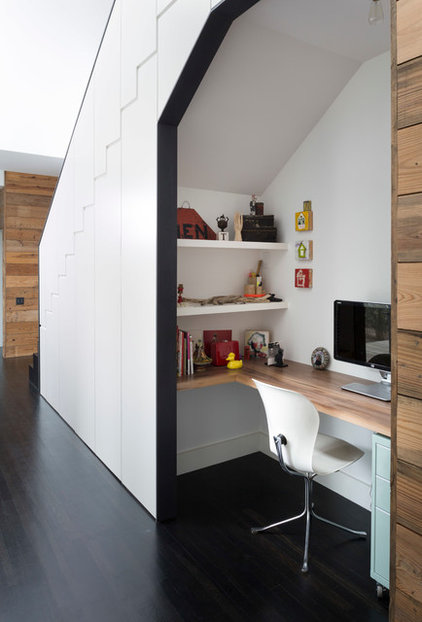
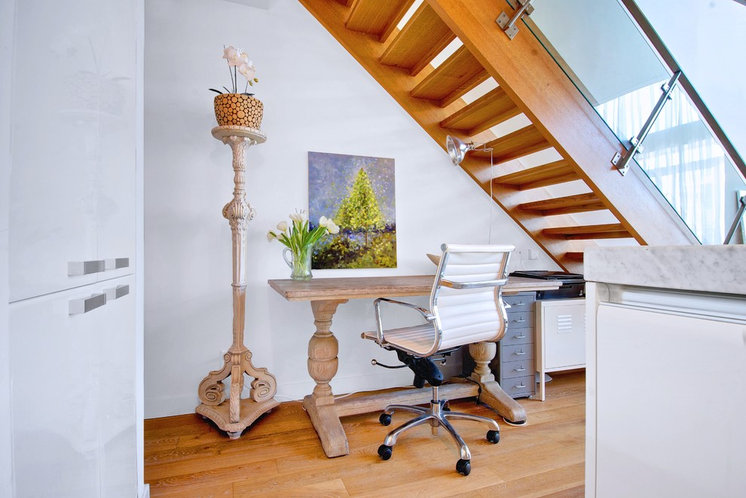
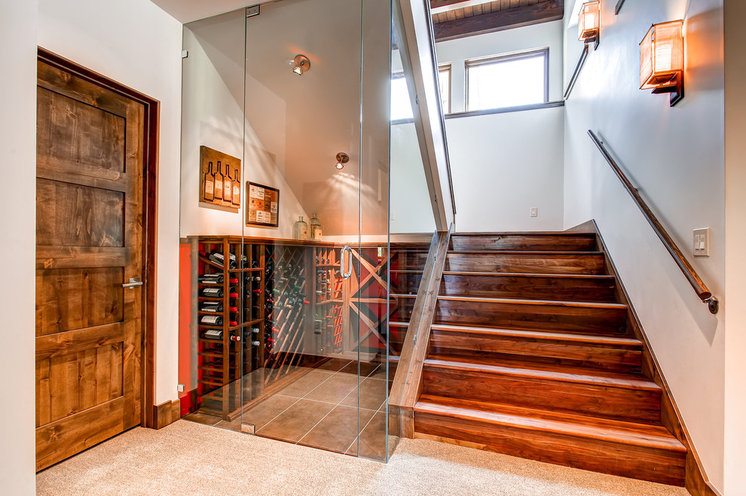
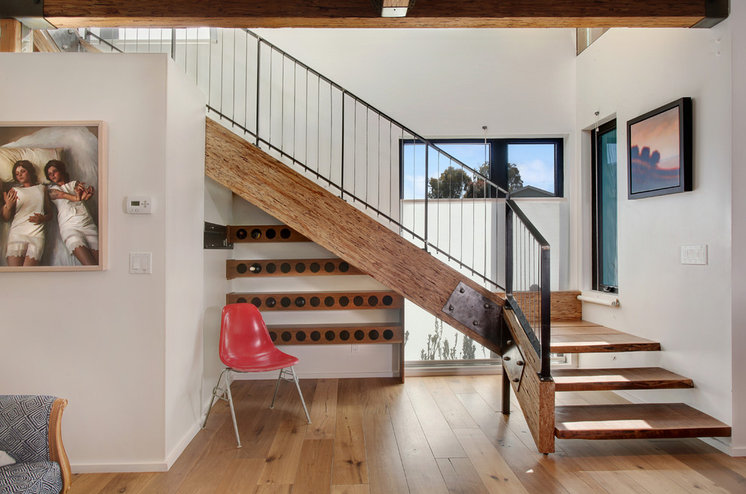
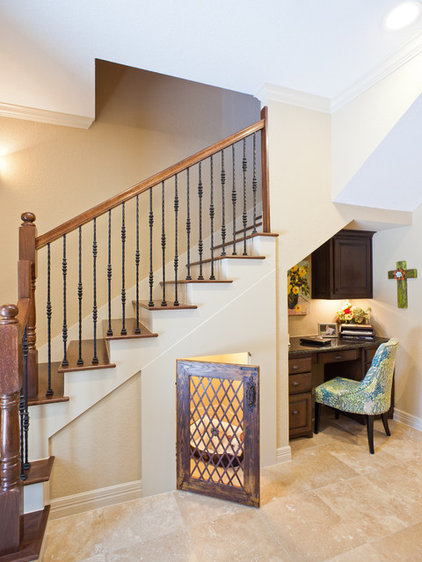
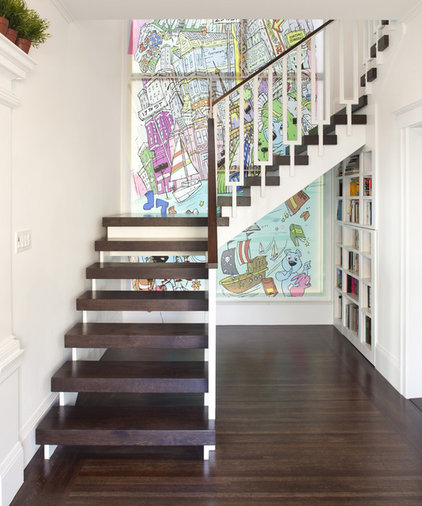
“There are so many ways to use that space under the stairs…Sitting Area, Bookshelves, indoor door house.”
Denise Buck & Ed Johnson – DC Metro Realty Team
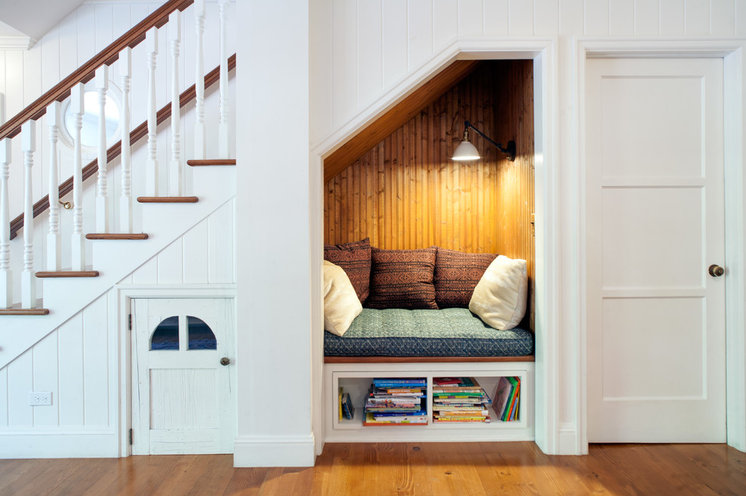
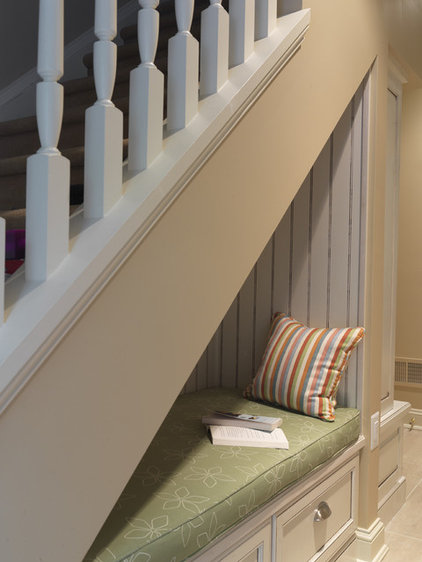
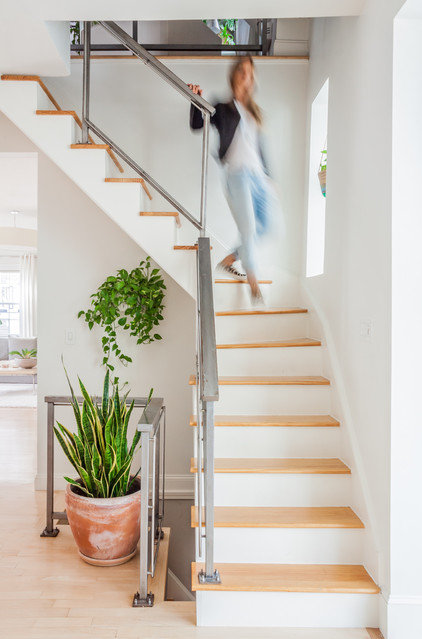
The proverb “Waste not, want not” applies to many aspects of life, and interior design is no exception. Making the most of every square foot of your home is a great way to gain the most value (both financially and emotionally) from it. If you live in a house with stairs, the space beneath them is a gold mine of creative possibilities. Here are eight ways to make the most of it.
Originally Published on HOUZZ, by Bryan Anthony

Making Your Move Easier for Your Family

“Moving to a new home is both exciting and stressful on everyone.  But there are some things that you can do to help everyone through the move.”
Denise Buck & Ed Johnson – DC Metro Realty Team
Moving into a new house is so much more than simply relocating to a different place. When we leave behind a home, especially one we’ve lived in for a long time, we also leave behind all those years spent enjoying it. Children who were tiny when you moved in have grown into strapping teenagers under its roof. Friends have visited, meals have been shared, and the small dramas of everyday life have been played out in it, so it can be emotional to walk away.

Settling into a new home that carries traces of its previous owners also can take time. So in the rush and chaos of moving, take time to celebrate the home you’re leaving and get set to enjoy the place you’re moving into with these tips for easing the transition.

Originally published on HOUZZ, by Joanna Simmons

Happy Houseplants, Happy People

“Plants can soften a room, as well as bring energy into a room.  You can put them in just about any room in the house to liven things up.”

Denise Buck & Ed Johnson – DC Metro Realty Team

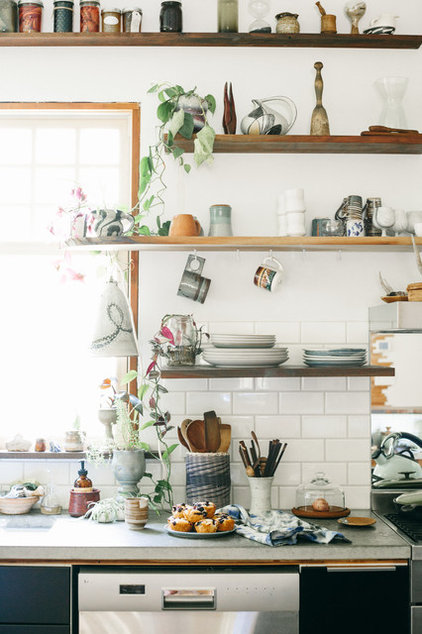
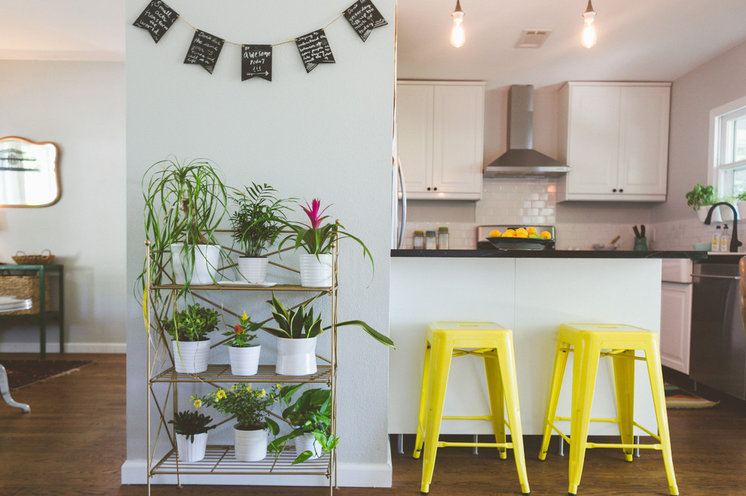
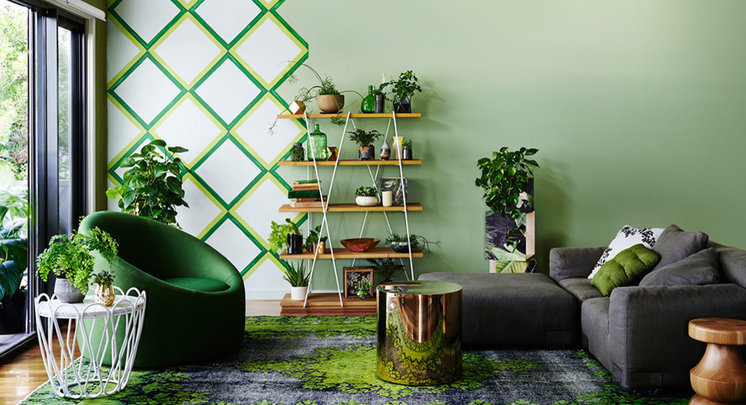
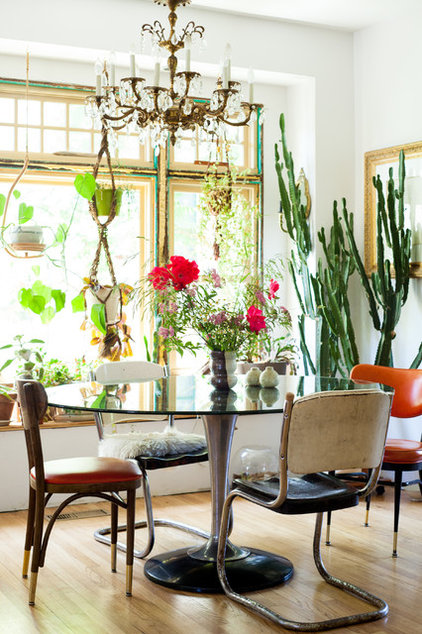
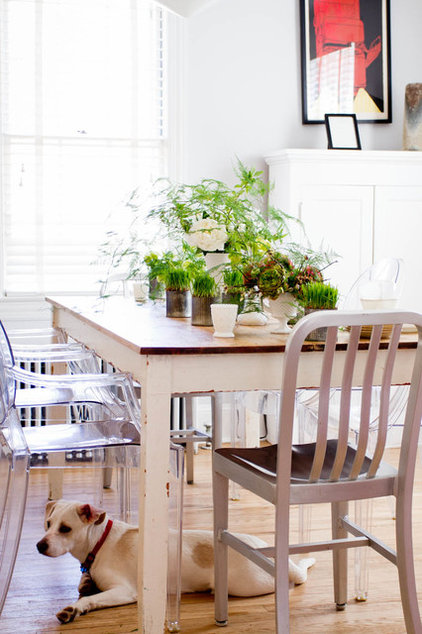
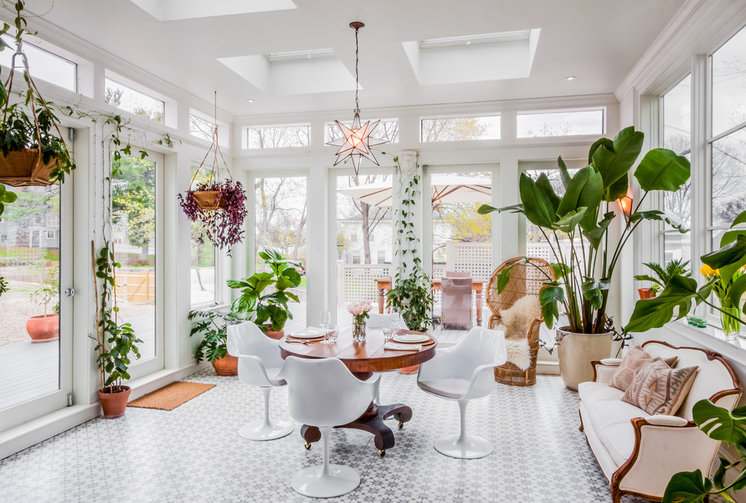
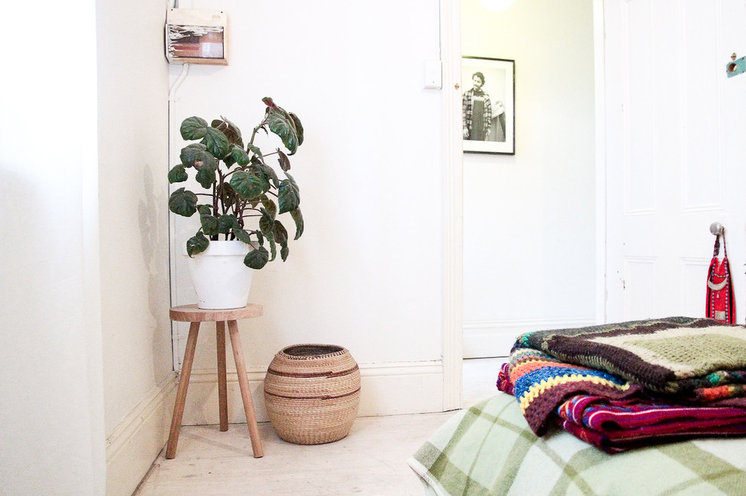
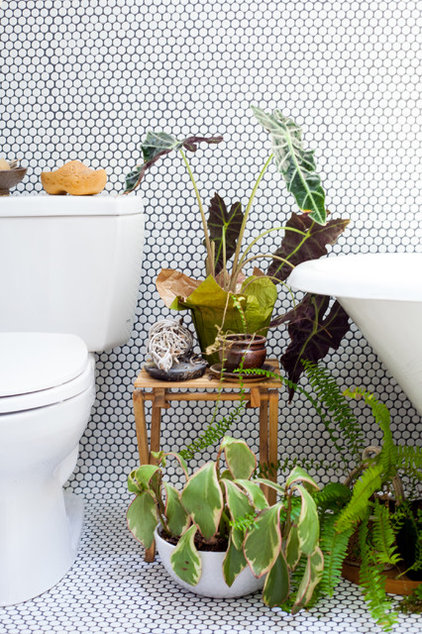
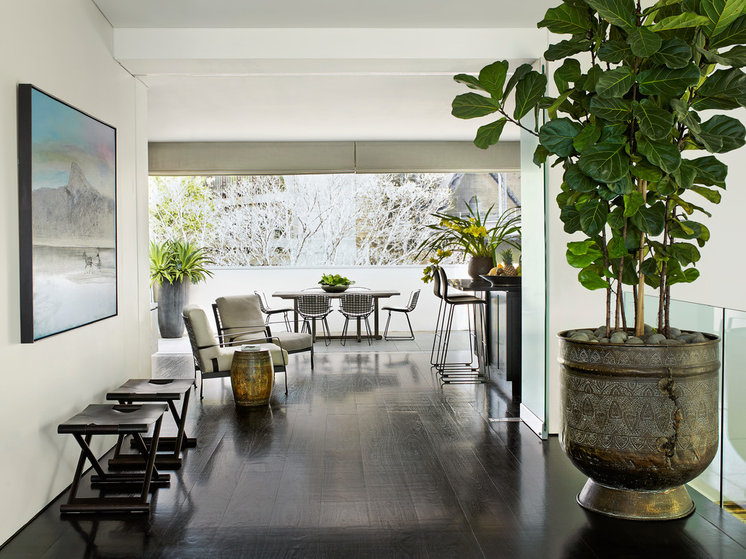
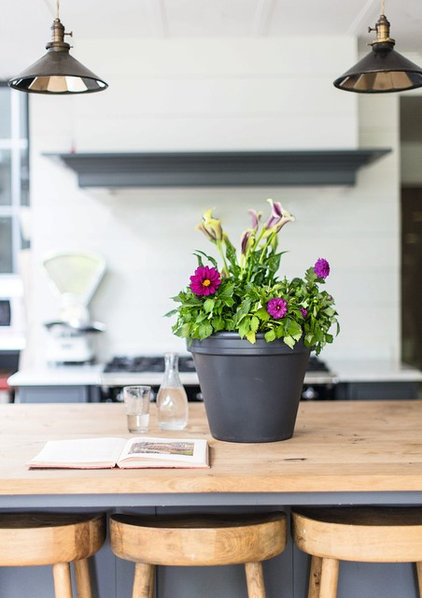
Walk into a home filled with happy houseplants, and you’re bound to feel instantly more relaxed. Living plants boost oxygen, clean the air and enhance any room they’re in with fresh, organic style.Of course, if you think you are not blessed with a green thumb, then keeping houseplants alive, let alone happy, can seem next to impossible. Read on for styling ideas, encouragement and easy-care tips for keeping houseplants to boost health and happiness.
Originally published on HOUZZ, by Laura Gaskill