Category Archives: Home Decorating
Guide to Selling Your Home and Moving
Tip: If you need to get a lot of furniture and accessories out of your home while it’s on the market, consider renting a storage unit. It could be worth the expense it if it helps your house show better and sell faster.
Tip: Always ask yourself if you can you find a less expensive fix before committing to a big-ticket item. Can you repaint the cabinets rather than replace them? Clean and polish the wood floors instead of refinishing?
More: Fix It or Not? What to Ask When Prepping Your Home for Sale
Tip: Don’t forget the garage door. If your garage is positioned near the front of your home, any flaws in this area can detract from the overall impression.
More:
10 Low-Cost Tweaks to Help Your Home Sell
10 Ways to Boost Your Home’s Resale Value
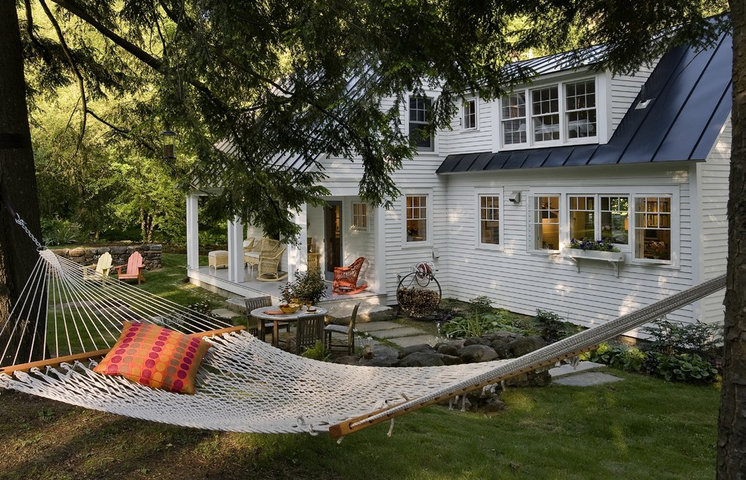
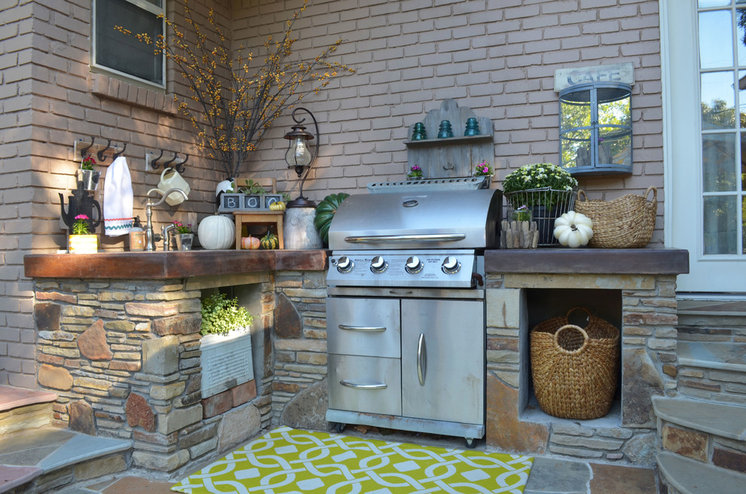
Tip: Don’t forget to stage the outdoor areas, too. A shined-up stainless steel grill and a hammock in the backyard help potential buyers imagine enjoying summer weekends hosting barbecues and relaxing.
More:
Sell Your Home Fast: 21 Staging Tips
How to Stage Your Kitchen for a Home Sale
10 Tricks to Help Your Bathroom Sell Your House
Tip: The more flooring that can be seen, the larger the room will appear, so consider removing area rugs before having photos taken.
Tip: For your own security and peace of mind, remember to shut down and password-protect all your computers, and hide small valuables.
More:
Tips for Moving Into a Smaller Space
Downsizing Help: Choosing What Furniture to Leave Behind
More: Home-Buying Checklist: 20 Things to Consider Beyond the Inspection
Tip: Keep a master packing list. Number each box as you pack it and mark the number on all four sides. Instead of listing the contents on each box, write down what’s in each numbered box on your master list. Make things even clearer by color coding boxes with basic label stickers to indicate which room they should go to in the new place.
Tip: Double check that your pets’ tags have the new address and your cell phone number on them.
More:
7 Things to Do Before You Move Into a New House
Relocating? Here’s How to Make Moving In a Breeze
13 Ways to Instantly Improve Curb Appeal
“Want to improve the Curb Appeal of your home, but not sure where to start? Take a look at some of these ideas and get inspired.”
Denise Buck & Ed Johnson – DC Metro Realty Team
If you’re trying to sell your home this spring — and really, there’s no better time, according to Realtor Mag — here are some ways to increase the curb appeal of your home, attract prospective buyers and give your home an edge on the market.
1. Give the Front Door a Facelift
You want the entrance to your home to be as inviting as possible, so start by giving your front door a fresh coat of paint. What color? Try red. In feng shui, red conveys a warm welcome. And adding molding around your doorframe will give your entryway a polished look.

(Credit: Iriana Shiyan/Shutterstock)
2. Update the Hardware
Don’t overlook the details. If your doorbell, door knob or door knocker is rusted or simply outdated, it can leave a poor first impression. Whether you choose brushed nickel or solid brass, modern or vintage, select a finish and style that best suits the overall aesthetic of your home.

(Credit: PhotoFixPics/Shutterstock)
3. Dress Up the Doorstep
Continue the warm welcome by adding potted or hanging plants for life and color. If you have a porch, add patio furniture to help homebuyers visualize enjoying the front space. And don’t forget the welcome mat for a finishing touch.

(Credit: Anna Oleksenko/Shutterstock)
4. Make Over the Mailbox
Your mailbox gets plenty of use and is vulnerable to the elements, so don’t overlook it. Options include a stand-alone version or one that is attached to your home. A traditional look is timeless, or you can get more distinctive — just don’t go too crazy. Remember, you’re trying to appeal to a wide range of potential buyers).

(Credit: kitzcorner/Shutterstock)
5. Level Up on House Numbers
Your house number is an opportunity to add a distinctive accent to your home. Install decorative number plates to the face of your home or fence, or paint the numbers onto your door, decorative rocks or on the pots of an arrangement of plants. Your style options are endless; just make sure they complement your home rather than detract from it.

(Credit: Frontier Sights/Shutterstock)
6. Install Outdoor Lighting
Yard lighting isn’t just for ambiance but for security. Buyers want to feel that their prospective home is safe, so lighting should be ample around the exterior. Add hanging lights on either side of the front door, or pole light fixtures on either side of your front stoop. Light up the walkway and/or driveway with solar-powered accent lights, and consider motion-detecting flood lights around the front and back of the house.

(Credit: photobank.ch/Shutterstock)
7. Paint the Trim
Weathered trim ages the look of your house. Fresh paint offers an instant upgrade, and as a bonus, it will draw attention to the details of your home. Select a vibrant white or a color that complements the color of your home.

(Credit: Iriana Shiyan/Shutterstock)
8. Replace Gutters
If your rain gutters are detached or sagging, the best thing to do is just replace them. New gutters also signal to potential buyers that you’re good with upkeep, especially on important details that can cause water damage if neglected.

(Credit: Amy Walters/Shutterstock)
9. Pave the Way
A walkway that leads to the front door is an invitation. Brick, stepping stones or pavers provide a uniform look and are simple to lay out. Salvaged wood pallets or gravel create a rustic feel. Or get creative and pour concrete and stamp it with a design. Line your finished walkway with plants or solar lights.

(Credit: apple2499/Shutterstock)
10. Get an Edge
Few things detract from an otherwise beautiful home than overgrown grass and weeds. Manicure the edge of the driveway for instant polish. You can simply use an edging tool to create clean lines along your driveway, or take it a step further and add a border of decorative blocks or stones.

(Credit: pics721/Shutterstock)
11. Build a Trellis
Create a welcoming portal by installing a trellis or arbor over the walkway leading to your home. Possible materials include reclaimed wood, bamboo or metal. Then, select a vining plant for your location and climate — helping buyers to picture their future home in full bloom.

(Credit: Hannamariah/Shutterstock)
12. Plant Trees
Trees are practical as well as decorative, and easy to plant. When choosing which varieties to plant, don’t forget to factor in its full-grown size. If there’s room, plant two trees to line your walkway.

(Credit: Hannamariah/Shutterstock)
13. Out of Sight
Cover up any eyesores around your home with clever containment. Paint electrical boxes and weathered piping. Disguise trash and recyling bins and outdoor air conditioners with a privacy screen or lattice fencing. Tuck unsightly hoses into attractive containers. These charming but simple touches will go far with prospective homebuyers who are trying to envision your house as their own.

(Credit: Naddanai Kongsima/Shutterstock)
Originally published by Pro.com on Yahoo Homes!
Redo your Bathroom without a Remodel
“Want to freshen up your bathroom, but not up for the expense and effort of a full remodel? Here are some ideas on how ‘Redo’ your bathroom on a smaller budget.”
Denise Buck & Ed Johnson – Dc Metro Realty Team
The bathroom is probably the best room in the house for a mini-makeover. When you realize how dramatically, quickly and inexpensively you can completely update the space without an actual renovation, you’ll wonder why you’ve waited so long.
Before you dive in, take a minute to consider what you’re going for in terms of style. Your bathroom should be a peaceful, relaxing space. Are you more soothed by rich, dramatic tones and style, or are you going for a more simple and serene spa-like space? Once you know what you want, take a look at these simple tips for getting the bathroom upgrade you’ve been dreaming of.
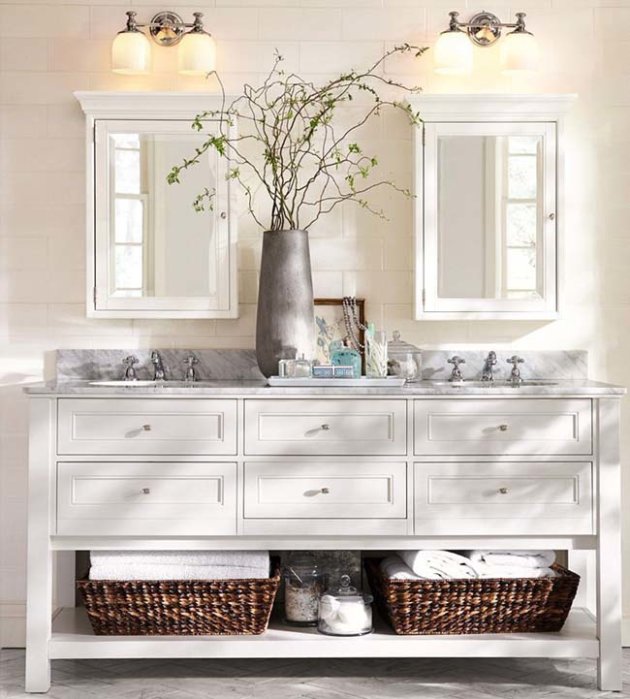
Source: Pottery Barn
Paint
This is obviously the place to start, since doing it yourself results in such fast and dramatic change. For the simple and serene look, choose soft and soothing tones to give you a greater sense of space and light. If you’re looking for a rich, dark hideaway, choose warm saturated tones to strike the right mood.
Hardware
Now choose drawer pulls that keep the style makeover moving forward. They’re available in all styles and at all price points, and this is another big change you can make on your own. Typically, anickel or stainless finish goes best with the spa look, while oil-rubbed bronze tones will add the richness you’re looking for in a sophisticated atmosphere.
[ Time to update that old bathroom? Click here to find a contractor.]
Storage
Because our bathrooms are also spaces that our guests may see, keeping them clutter free is essential. Organization is also important for keeping stress on the other side of the bathroom door.
A quick and functional fix here are simple storage cubbies. Stash toiletries, makeup and other beauty and grooming equipment in small caddies that you can pop out and put away easily.
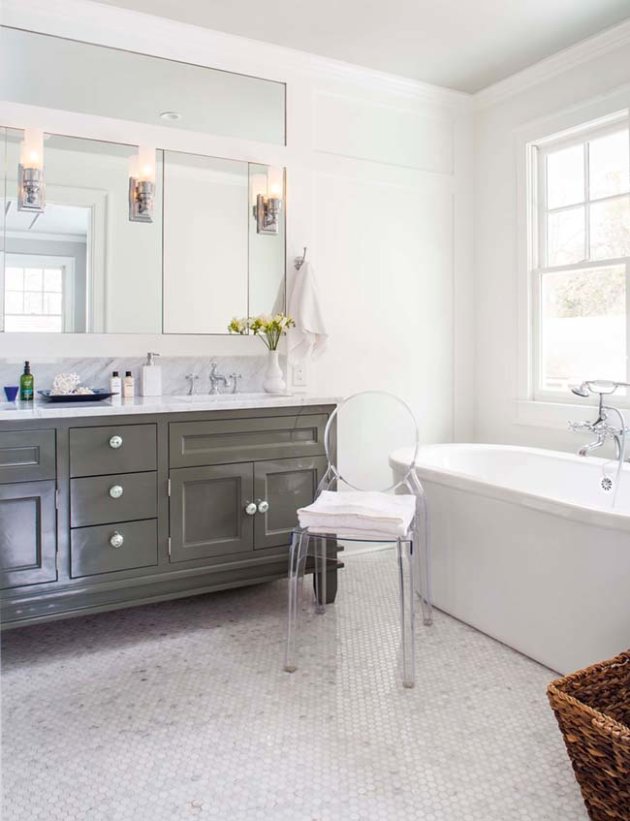
Source: TerraCotta Properties
Lighting
Good grooming requires good light, but when you’re just looking to slip into the tub and relax, you want something softer. Start your lighting makeover with a simple dimmer switch.
Replacing the vanity lighting fixture is easier than you think, too. To keep the job a simple and quick one, simply choose vanity lighting that covers the same space the original fixture did. You can maximize your options, though, if you tackle the lighting when you do the painting.
To take it up one more notch, consider a dramatic piece of statement lighting such as a chandelier or pendant that adds a sense of style.
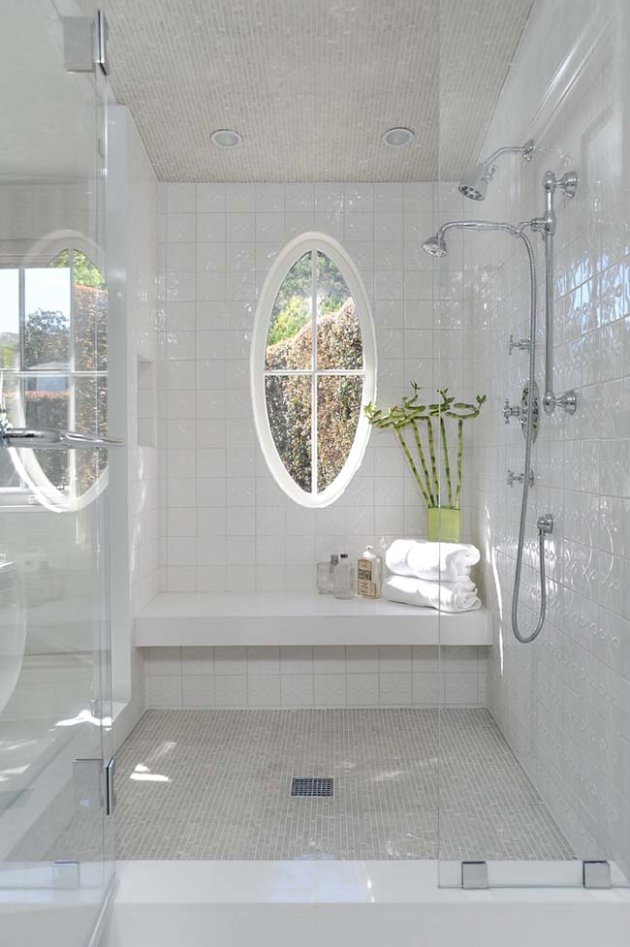
Shower, sink and tub faucets
Now we’re moving into the updates that really make the space feel new. Look for sink fixtures that offer a little more height over the bowl and length extending into the bowl for the most functional effect.
Then, upgrade to a new showerhead that makes your morning feel anything but routine. A handheld showerhead that ties into the shower arm and can extend from the wall via a hose is another indulgent and functional option.
Source: KellyBaron
Mirror and medicine cabinet
Most standard medicine cabinets are not much to look at, and there are now plenty of options that will your replace your current cabinet. A simple beveled mirror version with a plastic wipe-able interior can update a rusted metal version.
[Click to find the right contractor for your new bathroom.]
But another simple fix if you don’t want to replace the whole cabinet is to build a simple picture-style frame right over your basic wall mirror. Just choose the frame according to the style you’re going for, and make sure the surface is moisture resistant.
Towel warmer
Even if you don’t have the most spacious bathroom, this is an amenity worthy of serious consideration. In case you think you just can’t spare the space, you’ll be glad to hear that they also come ready to plug-in or hard wire and hang on the wall.
Source: Zillow Digs
The final touches
New towels and a fresh bathmat can change the appearance of your bath space with little effort. Pick a monochromatic color scheme to dry off in style, or go all white for the spa-like aesthetic.
For a little added detail, consider monogramming your towels with your initials or “His,” “Hers” and “Guest.” This added touch will make all your efforts well worth the time and consideration of your bathroom update.
Originally appearing on Zillow, by Kerrie Kelley
How to use Common Light Fixtures
It’s important to understand that even on a sunny summer day, natural light from a single window is not always sufficient to thoroughly light a room, and of course this is especially true come nighttime. Additional light sources near your window will allow you to subtly fill out the light scheme and achieve a balance so the space feels beautiful at any time.
Undercabinet lighting can also achieve a similar effect. Combining both will make task lighting in the kitchen look effortless.
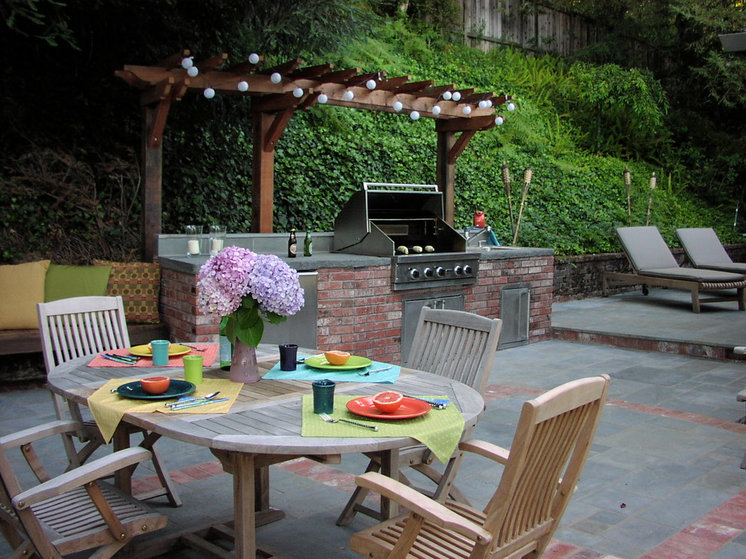
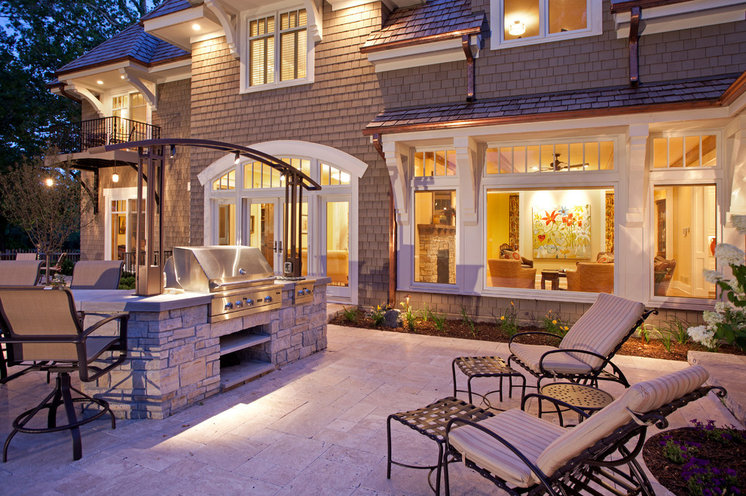
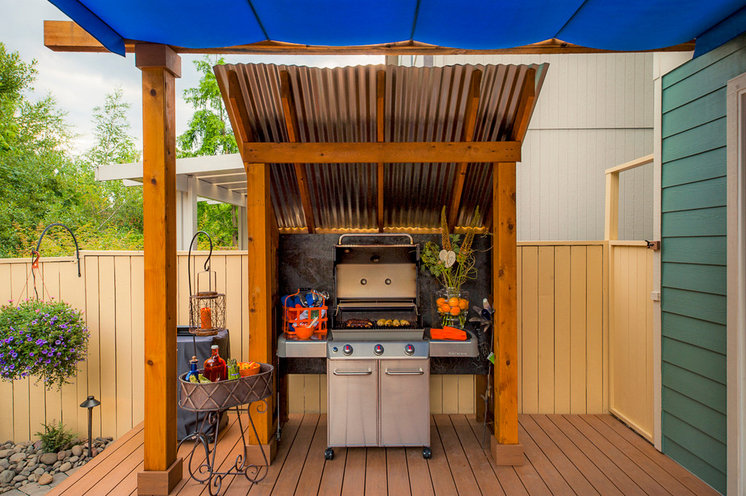
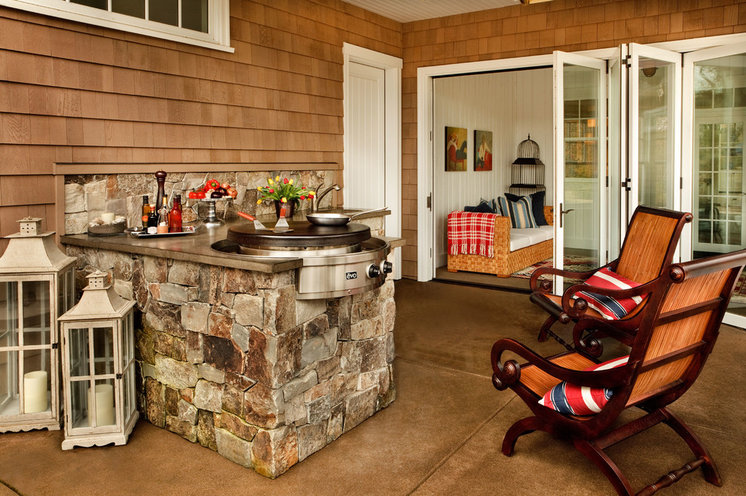
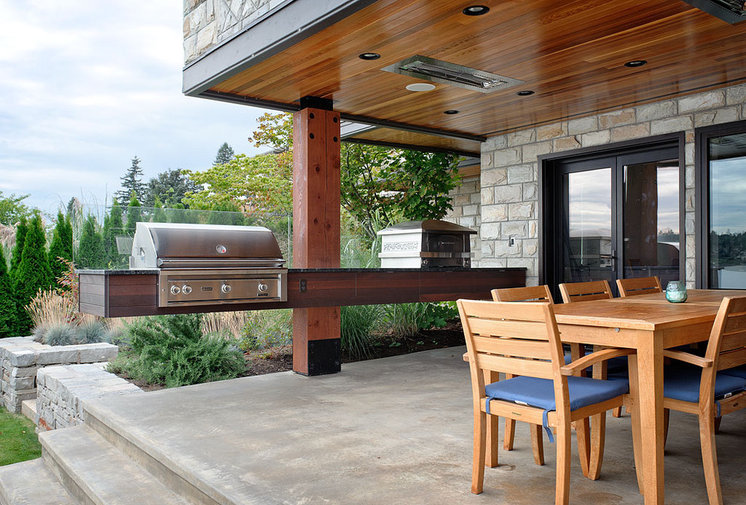
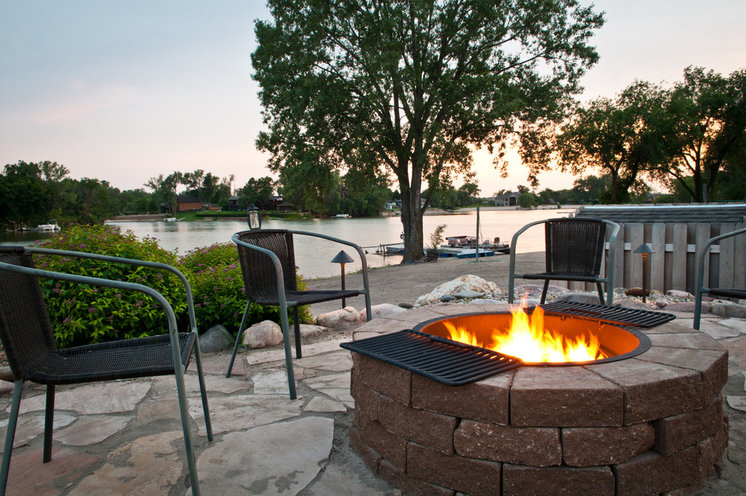
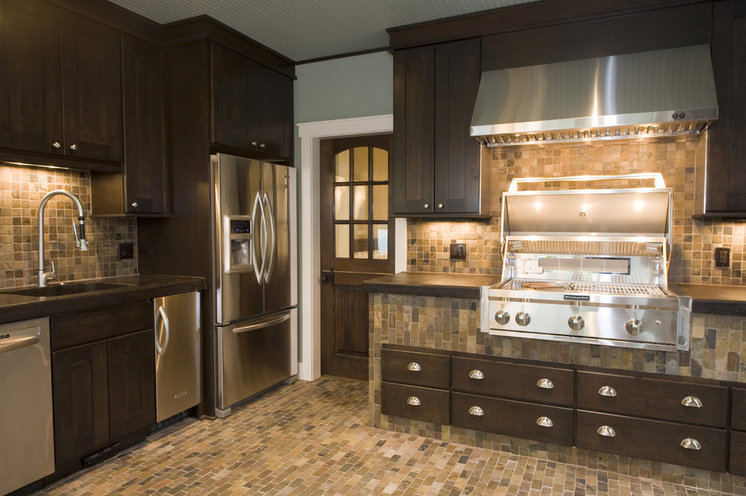
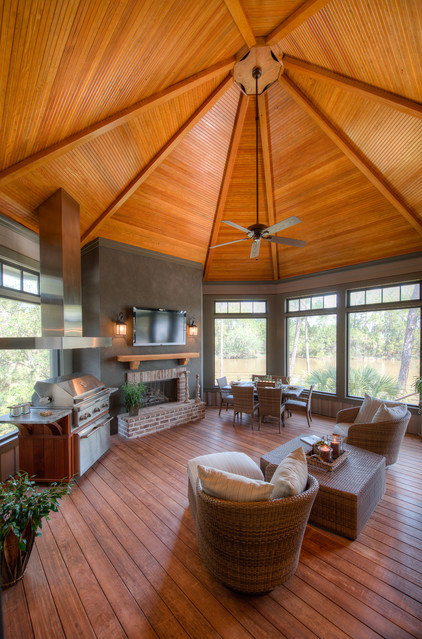
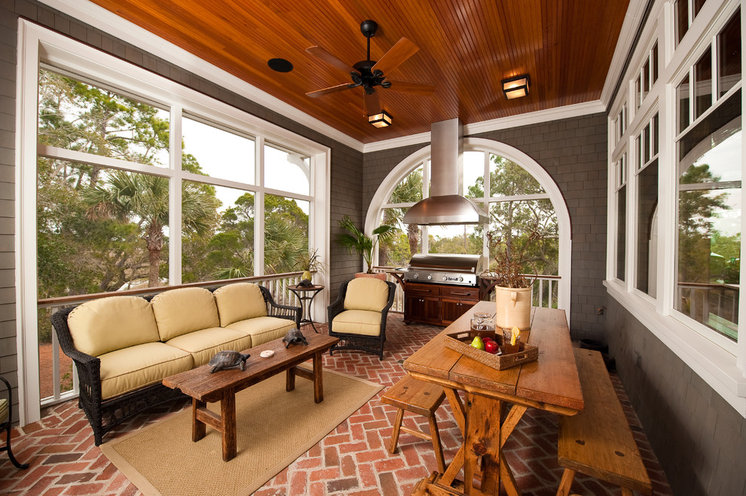
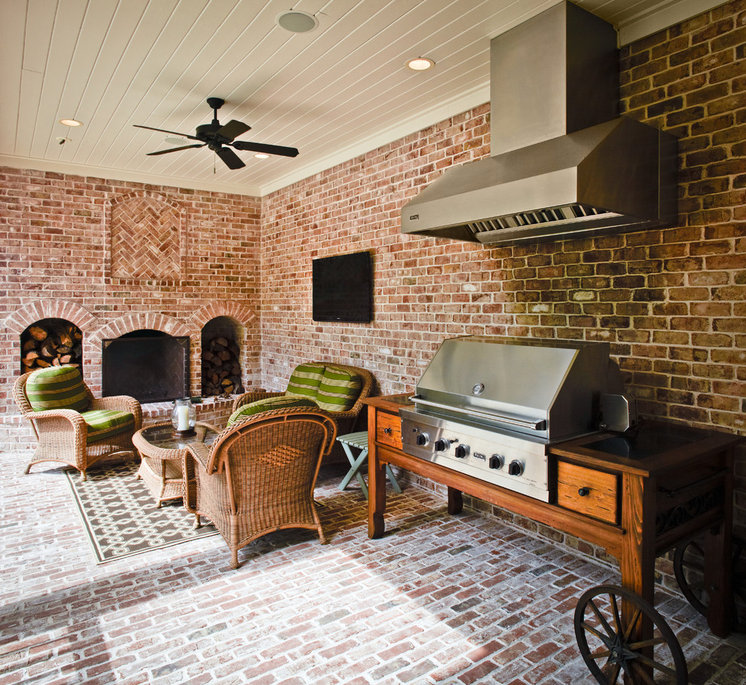
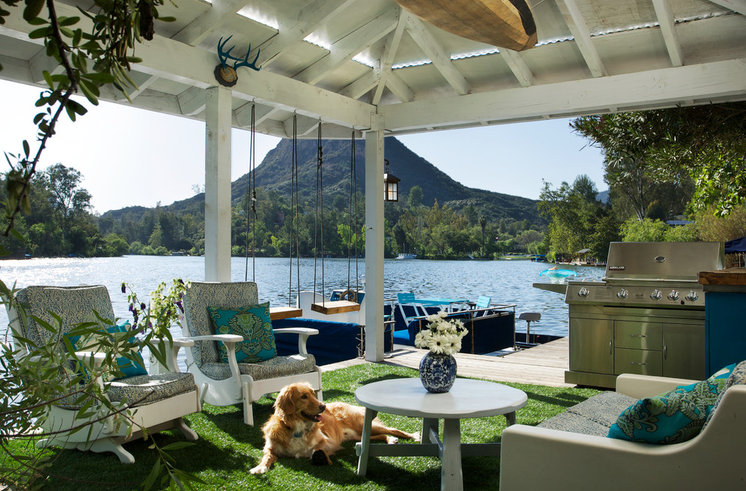
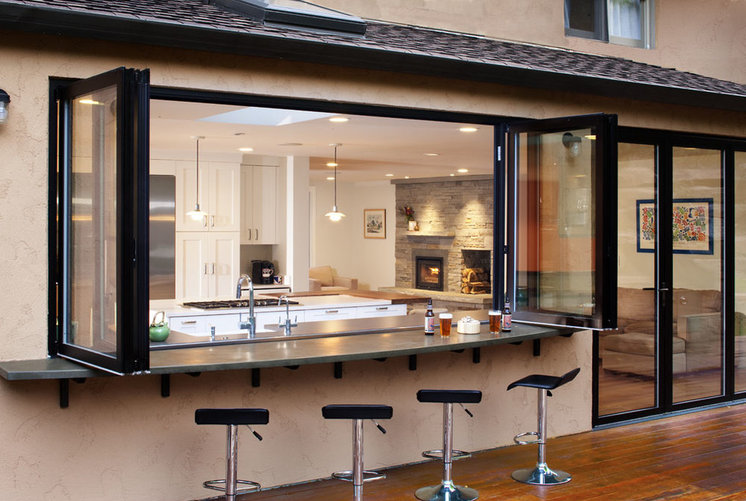
Upgrade Your Grilling Setup
How to Have More Fun with Your Decorating
You can take this playfulness onto other surfaces, such as mantelpieces, shelving and dining tables too.
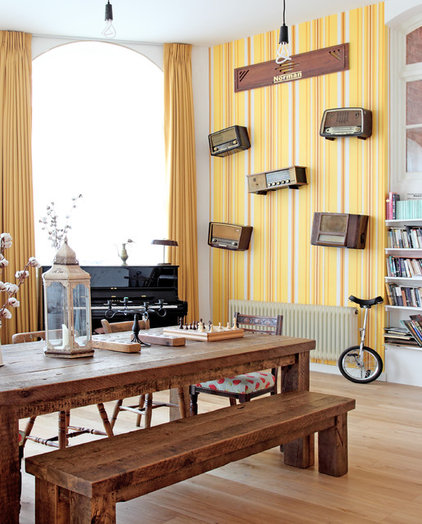
Create your own 3D feature wall from old cameras, musical instruments, hats — just make it something you’re committed to collecting and that you will actually enjoy looking at day after day.
Your Guide to an Organized Home
Getting started: Get in the habit of opening your mail as soon as you walk in the door, while standing over the recycling bin. At the end of each day, put away anything sitting around in the entry that doesn’t belong.
Get the 7-day plan
Getting started: Start fresh by deep cleaning your kitchen, including those hidden spots that get missed in a quick weekly clean, and organize your cooking tools for smoother meal prep. Take everything out of the fridge and freezer, one shelf at a time, and toss anything that has gone bad or that you know you won’t eat. There is no reason to let that salad dressing you tried and hated sit there for another year.
Getting started:
- Remove anything that belongs in another room: shopping bags waiting to be unpacked, library books that need to be returned, kids’ toys, piles of mail, laptops — whatever you’ve got.
- Completely clear the stuff off the dining table, floors and other surfaces. Most decor can stay (for now), but if it has a home in another room, out it goes.
Getting started: If you have a good vacuum with attachments, that’s the fastest and easiest way to banish dust in the living room. There’s no denying this is a lot of work, so consider this your official excuse to skip the gym today.
- Vacuum the room from top to bottom, starting with cobwebs on the ceiling and working your way down to the floor.
- Window treatments like blinds and shades can be vacuumed using an attachment.
- If your curtains are washable, take them down and toss them in the wash on the gentlest cycle.
- Vacuum or dust light fixtures, the tops of bookcases, picture frames and the mantel.
Getting started: Streamline the wardrobe. Take everything out of your closet and drawers. Assess each item by looking it over for damage and trying it on. Put clothes that no longer fit or that you do not like in a pile to give away or sell. Put out-of-season clothes and accessories in a separate pile for storage. Put clothes you love that need alterations or repairs in a tote bag to bring to the dry cleaner.
Getting started: Work your way through your medicine cabinet shelf by shelf and examine each product. Toss out anything expired as well as products you no longer use or that you’ve tried and don’t like. Just because you paid money for something doesn’t mean you have to pay again by giving up precious space for it. Don’t get caught up in organizing just yet; focus on purging.
Getting started:
- Remove clothes and shoes your child has outgrown and set them aside to give away, sell or store.
- Remove toys that are broken or have missing pieces and can’t be fixed.
- Remove toys that your child has outgrown and decide whether to store, give away or sell them.
- If your child has a lot of very similar toys, remove enough so that what’s left can be easily stored and enjoyed.
Getting started:
- Pull every (nonpaper) item out of your desk and office storage and sort it into piles, placing like with like —for instance, all letter writing supplies in one pile; everything computer related in another.
- Now take a closer look at those piles, removing unneeded duplicates (do you really need three staplers?) and anything that doesn’t belong in your office.
Getting started:
- Use a damp sponge or microfiber cloth to clean the exterior and inside the lid of your washer, paying special attention to rubber seals.
- If your washer has a lint trap or removable detergent dispensers, take them out and clean them with warm, soapy water in the sink. If not, use cotton swabs to get the gunk and grime from the corners.
- Pour a cup or two of white vinegar in the washer and run it on the hottest setting, without any clothes in it.
Getting started: Take a moment to set up several areas for hazardous waste, garbage, recycling, things to donate, things to sell and things to keep. Rent a Dumpster if you need it, but keep in mind that you should be able to recycle, donate or sell most of what you no longer want or need.
Once you have your zones in place, begin pulling things out of your garage and sorting them. (Don’t try to sort stuff in your garage — you won’t be able to really clean or organize your garage if you try to sort it in place.)
Beautifully Styled Home Bars
“Having a Home Bar isn’t a ‘Must Have’, but it is a ‘Nice to Have’. If you’ve ever thought about having one, just scroll through these pictures and get inspired to have a party!”
Denise Buck & Ed Johnson – DC Metro Realty Team
A bar definitely isn’t an essential in any home, but it’s most certainly a great addition – both aesthetically and functionally. And the great thing about it is it can be as in-your-face or unassuming as you like.
You don’t need much cash to splash either; some of the most chic bars around are made from upcycled items or repurposed Ikea furniture. Buying the alcohol to fill it will be the main expense involved.
From gorgeous gold bar carts to industrial drinks cabinets, get inspired with these genius ideas…
[Photos: Pinterest]
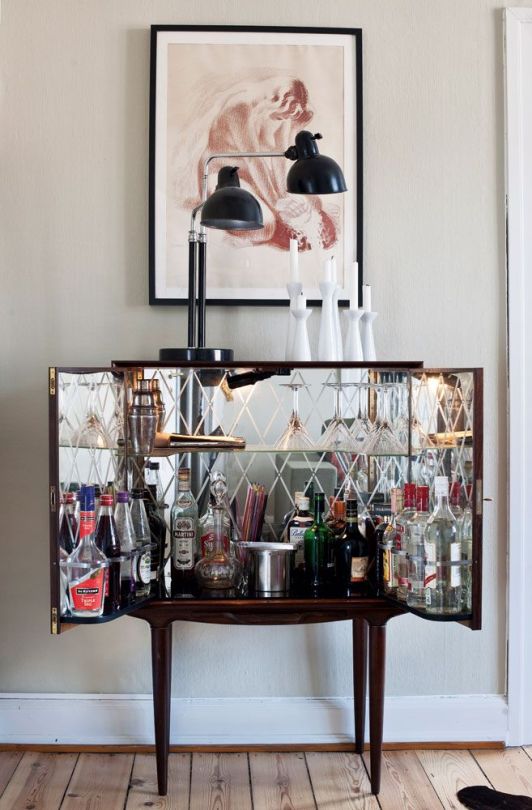
The Retro Drinks Cabinet
This vintage cabinet wouldn’t look out of place in Carrie Bradshaw’s apartment and will slot into almost any style of home seamlessly. It won’t take up much space, either, and fits a fair amount of booze in it.
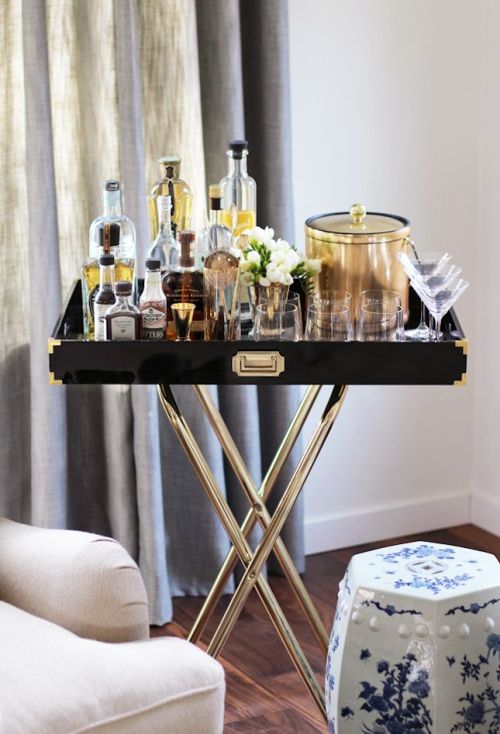
The Tray Stand Bar
If space is limited, this is the bar for you. Perfect for positioning beside the sofa or in the corner of the kitchen when friends are over for dinner, it’s beautifully styled and gender neutral to boot.
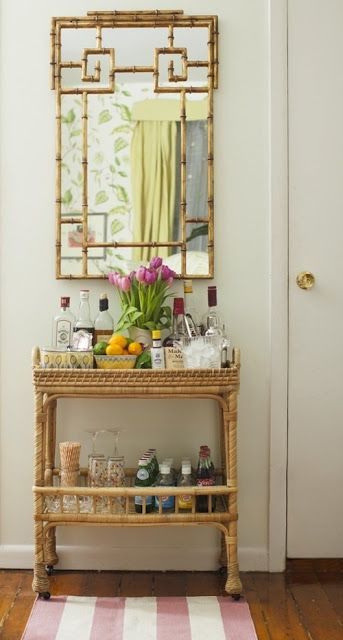
The Beach Bar Cart
If nautical style’s your bag, this wicker bar cart is a must. We love the fact that it’s on wheels, so can be scooted to whichever room the party’s in.
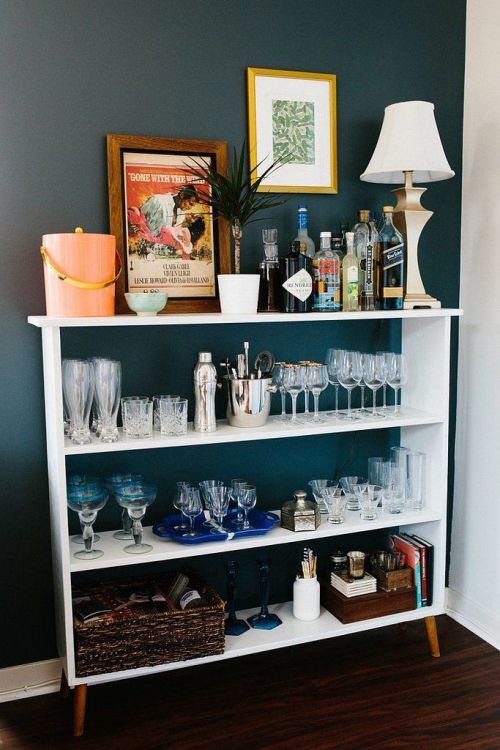
The Bookcase Bar
Got an old, unused bookcase lying around? Give it a second lease of life by transforming it into a home for your glass – and alcohol – collection.
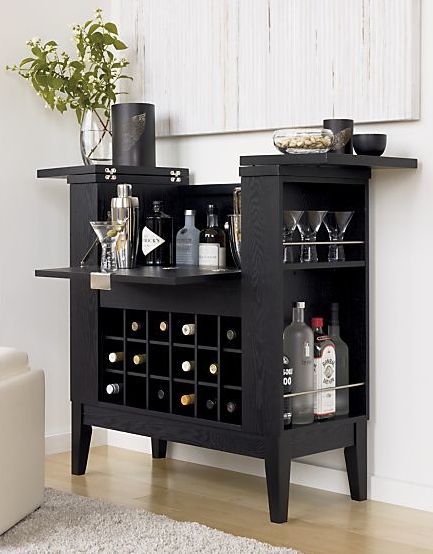
The Bachelor Bar
This stained wood bar screams style and would certainly be great for entertaining. We love how it all folds away so neatly at the end of a wild night in, too.
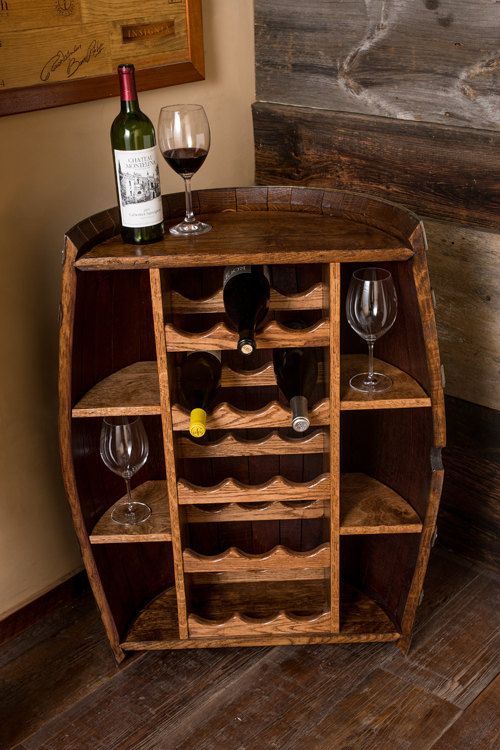
The Wine Barrel Bar
If you love nothing more than salvaging rustic furniture and drinking good wine, you need this bar in your life. Granted, it may be a little tricky to put together on a small budget (does anyone know where you can pick up old barrels?!) but if your pockets are a little deeper you can splurge on this one on Etsy.
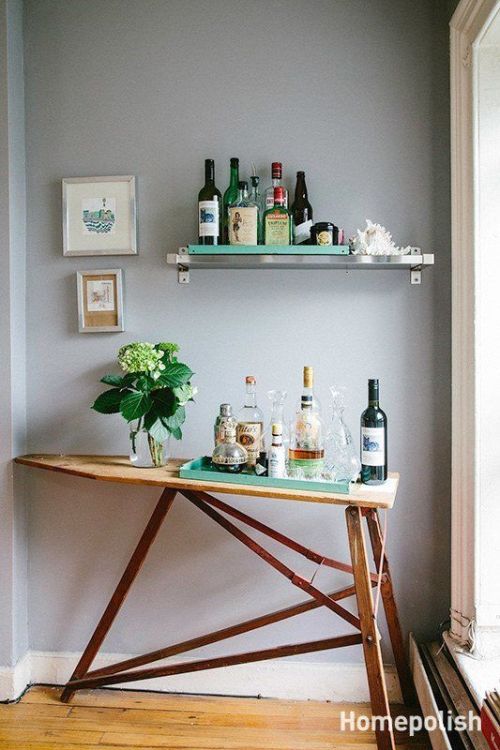
The Ironing Board Bar
This proves that you literally can create a bar out of any old item in your home – and how great does it look? Perfect for slightly kooky homeowners that like to think outside the box.
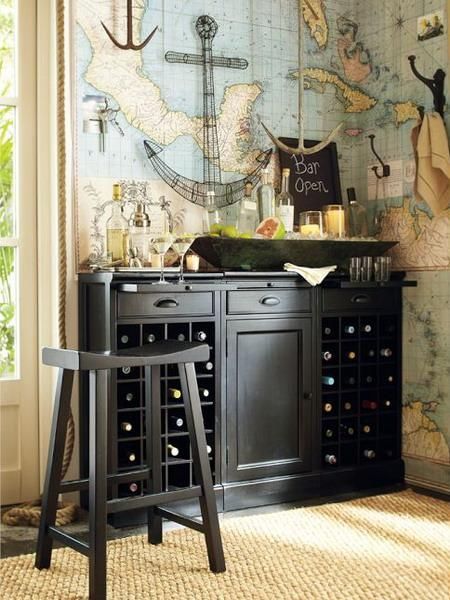
The Sideboard Bar
Sideboards were all the rage in the past, but appear to have gone out of fashion now. Nonetheless, they still make the ideal bar as most boast plenty of room to house all of your boozing equipment.
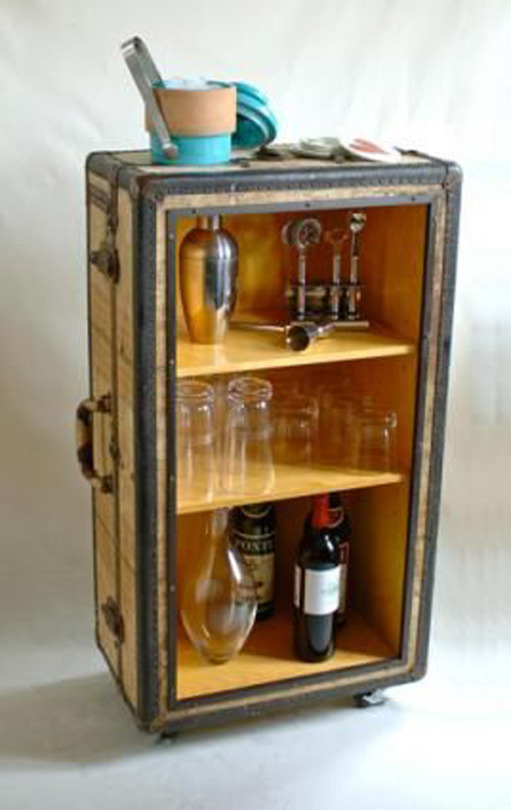
The Suitcase Bar
This would make a fantastic present for a friend – or just a darn cool bar for yourself. Granted, it wouldn’t fit a whole lot of alcohol in it, but it’s great for those of you who just enjoy the odd glass of the strong stuff.
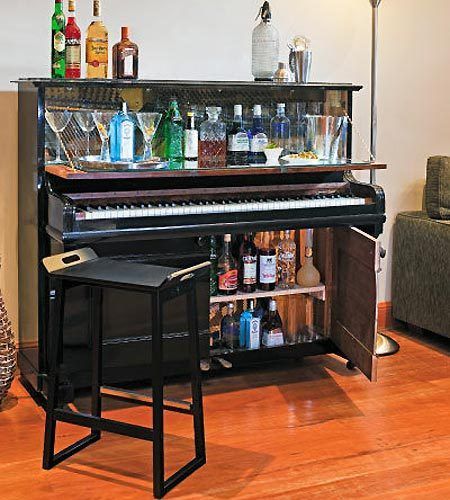
The Piano Bar
The bar of ever music lover’s dreams, this definitely has the wow factor. Of course it does mean that you can’t practice Chopsticks (or more likely the Rugrats theme tune) anymore. But you’ve got an epic bar, so who cares!
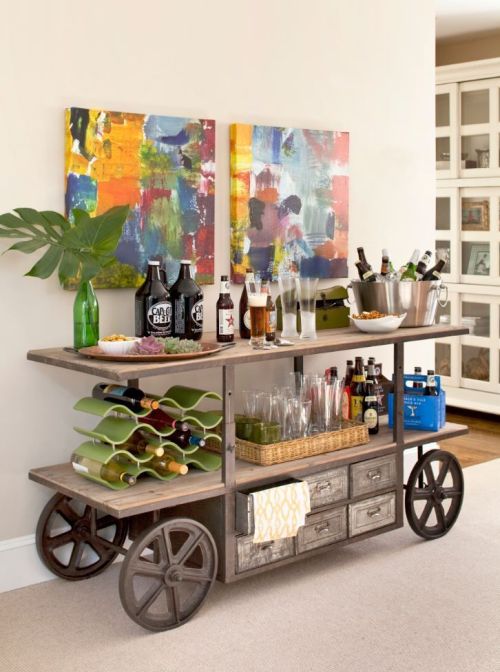
The Ultimate Bar Cart
If you’ve got space to fill, a bar cart this huge wouldn’t be overkill by any stretch. It puts every dinky bar cart to shame.
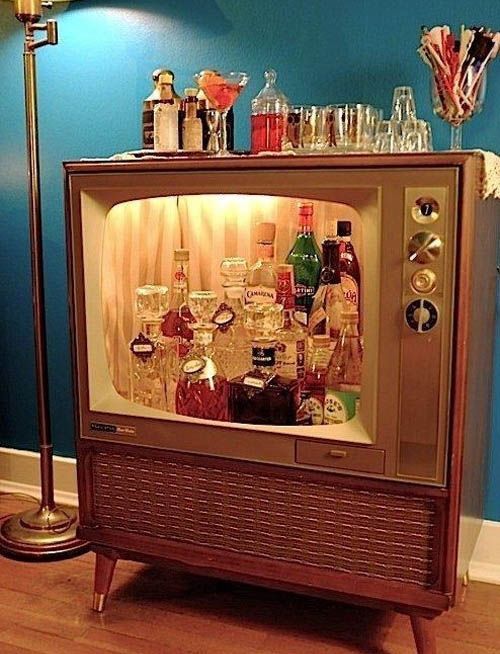
The TV Bar
Seriously, could things get any more ‘Mad Men’? We’ll take a dry Martini, please.
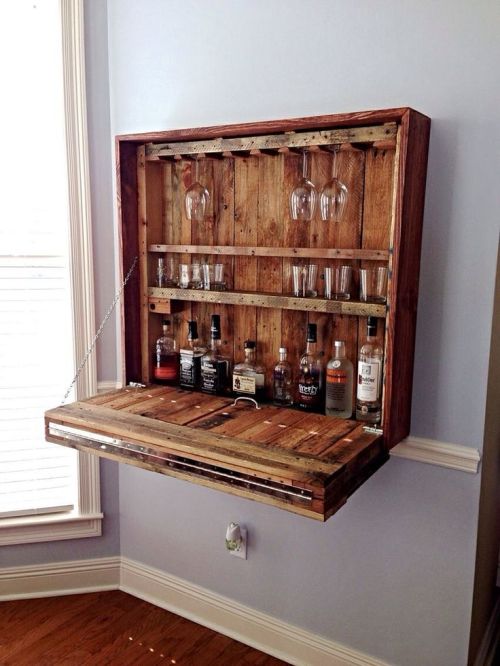
The Foldaway Bar
Wall-mountable, this bar would squeeze into even the smallest of houses. The definition of ‘neat’.
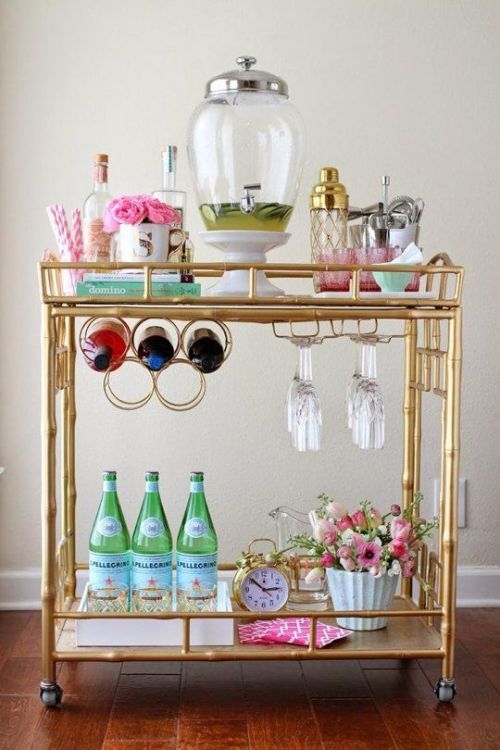
The Oh-So-Chic Cocktail Trolley
Every girl’s gold-coated dream, the styling on this cockatil cart is what makes it. From the gold-topped cocktail shaker to the two-tone straws, it screams “YOU WANT ME”. And we do. We really do.
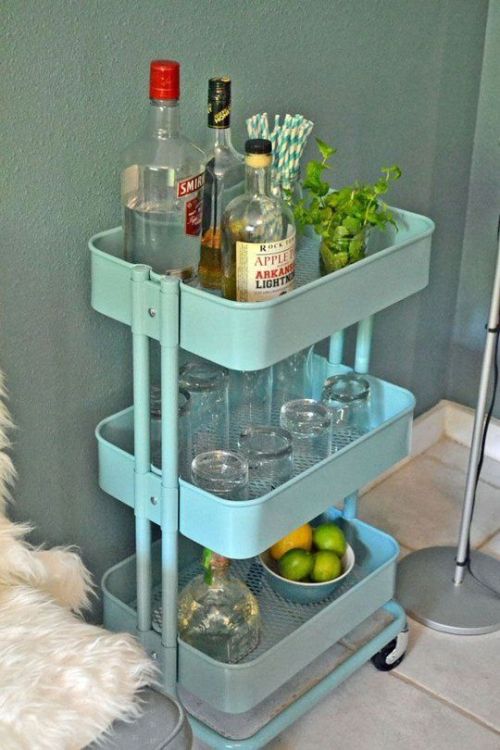
The Bar Trolley
You’ll probably recognise this Ikea three-tier caddy. But forget about using it as bathroom storage or as a bedside table, it makes an epic bar.
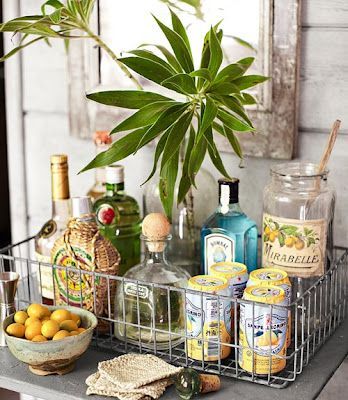
The Basket Bar
There’s something so chic and oh-so-Anthropologie about this wire basket bar. Love. It.
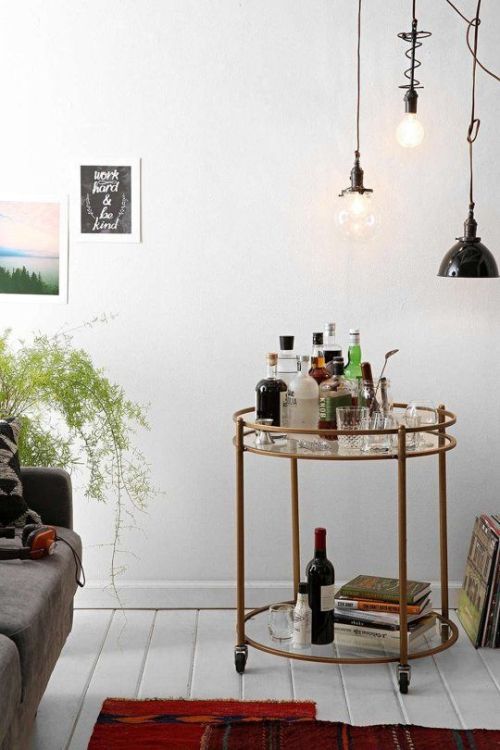
The Minimalist Bar
If your house is pretty simple and you’re after a bar that slots right in without shouting it’s arrived, go for a classic style like this. It’s unfussy – but still stylish.
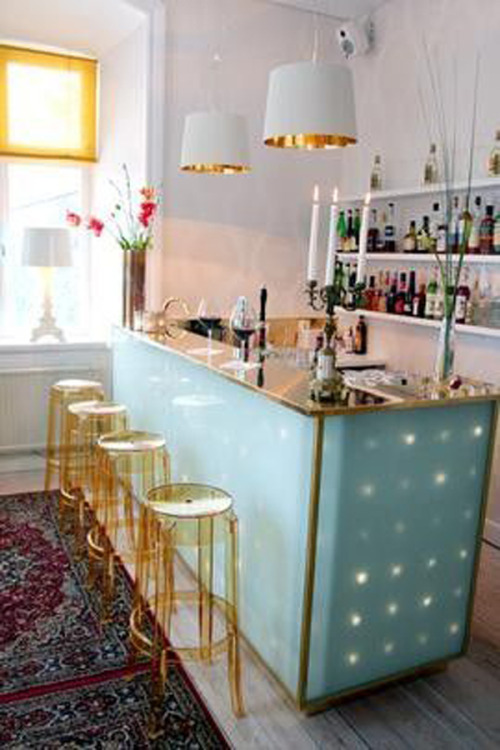
The All-Out Bar
Party animals, say hello to your new must-have furniture buy. Complete with in-built lights, bar stools and oodles of space for every type of mixer and spirit you can imagine, it’s definitely waiting for the party to start.
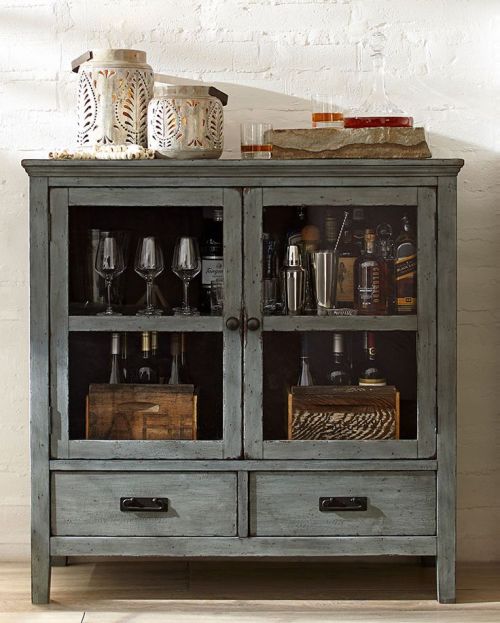
The Rustic Drinks Cabinet
This would look perfect in a French farmhouse style dining room – it’s definitely got that rustic appeal.
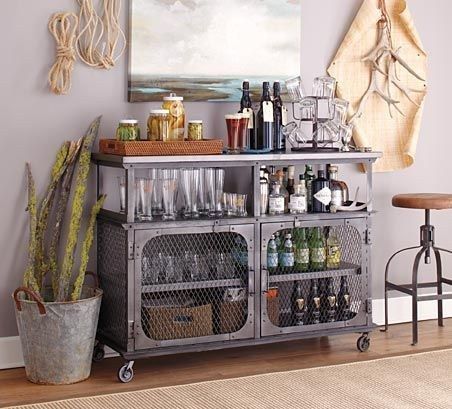
The Industrial Bar
Industrial furniture’s all the rage – hence why it’s used in so many restaurants and bars. And this metal drinks cabinet shows that it doesn’t have to look out of place in a home filled with soft colours and furnishings.
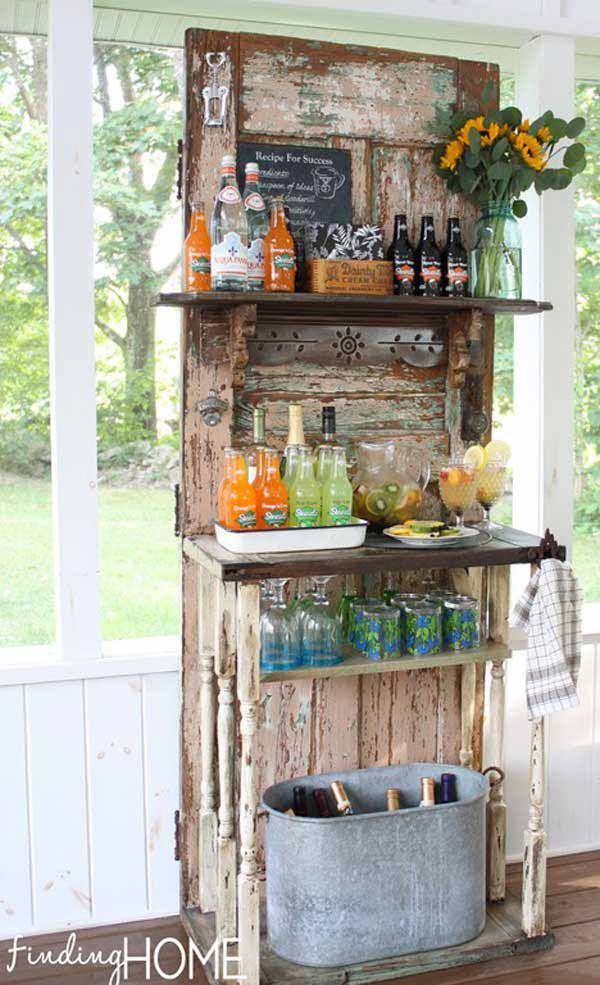
The Repurposed Door Bar
It used to be a door, and now it’s a bar. So simple, yet so effective.
Originally Published on Tumbler by Alison Coldridge
How to Set a Table
So you’ve got the space, you’ve nailed the recipes, your guests are on their way — now set the table!
But how?
As Houzz contributor Rikki Snyder says, “When in doubt, refer to the old-fashioned way.” So we’ve come up with a few easy guidelines, tips and tricks from our pros to help Houzz home cooks and party planners do it right.
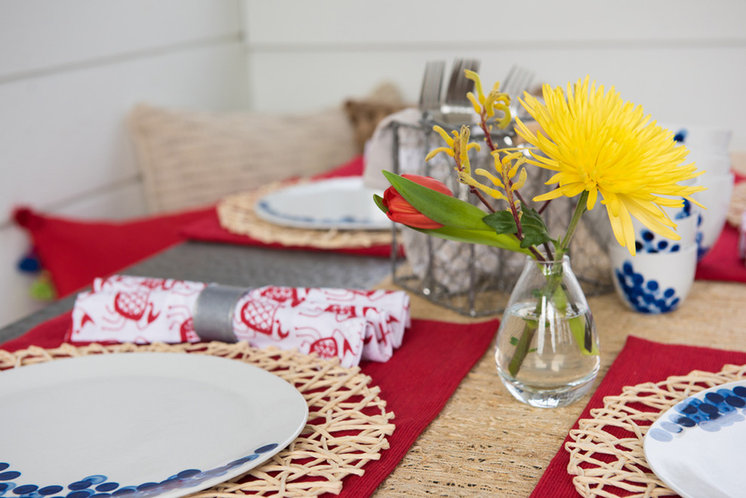
Regardless of whether you are using placemats, each place setting should be centered to each seat at the table. There should be about 24 to 30 inches of space between place settings, or about 18 inches between seated guests, to avoid any elbow rubbing.
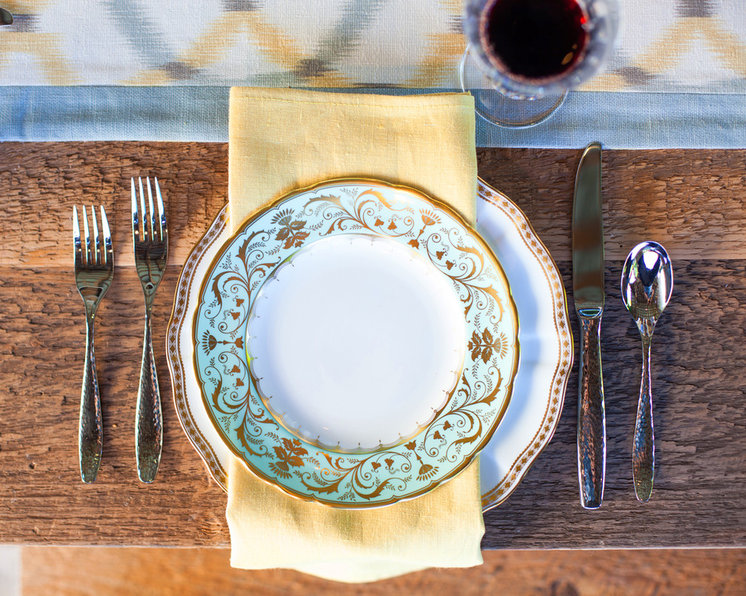
Silverware. As seen in the photo above, the forks are to be placed on the left side, and the knife (with blade side pointing inward) and spoon on the right. Becky Kubecka, author of the life and style blog This Is Happiness, has a handy trick she learned when she was a kid and continues to use to this day: “‘Left’ is a four-letter word, and so is ‘fork,’ so the left side of my plate is where my fork is placed. ‘Right’ is a five-letter word, and so is ‘knife’ and ‘spoon,’ so they sit on the right side of my plate.”
The movie Titanic taught us well with the line, “Work from the outside in” regarding the crazy amount of silverware we sometimes find in fine-dining restaurants. This rule applies to home dining as well. If you’re serving a salad, the salad fork goes on the outermost left side. If salad is not a starter, the smaller fork can be eliminated or placed on the inside, if needed, for dessert. The same goes for the spoon on the right: If guests will be using it early in the meal, it will go to the right of the knife; if it will be used only for coffee and dessert, place it to the left of the knife.
Think of it this way: It’s a lot easier for guests to grab the utensils they’ll need immediately as well as for you to clear the table as the meal service progresses.
Glassware. Whether you serve water, wine or a cocktail, your glassware of choice should be placed just above the knife on the top-right side of each place setting. Jennifer Grey of Jennifer Grey Interiors, who prefers to host buffets, recommends having an extra set of glassware wherever your drink station is located, in addition to those at the dinner table. “People won’t eat or drink unless they know they can,” she says, so when your guests arrive, those glasses will indicate that the bar is open. When they sit down to dinner, they’ll have a clean glass if needed.
Alright, you’ve got your flatware and glassware sorted out, but what’s the deal with the stacks of plates and bowls? Multiple pieces of dishware aren’t always necessary, but depending on what you’re serving and how, you may need to know a few tips.
This time we’re working from the top down. Summer weather isn’t necessarily soup weather, but on the off chance you are serving soup (gazpacho, anyone?) or an appetizer that would best be enjoyed from a bowl, the bowl should be placed at the top center of your place setting.
This is also a great place to get creative, according to our pros — who suggest using seasonal fruits and florals to add a decorative element to each place setting. In the summer, Kubecka loves a bright yellow lemon on a white dish, and Grey likes to pull roses or lavender straight from her garden. They both agree that the best decorative pieces come from what’s already around, so look to your home and garden for season-specific inspiration.
Underneath the bowl, or in its stead, is the salad plate. If you’re not serving a salad, or the salad is part of the main dish, you can eliminate this layer. Last, if your meal is to be served family or buffet style, like at most informal summer get-togethers, the large bottom plate is your main course plate.
You’ll see different napkin displays in different restaurants, households and photos: in a ring, on the side, folded into abstract origami. So which way is correct?
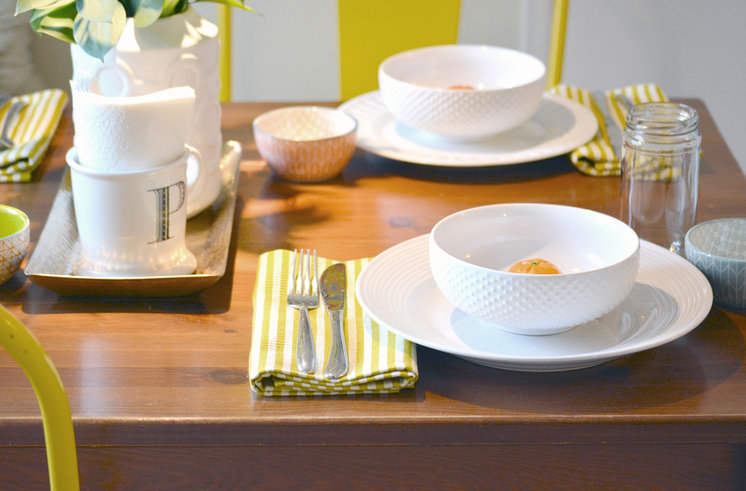
It’s up to you. If you’re staying simple, a folded napkin can go underneath the forks on the left side or on top of the largest, bottommost plate (in which case, any smaller dishware will be placed on top of the napkin, as in the previous photo). If you’re using a ring, the rolled napkin can be placed either on the left side outside of the forks or in the center of the topmost plate — and the same goes for any artfully folded napkins. However, don’t place a napkin in or on a bowl. Instead, try adding a decorative element like our pros suggest.
We’ve covered all the cut-and-dried rules to setting a table, but here are some extra servings of advice from Houzz professionals.
Snyder tells us that when it comes to tableware, “mixing and matching is really in. Keeping it within the same color scheme creates a pretty palette.”
But when choosing that tableware, Grey says, “even in an informal setting, anything that goes into a guest’s mouth should not be plastic!” This may not be the time to break out your great-grandmother’s fine china, but ditch the plastic party cups and invest in some inexpensive plates, glasses and utensils you’re comfortable sharing with guests. Grey believes in entertaining with all five senses: sight, smell, sound, taste and touch. These last two are affected by the serveware.
Also, even though Grey prefers hosting buffet-style dinner parties, she still creates a place setting, complete with place cards, for each guest at the dinner table. She does this as a courtesy to her guests: They can serve themselves without worrying about forgetting to grab a napkin, juggling their wineglasses or struggling with where to sit amid all the other guests.
Kubecka, on the other hand, favors hosting family-style meals in an intimate setting and advises, “The main thing is to remember to keep things simple, so you can focus on enjoying each other’s company.”
When it comes to table decorations and centerpieces, less is more. Homemade place cards, scented candles or DIY flower arrangements from your garden are all it takes to set the intended mood. Regardless, all our pros agree that it’s best to keep any centerpieces low or remove any major decorations from the dinner table prior to the meal service, so guests can make eye contact, pass plates and avoid any spills.
The most important decorating tip? Kubecka tells us, “Set your table with things you truly love.” If you’re happy and comfortable, your guests will be too.
