Tag Archives: Home Maintenance
Make Sure You Read This Before Buying New Plants
- Exposure: Does it get full sun, filtered sun or shade? What direction does the plant location point toward? For example, areas that face west often get hot full sun in the late afternoon, while northern exposures tend to be shady. Planting sites that face east get morning sun and afternoon shade, and southern exposures get an even amount of sun all day.
- Space: How much room is there for a plant to grow? If it is a large area, you may need several smaller plants or a single plant that will grow large.
- Soil: What type of soil do you have? There are three main types of soil — clay, loam and sandy — and often plants have a preference for a specific type.
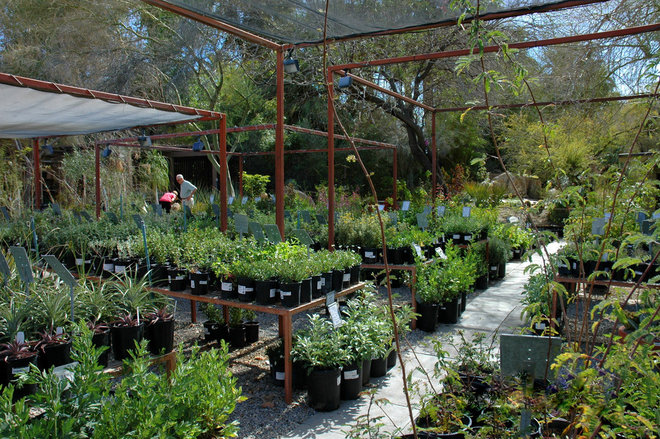
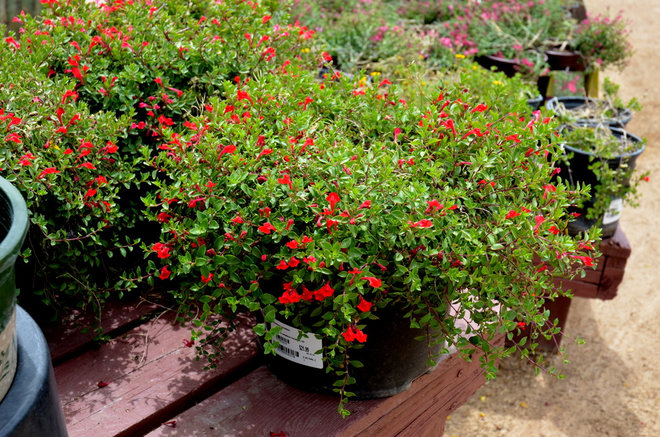
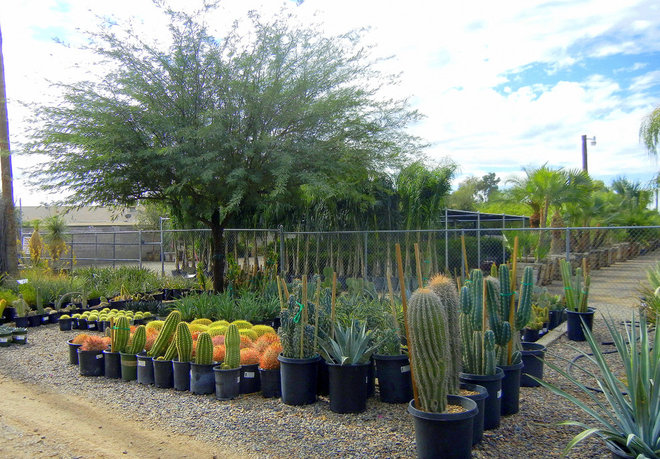
Sadly, it isn’t uncommon for some large chain stores to sell plants that are ill-suited to the particular climate they are located in. Your best bet is to walk on by that pretty plant, unless you have time to do a little research. First, contact your local cooperative extension office and ask to speak with a Master Gardener who can provide you with helpful information.
- Yellowing leaves: This can be an indicator of nutrient deficiency, overwatering or both.
- Root-bound plants: When plants have been growing in their nursery container too long, their roots begin to grow in circles, making it hard for them to absorb water or nutrients. A sign of a root-bound plant includes its roots growing through its container’s drainage holes, or you can ask the nursery professional to carefully pull the plant from the pot so that you can see the root system. Root-bound plants will have a thick mat of roots at the bottom and around the sides of the plant, as shown in this photo.
- Pests or disease: Plants at the nursery can be harboring harmful insect pests or diseases, which can infect nearby plants in your garden. Check the leaves for spots or speckling, which can be a sign of damage. Insects tend to hide underneath leaves or on stems.
- Weeds: Look closely at the top of a plant’s rootball to be sure there aren’t any weeds lurking, trying to hitchhike their way to your home. You can simply pull the weeds out before planting.
- Wilting leaves: It’s obvious that a plant hasn’t been watered enough at the nursery when its leaves begin to wilt. Sometimes all plants need is a good deep watering to recover.
Imagine if you came home with a hydrangea plant that was covered with colorful flowers, and you planted it. You would expect to enjoy its flowers for a long time. A good portion of its flowering occurred while it sat at the nursery, however, so the amount of time that the flowers will remain open at your home is limited. In addition, transplanting new plants is stressful and can cause flowers to drop. If you had bought the hydrangea that had unopened blooms, its flowers would have opened shortly after planting and you would have enjoyed a longer bloom season.
There are times, however, when a larger plant is a better choice. If you are looking for an instant impact or have chosen a slow-growing plant, then the bigger size may be the best choice.
Whenever possible, ask your nursery professional for plants that come from local growers.
Many smaller, local nurseries don’t. The reason for this is that they cannot control how the customer waters or cares for the plant, which may result in its death.
If you are choosing a plant that isn’t easy to grow, you may want to find a nursery that will offer a warranty for that plant. Or you can always buy a plant that is easy to grow in your area, so that a warranty will most likely not be needed.
It’s important to note that not everyone who works at a nursery knows a lot about plants, so don’t be afraid to ask to speak with the certified nursery professional on staff about your questions.
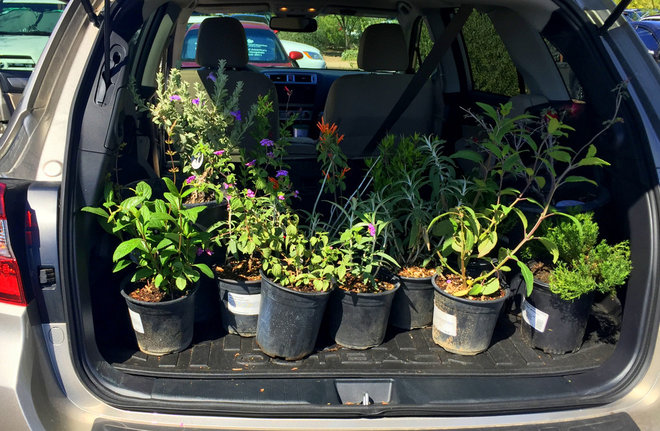
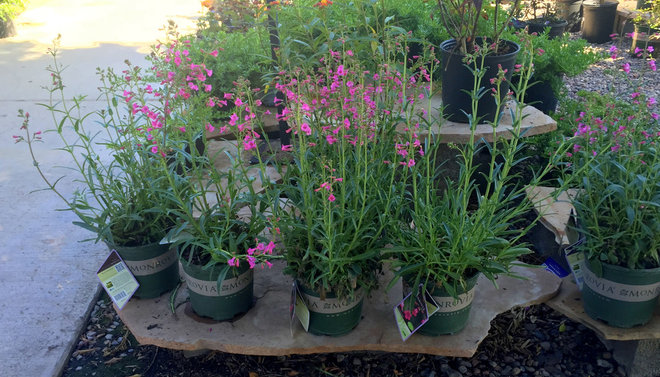
Shown: Parry’s penstemon (Penstemon parryi)
- Local nursery: These nurseries are usually locally owned, with one to several locations scattered throughout a city or metro region. They tend to be the best resource for a wide variety of plants that are locally grown and are adapted to your region. The staff is also generally very knowledgeable about the gardening challenges that are unique to your area and how to deal with them.
- Big-box store and large-chain nursery: Because of their size and buying power, they offer the cheapest prices, and new plants are delivered frequently. Warranties are also more likely to be offered at these types of nurseries.
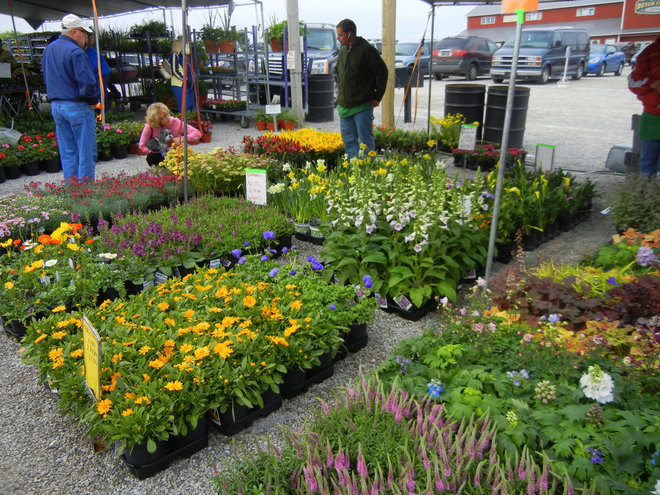
- Botanical garden plant sale: This is a great resource for both common and hard-to-find plants that are well-adapted to your climate. These sales are typically offered in spring and sometimes also in fall. Some gardens have a year-round nursery where visitors can buy plants.
Originally published on HOUZZ, by Noelle Johnson
To-Dos: Your April Home Checklist
Wash siding. Using a regular garden hose, attach a siding cleaning kit (available at most home improvement stores) to clear away winter grime from your home’s siding.
Inspect paths and driveway.Repeated freezing and thawing can take a toll on asphalt and concrete. Check your driveway and paths for cracks and schedule repairs as needed.
Check screen doors and windows for tears. Before putting up window screens and screen doors, inspect each one for holes and rips — even small tears can let in mosquitoes! If you find any holes, pick up a screen patch kit (available at most hardware stores) and repair them.
Schedule cooling-system maintenance. If you have central air conditioning, be sure to schedule professional maintenance before the start of summer. A properly maintained system cools better, uses less energy and lasts longer.
Keep mosquitoes at bay. Having warmer weather and longer days means we’re entering mosquito season. Take preventative measures by regularly checking your property for standing water and emptying it. Any open containers (empty flowerpots and saucers, a wheelbarrow) can become mosquito-breeding grounds when filled with rainwater, so store items like these upside down or in a shed.
What to Know About Adding a Deck
Outdoor living is seeing a bit of an explosion lately: Adding a deck is one of the most requested home projects today, and demand is steadily rising.
New durable outdoor materials, furniture and accessories plus unique shade options and smart tech that lets us watch movies and have full kitchens have no doubt fueled the interest. So if you’re hoping to make the most of good weather in your area, a new deck has likely crossed your mind. Here’s what you’ll need to know about finally getting one.
Why: To extend living space and enjoy the outdoors with an area for dining, grilling or lounging.
First thing to consider: You’ll want to decide whether your property is good for a deck or patio — or a combination of both.
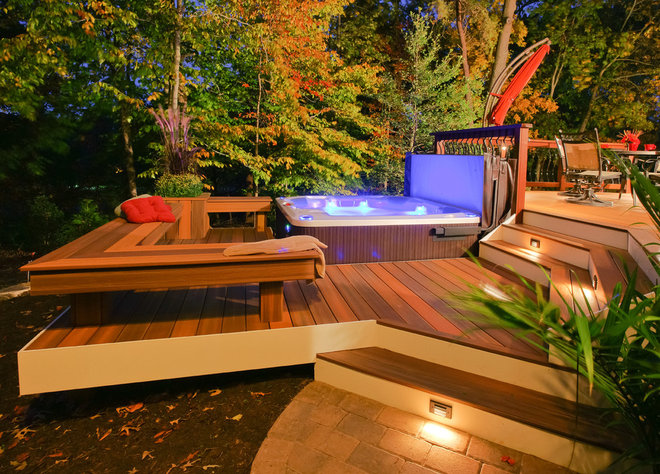
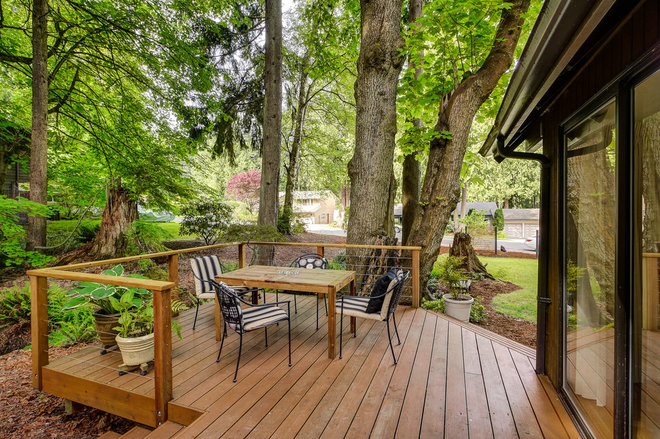
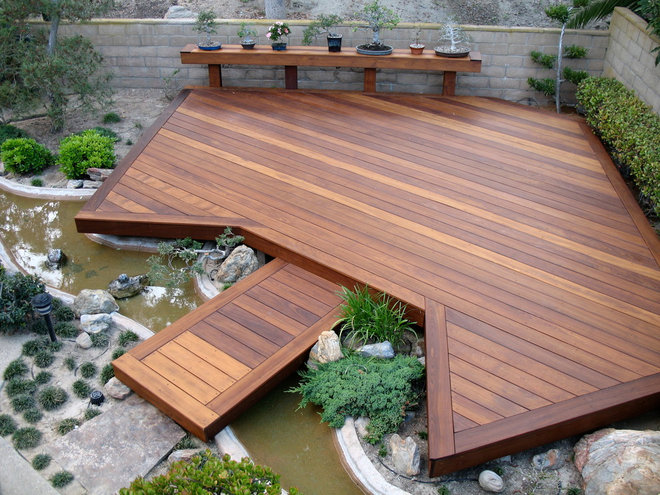
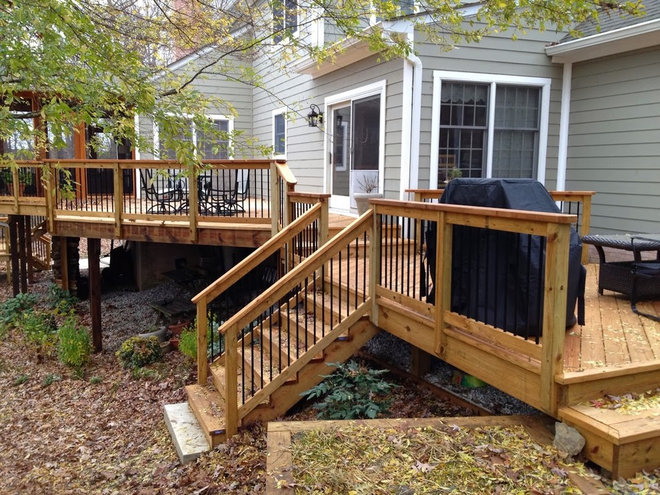
Deck. A deck is a platform with decking boards, usually made of either wood or a composite material. A deck is ideal for sloped yards where you want a flat area. It’s also good for homes that sit high above the ground or atop a basement, because they can be built as high as you need. If your home sits higher than about 14 inches off the ground, a platform deck is probably for you.
Patio. A patio is on flat ground and is usually made of concrete, pavers, flagstone, wood or another hardscaping material. Doing a patio on a sloped lot is costlier and much more difficult, because retaining walls must be built to create a level surface. If your door opens right at the ground level, then a patio is the option for you.
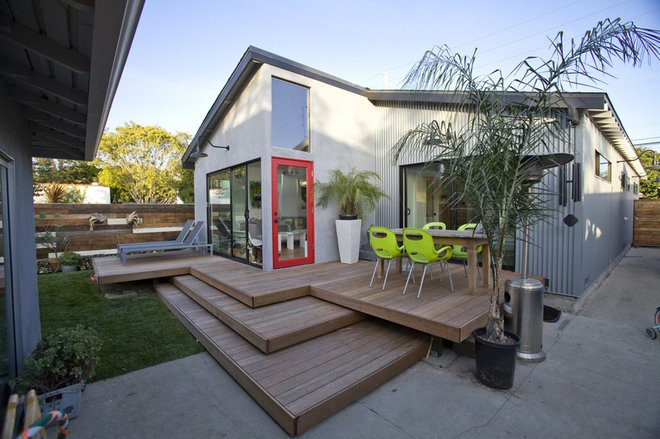
Many people choose to build a deck that steps down to a patio.
Figuring out what you want your deck to do will also help determine its size, safety measures and traffic flow. Do you host a lot of parties, or is it just you and a partner? Do you have a lot of kids? The last thing you want or need is a deck that’s too small or too large for your needs.
Also consider privacy on your deck. If you don’t want to feel like you’re on a stage performing for your neighbors, you’ll want to think about adding an arbor, a pergola, latticework or something else to create privacy.
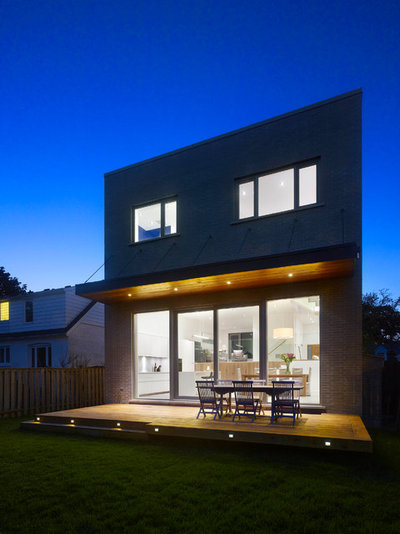
If you’re using your deck for dining (which you should), you’ll want it located as close to your kitchen as possible. “You don’t want to have to climb a bunch of stairs just to go back in for some salt,” says Clemens Jellema, who runs Fine Decks and has been building decks for 20 years.
The two main options for decks are wood and composite boards. Historically, wood has dominated decks, but lately composite boards are more in demand. Jellema says there was a time when many homeowner’s associations didn’t allow composite decks, because they looked too plasticky and had other problems. Now it’s the complete opposite. “Many developments don’t allow wood decks,” Jellema says. “People don’t take care of them, and they can start to look ugly in five or six years when they start to weather.”
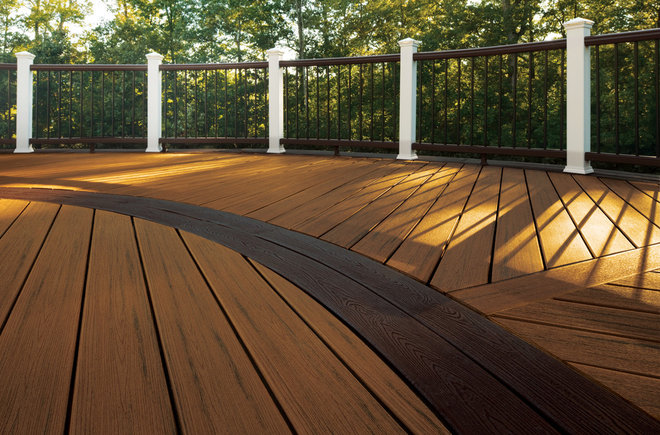
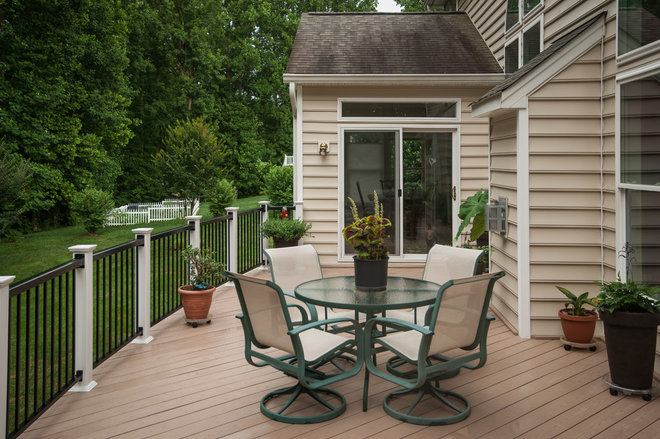
Composite boards. Composite boards, seen here, are engineered products that are a mixture of wood fibers and plastic; a lot of the material comes from recycled plastic grocery bags. Some companies use old shredded carpets for wood fillers. Newer composite boards are wrapped in a thin plastic layer so they won’t stain or fade. These are more expensive than wood boards but often come with a warranty of 20 to 25 years, are low maintenance and can be made to look almost identical to any species of wood out there. Plus, they stay the same color as the day you installed them.
“A lot of contractors have had problems with composites in the past, but they’re getting pretty good now,” Jellema says. Composite is about 40 to 50 percent more expensive than real wood, but because you don’t have to keep restaining it and paying for upkeep, the cost over time can be equal to or less than real wood.
To clean composite decking, just rub some detergent on it and hose it off.
If you go with a wood deck, it’s recommended that you power wash it and re-oil it after pollen and leaves have fallen, because they’re a food source for bacteria, Jellema says.
Keep in mind that the availability of certain woods varies across the country. Redwood and cedar are popular deck choices on the West Coast but are hard to come by on the East Coast. And, again, check with your HOA about any restrictions on using wood or composite decking.
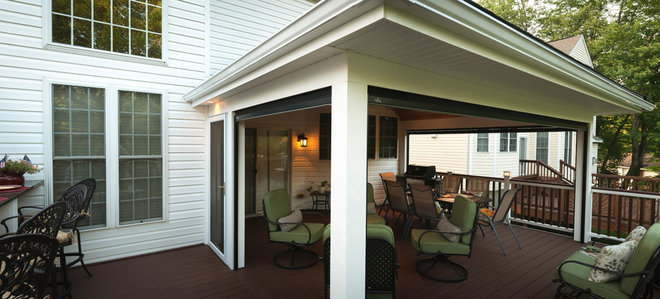
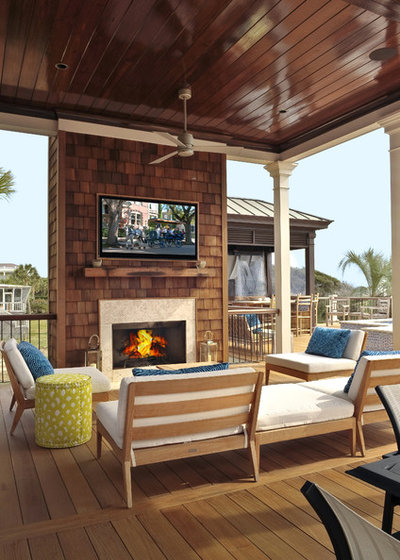
Shade. If it’s too sunny or raining, you won’t be enticed to use your new outdoor space unless you have some shade or some sort of covering. There are endless options here, from large umbrellas and retractable awnings to pavilions, gazebos and screened-in porches. Of course, the more elaborate, the more expensive it will be. You can have a deck porch with finished ceilings, fans, TVs, heating and A/C, fireplaces and more. “Projects can get so elaborate that it’s almost like building a house,” Jellema says.
If your deck will be raised 8 or 9 feet off the ground, consider converting the space below into a dry area for entertaining or storage. To do this your deck builder will integrate panels beneath the decking so that water falls through, gets collected and is sent to a downspout. That way you have a dry, shaded extra patio spot.
A deck with varying elevations, a hot tub and a porch or pavilion can cost $50,000 to $60,000. Jellema once built a $120,000 deck. “But that was before the recession,” he says.
But keep in mind that deck additions are solid investments. Jellema says a deck addition often recoups 70 to 80 percent of its value when a home is sold.
A professional will also map everything out in 3D software and look at traffic flow and placement of furniture, to gauge whether the deck is too big or too small. “You want people to get drawn to the deck and really come out and enjoy it in the evening or weekend,” Jellema says. “That’s when the design is a success.”
What’s more, if you’re doing a deck, try to find someone who specializes in decks. If it’s a patio you’re looking for, look for someone with patio experience, as different approaches are required for each.
If you’re adding an outdoor kitchen, you’ll need someone to do the plumbing and gas lines. If you’re adding an entertainment system or lighting, you’ll need an electrician as well.
Permitting and codes: If your deck is more than 200 square feet, you’ll likely need a permit. If your deck is more than 30 inches off the ground, you’ll need a permit. If you’re doing retaining walls that are higher than 3 feet, you’ll need a permit. Higher than 5 or 6 feet and you’ll need an engineer.
Plus, every county has different building codes for decks. Some places allow cable railings; others prohibit them. If you’ve got a septic tank or well on your property, that can affect where your deck can go. Deck builders will be able to read your site plan, assess where the setback is and if there’s a well or septic tank, and create the drawings to submit for a permit. “It can be hard for a homeowner to pull a permit, draw up the construction plan and build it right according to all the codes,” Jellema says. “It’s not worth it.”
16 Ways to Get More From Your Small Backyard
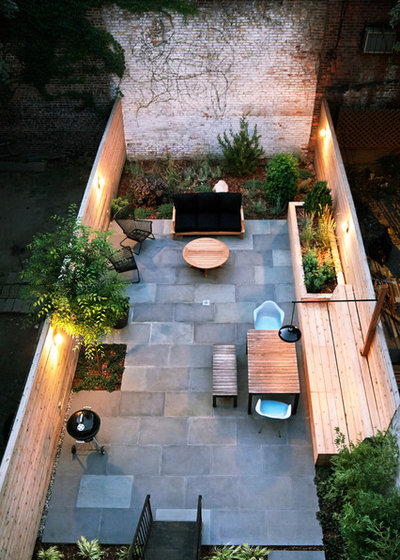
1. Break it into multiple rooms or zones. Create multiple functions by strategically using built-ins and arranging furniture to establish different “rooms” for lounging, dining, mingling and cooking. This backyard space in Brooklyn, New York, has all four zones.
2. Implement a smart lighting design. This space also has a multifaceted lighting scheme. Sconces serve multiple purposes of task lighting by the grill, landscaping lighting by the plantings and overall ambient lighting. Meanwhile, an arm pendant hangs over the dining area.
3. Extend an indoor space. Architect Carson Arthur likes to ask his clients which indoor room they feel is too small, then establish more of that space in the backyard. “Is your kitchen too small? Do you need a bigger family room? Why not do that outside?” he says. “With the development of outdoor technology, anything inside can now be done outside.”
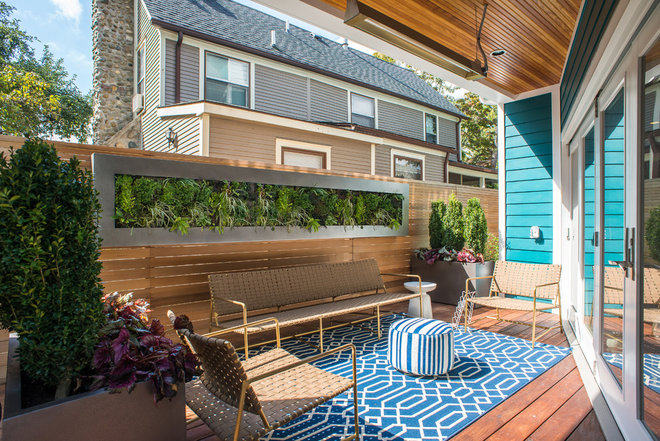
Here an outdoor rug helps establish an extra living space on a small deck in Detroit.
4. Complement your interiors. Use the same colors and style that you’ve already established inside your home for your backyard to make it feel more like its own living room. “Stylistically, you want to pick up on colors and textures that tie the two spaces together,” says Amber Freda, a landscape architect in New York. “Make it more than just a couple of chairs and a dining table. A plain dining table with wooden chairs won’t entice you to use it very much, but really comfortable lounge seating will.”
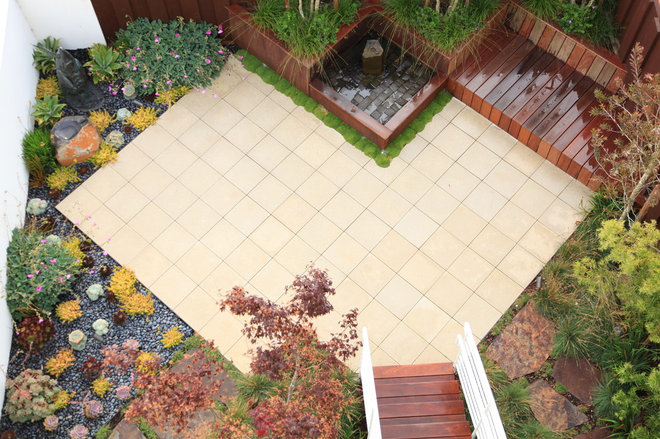
5. Play with the angles. If you’ve got a small square spot to deal with, San Francisco landscape architect Rich Radford suggests turning paving in a lateral direction to your property line to create more hardscape space. For the 25-foot by 30-foot backyard seen here, he shifted the paving 45 degrees to get more surface area.
6. Pay attention to scale. If you’ve got a small backyard, the last thing you want to do is cram in a 10-person dining table. Instead, consider built-ins or extendable tables. Likewise, you won’t want to plant a tree that’s going to grow to 100 feet tall and completely overtake your yard. Here Radford smartly worked in small, native plants and grasses to keep an open feel.
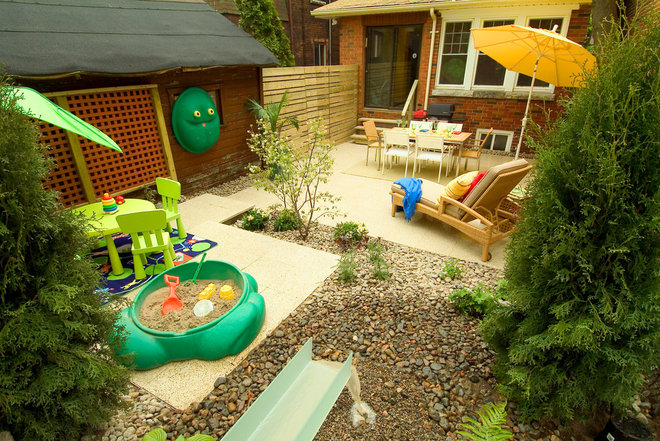
7. Use one surface material. If you have multifunctional areas, use one material to unify the spaces. “Small spaces need that cohesion,” says Arthur, who designed this 17-foot by 25-foot space for a family with small children. A separate play zone keeps the kids close by while the parents are entertaining, and the continuous paving ties it all together.
Radford goes even further, suggesting using the same material that’s found elsewhere on the property. For one of his backyard projects, he used the same paving material as in the front entryway. “It created a unified space that made it seem bigger,” he says.
8. Avoid clutter. The more elements your yard has, the tighter it will feel. Instead, try to use built-in seating, incorporate clean lines, avoid bulky furniture and keep plantings under control. “If there’s one thing that will get out of control and take over a small space, it’s a plant that’s too happy,” Arthur says.
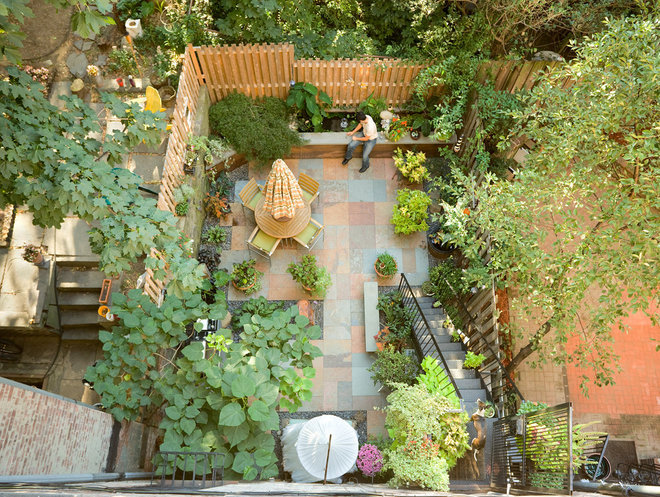
Freda agrees: “Avoid the hodgepodge effect,” she says. “Instead of doing 20 little pots, do five big pots for a more clean look with bigger impact. Pick only two or three styles of planters, two or three colors — it makes it feel less accidental, chaotic and overwhelming.”
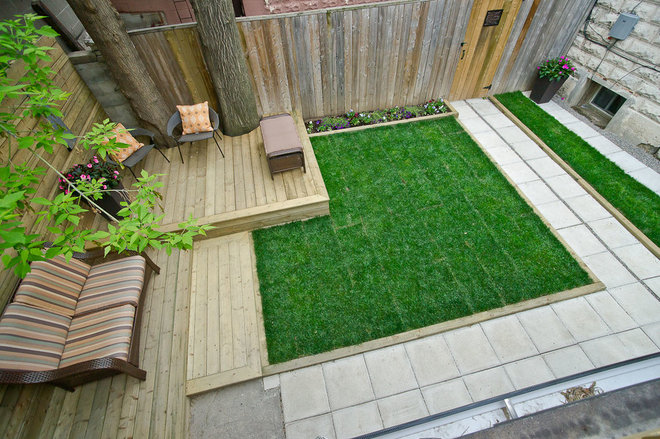
To get the most out of this 25-foot by 20-foot Toronto backyard, architect Erik Calhouncreated raised decks over a large tree’s very high roots. He skipped big plants in favor of creating more recreation space. “Hedges or bushes would stick out 3 feet, and you wouldn’t be able to move anymore,” he says.
9. Enclose the space. This may sound counterintuitive to making a small space feel larger, but it’s something that might work for your space. “When you enclose a small space even more, you play up its coziness and make it intimate, something that’s hard to achieve with large spaces,” Arthur says. “This also takes it to the next level of feeling like an outdoor room.”
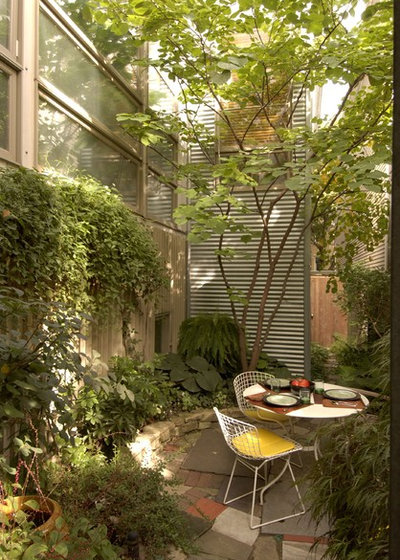
Pergolas are great for creating an intimate feel, but you can get the same effect with plantings. Architect Gary Beyerl’s backyard (shown here) is 10 feet by 20 feet. Because he has apartment units attached to his home, he wanted to do something that would afford him privacy. He used vertical plantings like humongous trumpet vines and a redbud tree to create an envelope of plant material. “By extending the plant zone up the vertical surfaces of an urban space, you can make a lot of visual greenery work to your advantage,” he says. “I’ve got a verdant environment even though it’s tiny.”
12. Keep maintenance to a minimum. One of the great things about small spaces is that they’re easy to clean. So don’t muck with this advantage! Arthur suggests using more planters rather than ground-cover soil. “Otherwise mud inevitably ends up all over your small patio space,” he says. “Containers give you the warmth of planters but are more manageable.”
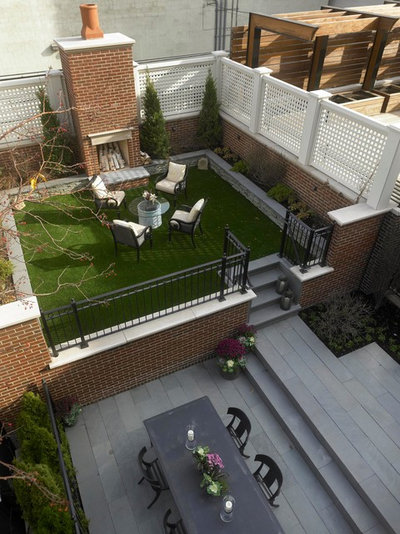
Native succulents and grasses minimize water use, but you should also consider artificial turf. “It maintains color and character better than a natural yard,” Beyerl says. San Francisco designer Martha Angus used artificial turf in the backyard space shown here; she also recommends faux boxwood. “A boxwood hedge might be 18 to 24 inches deep,” she says. “That takes up a lot of space. Faux boxwood comes in squares that are 3 inches deep that you can staple to a fence. They’re absolutely gorgeous, don’t require water and take up no room whatsoever.”
More ideas for using artificial turf
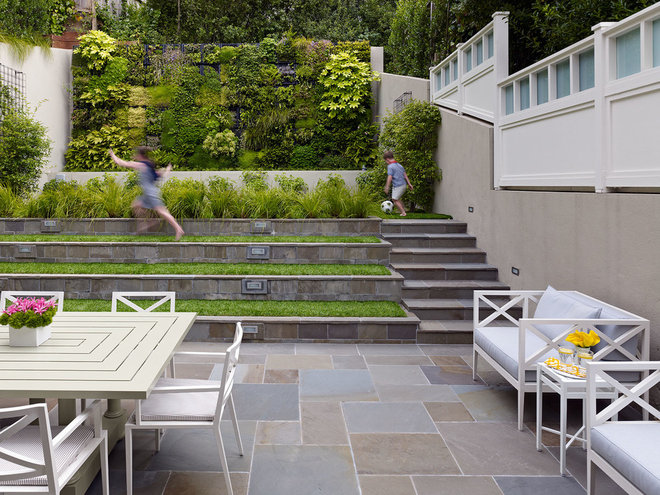
13. Terrace a sloping yard. Angus’ project here highlights another good method of increasing a tight backyard space. If you’ve got a severely sloping yard, consider terracing. Granted, terracing can be incredibly expensive, says Angus, because an extensive substructure must be created to support the terraces, but, as you can see, it provides more flat surface for activities.
15. Create a focal point. As with adding character, a focal point takes attention off the size of the space. Arthur likes to use water features. He’s even added a single large planter right in the center of a small backyard to draw the eye into the center and push the walls away. “It’s a trick of the eye,” he says.
Art and sculpture are good candidates, too. “A single sculpture with uplighting can be phenomenal,” Angus says.
16. Get design help when you need it. It might not seem like it, but small spaces are often more difficult to design than large ones. An expert will be trained to deal with your needs and challenges.
Calhoun suggests going with an architect who can best come up with the right approach for your unique space. Is there a lot of sun? Rain? Wind? “You want someone who has a whole philosophy,” he says. A landscaper who specializes in country-style gardens could come in and do the usual, and it might be lovely, he says, “but it won’t be as satisfying as something that reflects what’s going on with the building. Call an architect instead of calling the nursery.”
Beyerl suggests bringing in a team of pros to get the job done. “Room making is an architect’s profession,” he says. “Then a carpenter can complete all the design finesse. And a landscape designer will understand how the plantings will work over time.”
9 Hacks for a Clutter-Free Home Office
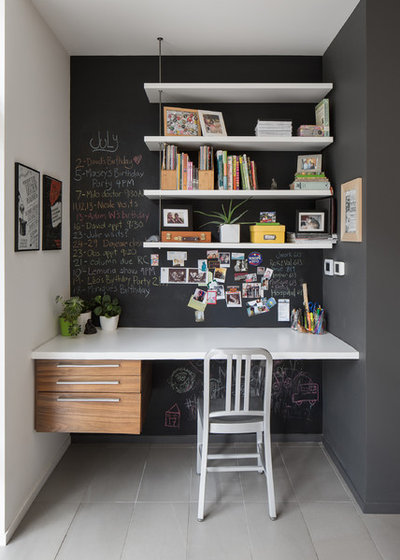
For added practicality, choose a board you can write and display papers on, such as a whiteboard or magnetic chalkboard, like the one that lines this compact office nook.
Magnetic primer and chalkboard paint: Rust-Oleum
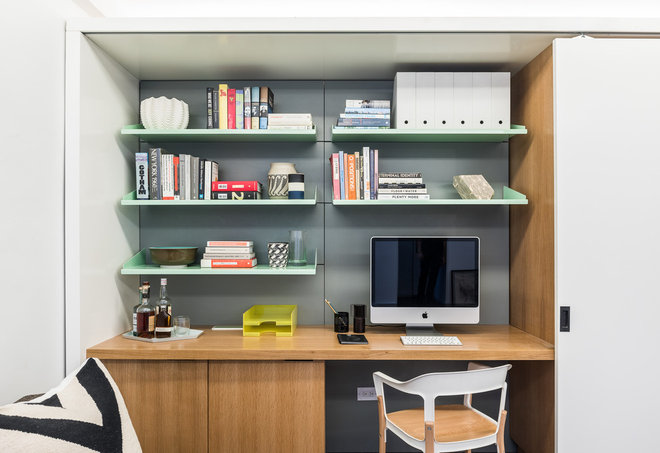
This picture-perfect work zone features an integrated cable management and power system, which is hidden inside the white oak cabinets below the desk. The computercords run along the base of the desk into the cupboard, which also houses peripheral devices, keeping the desktop free of distracting, dust-collecting wires.
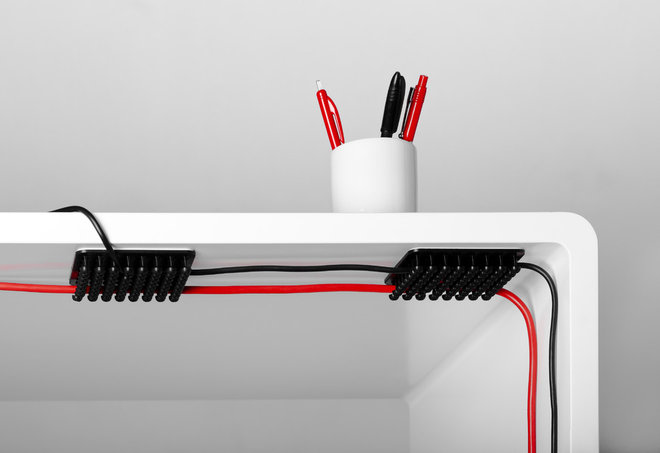
If you want to eliminate unsightly cables from your home office completely, invest in rechargeable Bluetooth- or WiFi-networked electronics. Working wirelessly will make your office look less cluttered and more streamlined, and cleaning will be a breeze — you won’t have to fight pesky cables when dusting or vacuuming.
A color-coded approach is especially effective for filing systems. Assign different hues to different file categories — this will ensure you can find specific documents with ease. For example, you might like to use green folders or labels for financial paperwork, red for medical documents, blue for household bills and other property-related papers, and yellow for personal items.
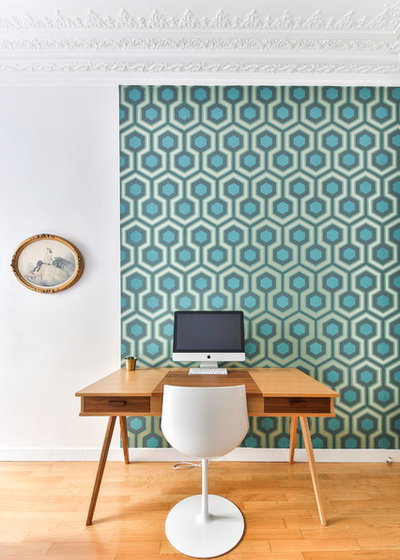
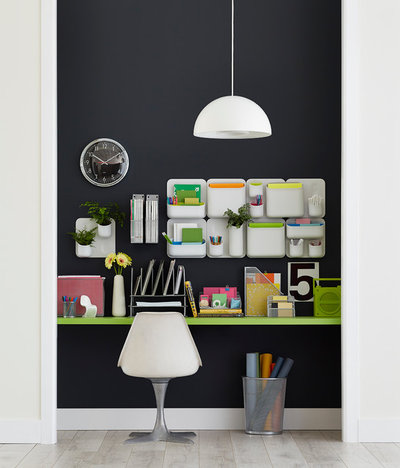
As you can see, this study features three distinct sections: the work zone (with the desk and computer), the reference zone (home to manuals, reference books, binders, filing cabinets, etc.), and the supply zone (where office supplies are kept).
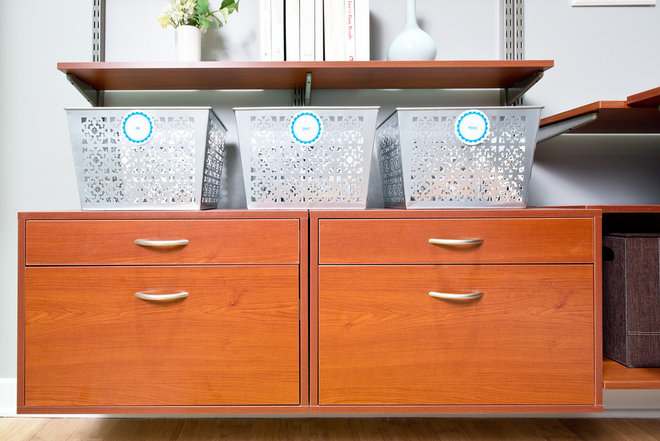
The simple yet effective setup seen here has the right idea and is easy to implement in any home. It consists of three baskets: one for papers that can be archived; another for correspondence, bills and forms that require immediate action; and a third for documents that can be thrown out.
Urbio magnetic modular system:The Container Store
To-Dos: Your March Home Checklist
Plant a tree. Spring and fall are the best times to plant trees because wet weather and cooler temperatures make it easier for root systems to get established. Be sure to check with your local nursery to determine which species will do best in your microclimate and to get detailed planting instructions. If your area has a late date of last frost, you may need to wait until all threat of it has passed before planting.
Inspect your home’s exterior. Once winter storms have passed, carefully inspect the exterior of your home for damage. If you had an ice dam on your roof during the winter, now is the time to repair any damage it caused, and make changes to your roof to prevent ice dams in the future.
Clean up patio furniture. Outdoor furniture can get really grimy over the winter, so be sure to give everything a good scrubbing before you start using it for the season. Launder washable outdoor cushion covers, and replace worn-out pieces if needed.
Tune up lawn and garden tools. Sharp tools get the job done. Take your lawn mower and clippers in for a sharpening and tuneup before you begin work in your garden.
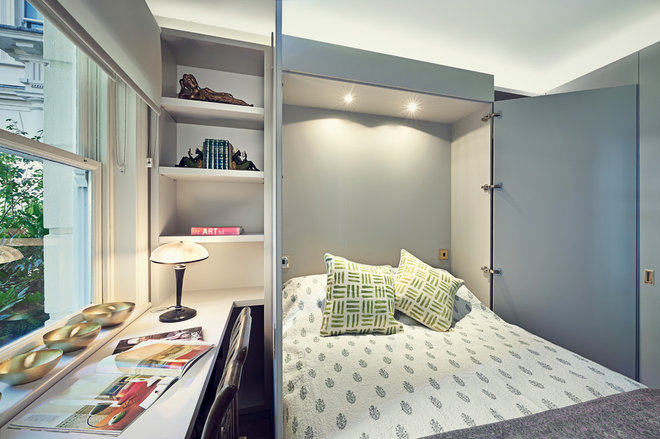
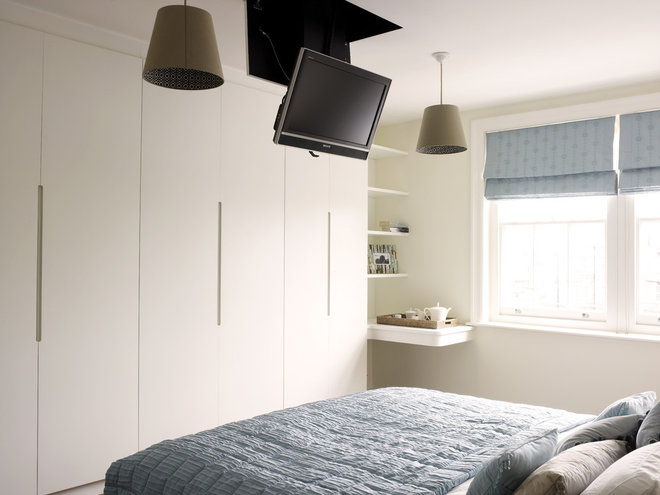
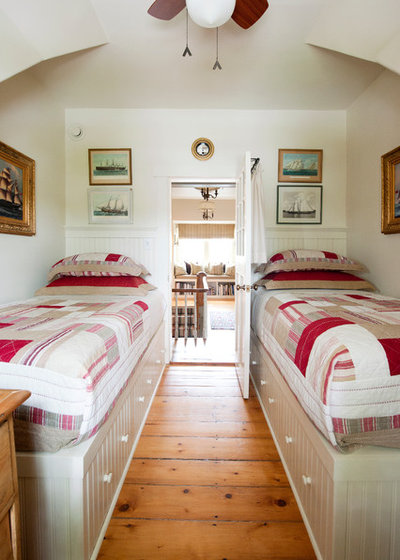
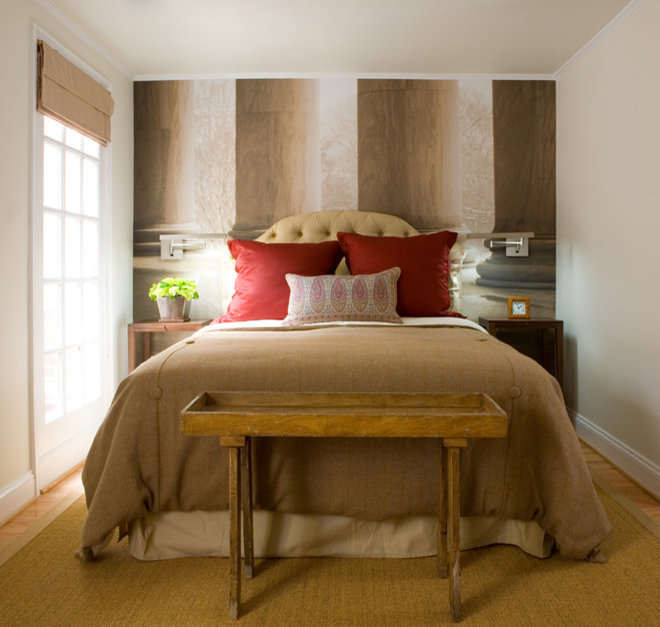
11 Things You Didn’t Think You Could Fit Into a Small Bedroom
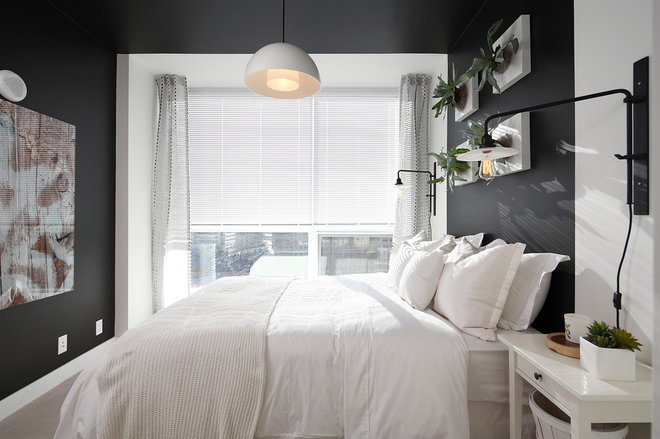
2. Plants. By using a custom living wall system, these designers were able to bring in life on the headboard wall.
Plant mounts: custom, The Floral Fixx
8 Ways to Arrange Artwork
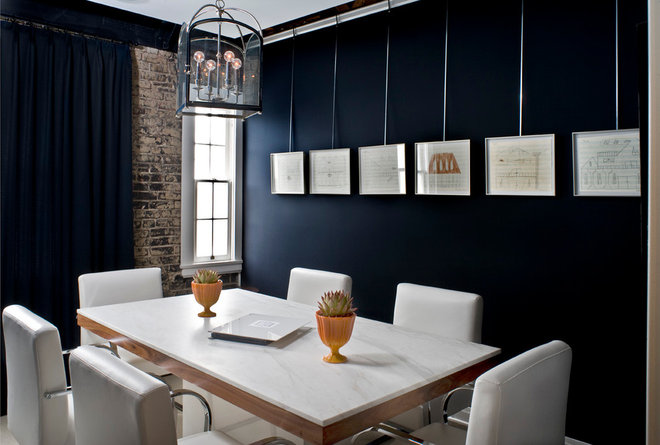
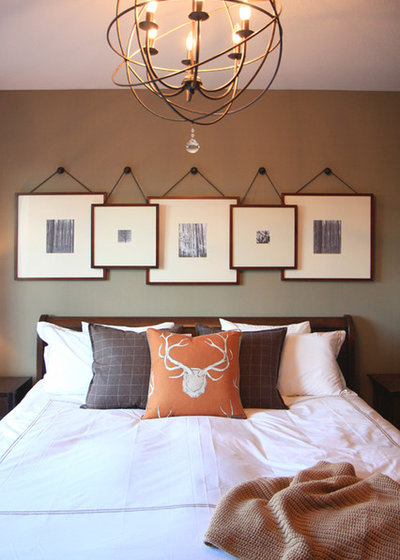
What it is: Pictures are hung in a line – either horizontally or vertically. This style emphasizes rhythm and balance.
Benefit: A linear configuration works especially well with pieces that are the same size and are framed with the exact same frame.
Size of wall space: When the artworks are hung horizontally, this is a good choice for a larger wall or to emphasize another horizontal element in the room, such as a rectilinear dining table or seating group.
Limitations: You’re limited by the wall width or height and the quantity of pieces you want to hang. If you have five pieces you want to hang this way but room for only four, this approach won’t work.
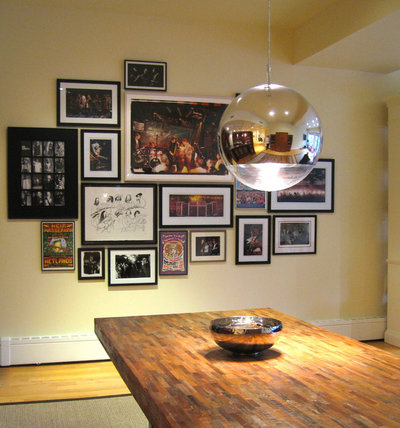
This dining room features a gallery-style hanging system to maintain uniformity and add an industrial edge.
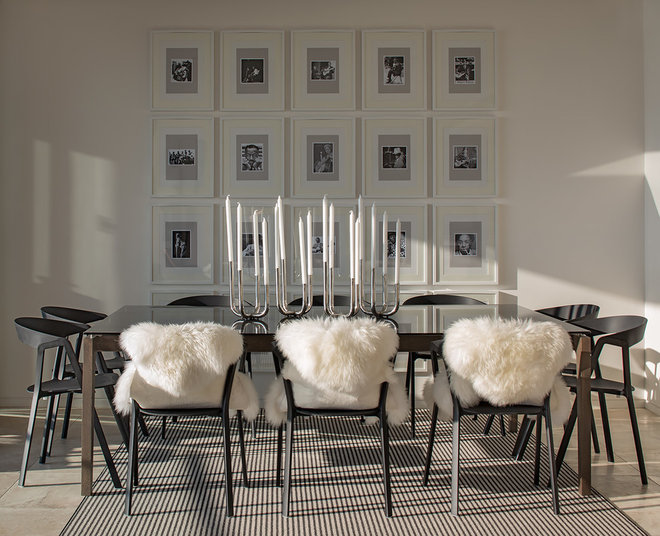
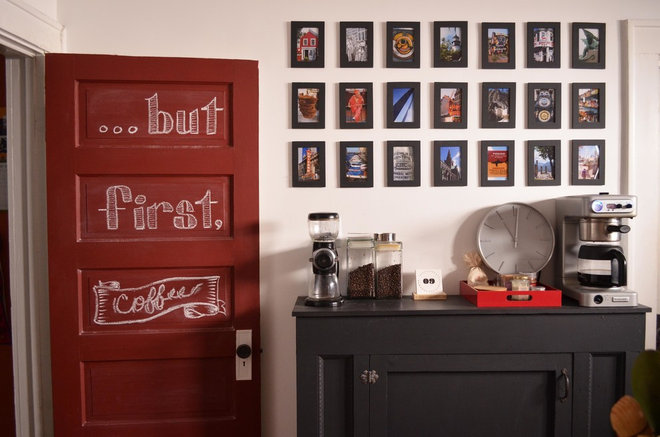
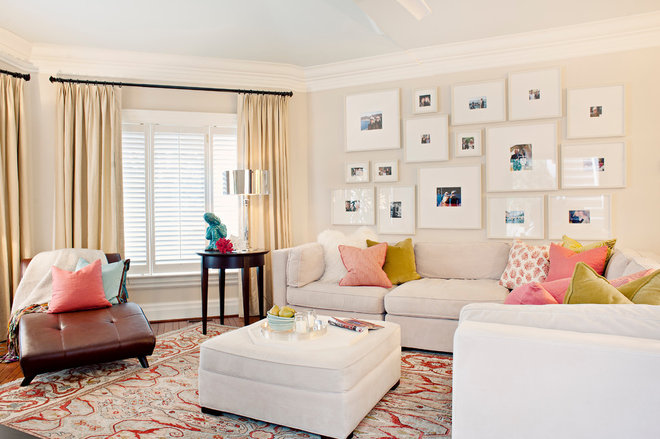
What it is: Pictures are hung in precise rows and columns that emphasize order and symmetry.
Benefit: Similar to the linear approach, the grid configuration also lends itself to artworks of the same size and with the same frame. The grid method works especially well for collections with numerous pieces. A grid installation is particularly striking.
Size of wall space: The grid system is more flexible, as it works well for walls with little or a lot of wall area. You can hang pieces as high, low and wide as desired. Pieces can be hung either close together, as in this design, or farther apart.
Limitations: Like the linear system, architectural dimensions are a limitation. Also, you need to have enough pieces to create full rows and columns — no stragglers!
A grid installation may be tricky to hang because all of the frames must align exactly vertically and horizontally. It’s unlikely the back hanging wires will be the exact same length, so you’ll have to measure each individually.
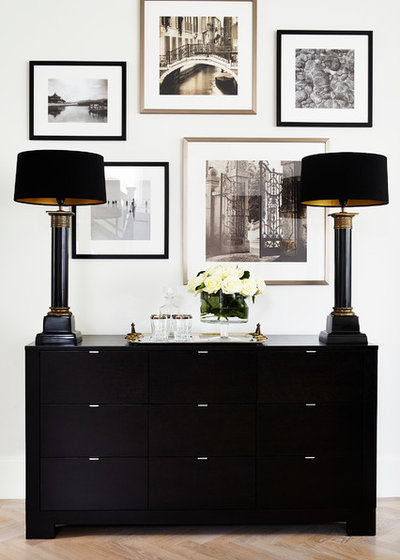
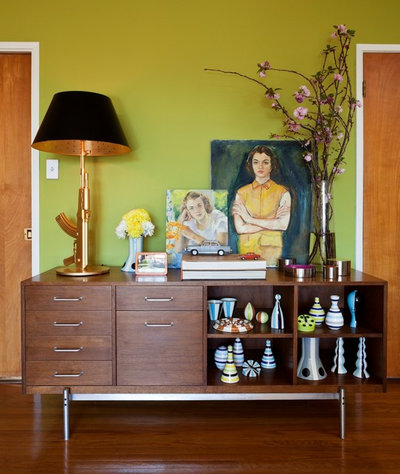
What it is: A clustered configuration is freer; artworks are arranged within a loosely defined, more organic space. Although asymmetrical, a clustered configuration is still balanced.
Benefit: A clustered approach is ideal for artworks of various sizes and with various frame finishes. It’s also possible to add additional pieces without dismantling and rehanging the entire installation.
Size of wall space: With the clustered approach, you have complete freedom to use up an entire wall or just a portion of it. It depends on whether you’re trying to maximize your installation size or draw attention to a furniture piece, like the credenza shown here.
Limitations: Besides architectural barriers and the wall size itself, this approach comes with perhaps the fewest limitations. However, you should try to maintain a fairly consistent distance between the frames. Otherwise it can look messy. Also try to strive for frames of similar thickness. A medley of thin frames mixed with one fat, curvaceous frame can be unsettling.
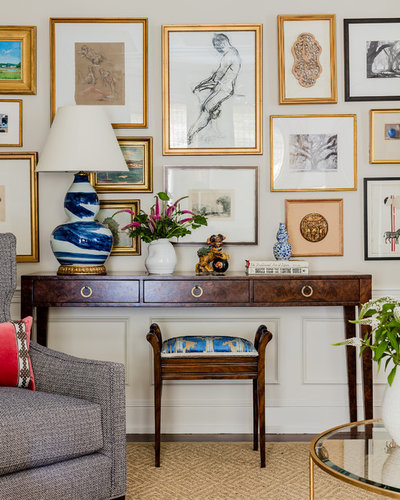
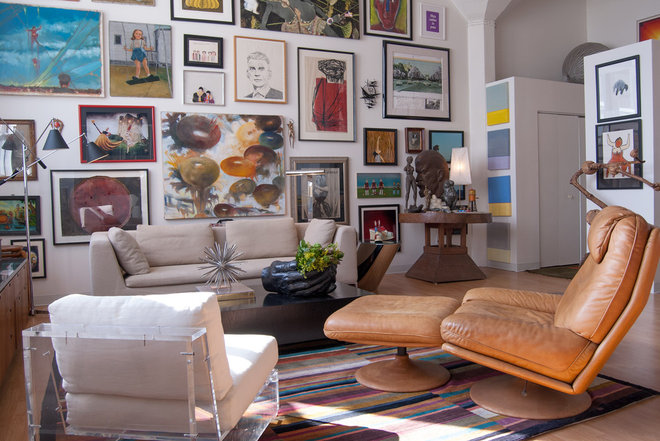
What it is: Salon style is truly old-school.Think of 18th-century Academic paintings on display at the Louvre. Salon style is characterized by a floor-to-ceiling wall-to-wall frenzy of artworks hung tightly together. The method has been gaining popularity lately.
Benefit: Salon style is romantically dramatic. Like the clustered style, it’s a good way to showcase pieces of art of different sizes and with different frame materials, especially if you have a sizable quantity of pieces. The framing materials define the space with hard, reflective surfaces, so this tends to make a room feel more closed-in. This isn’t a bad thing — think intimate and cozy.
Size of wall space: You can pull this approach off in small or large rooms, but it’s best used in spaces with high ceilings.
Limitations: Confirm your furniture placement before starting to lay out your configuration. That way you can work around furniture pieces. You don’t want to hang the entire wall and then realize a dining room chair back hits a painting or the sofa back doesn’t clear the bottom of a frame.
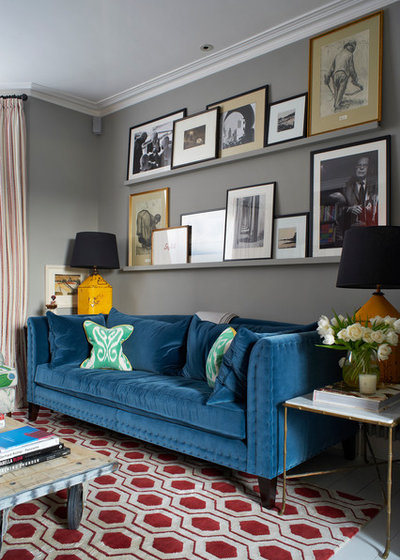
What it is: Pictures aren’t hung on the wall but leaned on an architectural feature, such as a shelf.
Benefit: If you like to change your artwork frequently, but aren’t handy with a hammer or have space constraints, this is a good choice. The shelf approach also offers an added opportunity to layer smaller frames in front of larger ones.
Size of wall space: Depending on whether you want a single shelf or multiple shelves stacked upon each other, you can pull this look off with a large or small wall.
Limitations: The size of your wall is a limitation in terms of the shelf size but, as mentioned above, this is a flexible approach allowing for moving and changing pieces. If you’re considering stacking shelves, you need to make sure the height of your largest picture on each shelf will fit.
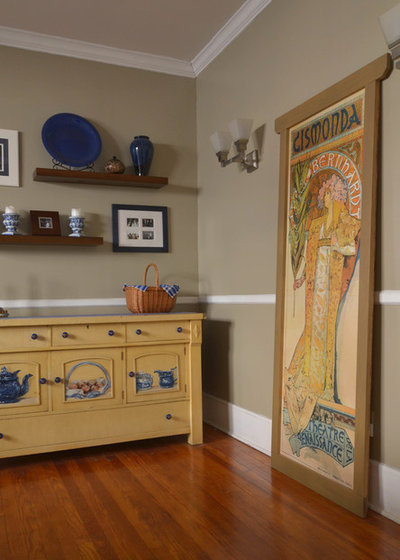
What it is: Placing artwork on the floor and leaning it against the wall offers the same flexibility as the shelf approach. However, it does have a somewhat calculated sense of casualness.
Size of space: You need enough wall space and floor space clearance to accommodate the piece.
Benefit: No holes to drill or nails to hammer, and it’s a great option if you have a large piece of artwork and insufficient wall space to hang it. Leaning artwork is unusual and, like salon style, can be dramatic.
Limitations: If you’re clumsy or you have small children or pets, this is probably not the best route to choose. You need to be able to move the artwork to clean behind it. Leaning also tends to look strange with wall-to-wall carpet because it looks like you just moved in and are in limbo. Somehow, this scenario really looks good only with hardwood floors.
What is it: Hanging up a single large artwork.
Benefits: A single artwork creates a strong focal point or zone in a room. It’s also easier to hang one piece than align several pieces, such as in a grid arrangement.
Size of wall space: For a large artwork, you’ll need ample wall space — enough for the piece and breathing room around the perimeter so it doesn’t look cramped.
Limitations: You’ll need to take into consideration the weight of the artwork and how to anchor it into your wall material in the desired location. Logistics are tricky too — is this something you want (or are able) to tackle on your home stepladder, or do you need professional help?
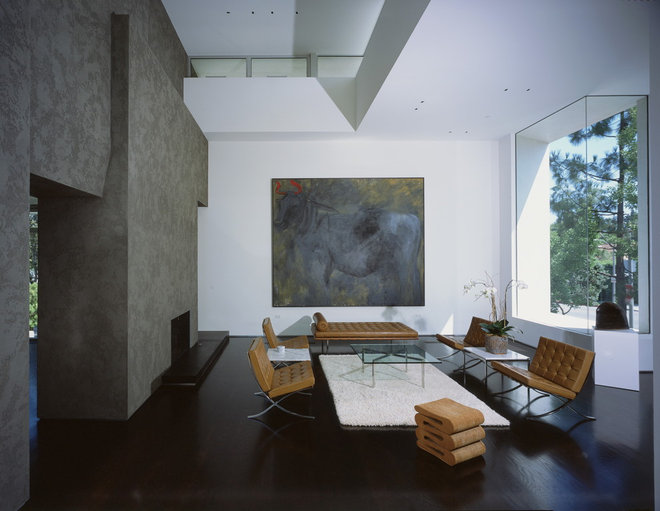
Most large single artworks are centered either on a wall, as shown here, or in relationship to another component, such as above a fireplace.
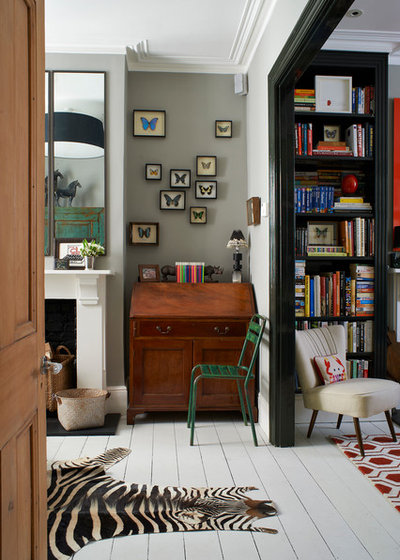
You’ve gotta love this installation. Not only does it defy any attempt to be symmetrical, but it really pushes the envelope. Because of that, I find it delightful. The butterfly theme clearly helps this unconventional arrangement work, as if the butterflies are fluttering away before your eyes. However, without the right subject, this approach is hard to successfully achieve.
