Tag Archives: Home Repairs

9 Tips for Setting Up a Home Office

“Trying to set up an effective Home Office can be tough.  Location, Lighting, Supplies, Organization, all go into the planning process.”

Denise Buck & Ed Johnson – DC Metro Realty Team

Who’s the best boss ever? You are, of course.

If you plan to begin your own business soon or have already experienced the joys of self-employment, you need a dedicated place to work. You look and feel more professional and you’ll be more productive in your own space. It’s also a great way to separate work and home life.

(Credit: gpointstudio/Shutterstock)

We’ve broken down the steps you need to take to create the most efficient and comfortable workspace.

1. Decide on a Location

Converting an extra bedroom into an office makes the most sense, but never locate your business in the room you sleep in. Experts say that’s a sure way to encourage insomnia. If all the rooms are in use, try a large closet or as a last resort, a quiet corner of the dining room, kitchen or recreation room. Look for a place with some degree of privacy, a good source of natural light and a low noise level.

(Credit: Qiwen/Shutterstock)

2. Make a List of Work Tasks

This itemization helps you determine the furniture you need – a desk and chair for sure – but will clients meet here, as well, and need their own sitting space? If you generate paperwork, you’ll require files and file cabinets. Do you need storage space for the products you sell?

(Credit: pics721/Shutterstock)

3. Organize the Space

Place your furniture and equipment by frequency of use. Computers and printers used everyday should be close together and within easy reach. Also, have a designated space for papers or bills that need processing immediately. Put office supplies like pens, pencils and paperclips in small containers or on trays on top of your desk.

(Credit: Iriana Shiyan/Shutterstock)

4. Remember Your Health

An ergonomic chair makes sitting a little less fatiguing. Place your computer so the top of the screen is at eye level and your feet rest flat on the floor. Add a foot pad if you’re short.

(Credit: Patryk Kosmider/Shutterstock)

5. Lights and More Lights

If you can, move your desk close to a window to absorb more of that natural light. You still need lamps because the overhead light won’t shed enough brightness on your work area. Add table lamps and floor lamps until you have what you works best. When the sky turns gray for most of the day like it does in the Pacific Northwest, you might invest in alamp especially designed for Seasonal Affective Disorder.

(Credit: MR. INTERIOR/Shutterstock)

6. Add a Planning Zone

Enhance the room with a recliner, comfortable chair and ottoman or even a sofa if you have the square footage. Getting away from your desk spurs your creativity, solves problems and lets you power nap.

(Credit: MR. INTERIOR/Shutterstock)

7. Personalize Your Space

Hang family photos, favorite works of art or certificates of accomplishment. Bring in house plants. They improve your health by purifying the air and helping you breathe better. Burn a scented candle made of essential oils to help you handle certain tasks. Lemon advances clear thinking, lavender calms and peppermint boosts energy.

(Credit: Iriana Shiyan/Shutterstock)

8. Stock Up on Supplies

Nothing makes you lose your train of thought or focus like having to run to the office supply store for something. Keep a backup supply of what you use regularly like copy paper, envelopes, pens, staples, stamps and ink cartridges.

(Credit: Photographee.eu/Shutterstock)

9. Change the Paint

To refresh your home office, change the colors of the walls. Choose green for a balanced and restful room, orange for an energetic feel or purple if you need to frequently call on your creativity.

(Credit: Iriana Shiyan/Shutterstock)

Originally Published on Pro.com

10 Ways to Add Personality to Your Kitchen

“Want some ideas on how to make your kitchen more ‘you’?  Here are some different approaches to making your kitchen a little more unique.”
Denise Buck & Ed Johnson – DC Metro Realty Team
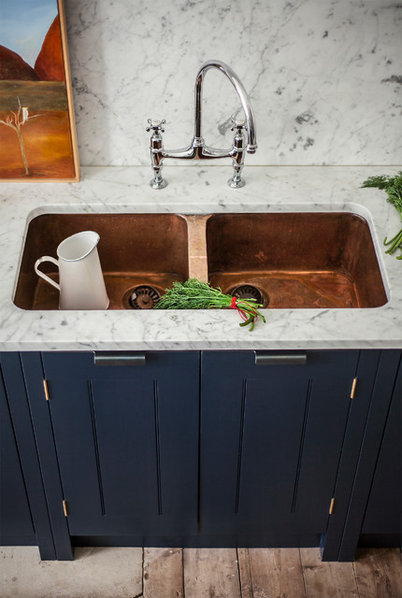
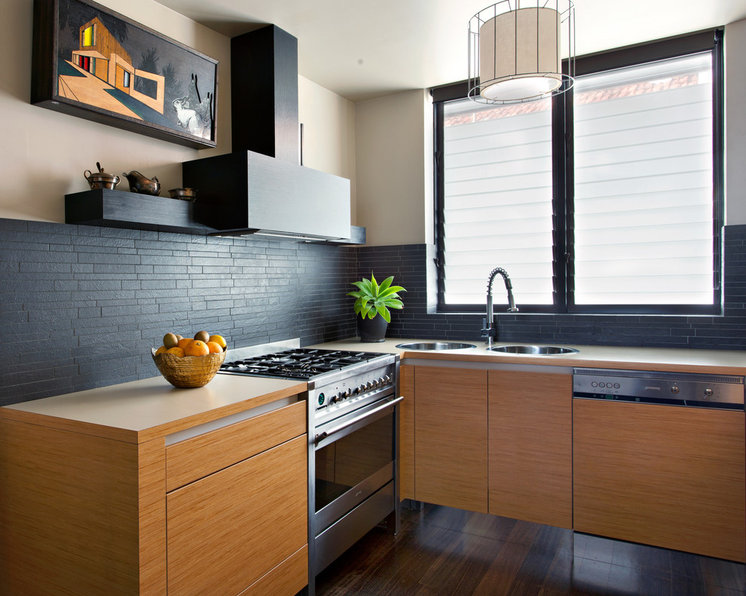
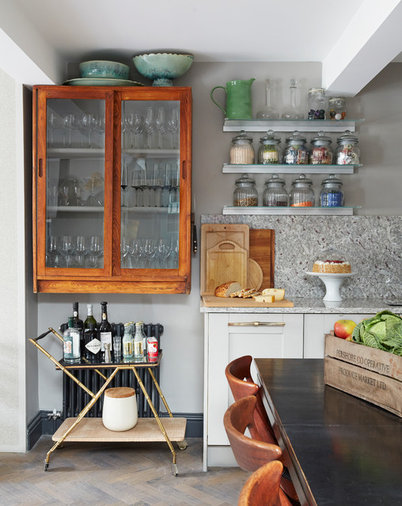
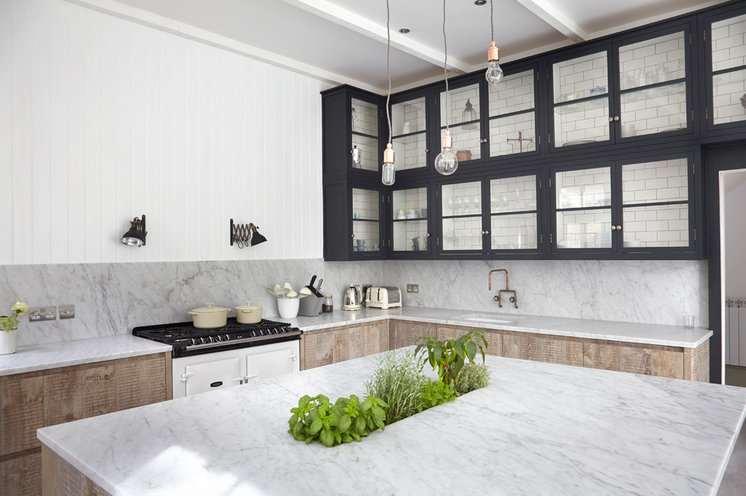
One of our favorite spaces in the house, the kitchen can also be one of the most predictable. After all, it typically contains some countertop space, a few appliances and lots of storage. But a little imagination and some inventive styling can softly steer this room toward a look filled with personality. These smart details — some of them integral to the design, some added later — bring a fresh, original feel to a much-loved room.
Originally published on HOUZZ, by Joanna Simmons

When Should You Replace Your Garbage Disposal?

“We take them for granted, since we use them every day.  Then when they stop working like normal, how do you know whether it’s time to repair, or replace?”

Denise Buck & Ed Johnson – DC Metro Realty Team

Appliances don’t last forever, but sometimes it’s hard to know when to replace one instead of repairing it. With garbage disposals, there are some distinct signs that may give you clues about what to do.

You might consider replacing your kitchen garbage disposal if you notice any of these situations.
It clogs frequently. If you are taking care of your disposal by:

• Always running water during use and for at least 20 seconds after use

• Only disposing of food items approved by your manufacturer

• Cutting up items into small pieces and feeding them in slowly; yet your unit still clogs often, it may be time for a new disposal

Frequent clogs also may signal that you require a larger disposal capacity for your needs, so look into installing a bigger model.
You have to press the reset button a lot. It’s not unusual to have to push the reset button after a clog or after you’ve put large amounts through the disposal, but frequent resetting could mean that the motor is failing and the unit needs replacing.
You can’t get rid of odors. If you’ve tried to freshen your disposal by cleaning it with ice cubes, baking soda and vinegar, citrus peels, and a sink full of dish soap yet odors still linger, the smell may be trapped in the drain lines or in the unit itself. Sometimes the only way to eliminate the smell is to replace the unit.
The blades have become dull. When you notice that food takes a long time to grind or you are getting frequent clogs, it may mean that the blades are no longer sharp enough and you need a new unit.
You have a leak that can’t be easily fixed. While some leaks, such as those in drain or dishwasher lines, have simple fixes like tightening connections or replacing O-rings, other leaks are more complicated and costly. If you have a leak in the sink flange or in other parts of the unit, it may be more cost effective to install a new unit than to repair the old one.
You’re replacing your kitchen sink or dishwasher. While it certainly isn’t always necessary to replace your disposal just because you’re getting a new sink or updating your kitchen appliances, it may be a good time to do so, especially if your unit is over ten years old. Since you already have professionals on the site, it may be more cost efficient and convenient to go ahead and replace an older unit instead of waiting for it to fail at a future date.
Repair costs meet or exceed the replacement cost. Do the math and see if repairing the disposal is going to cost as much or more than getting a new unit.

Originally published on AmericanHomeShield.com

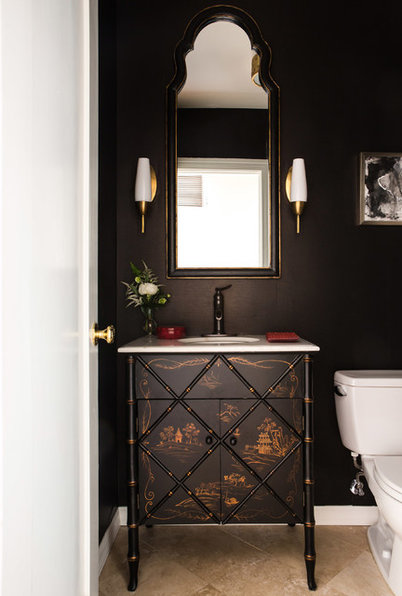
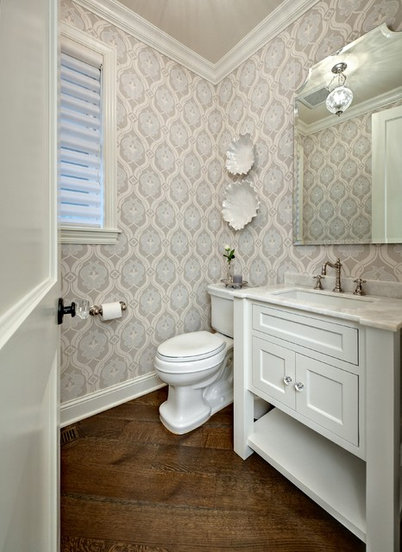
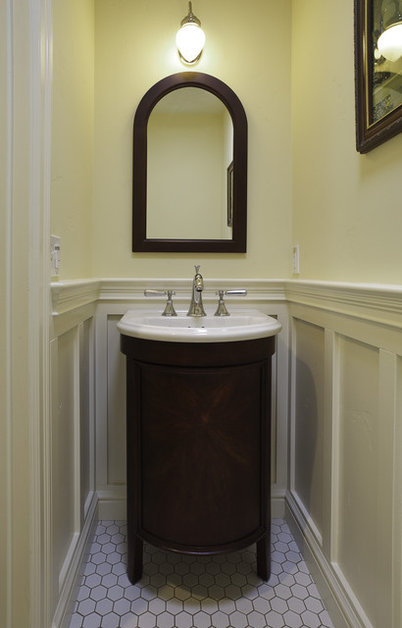
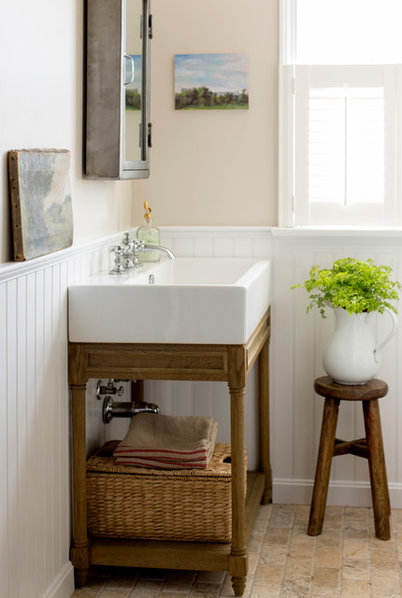
Powder Room Vanity Styles With Personality

“Coming up with ‘different’ ideas for a powder room can be challenging.  Get some ideas on how to make that small space as unique as any other space in the home.”
Denise Buck & Ed Johnson – DC Metro Realty Team
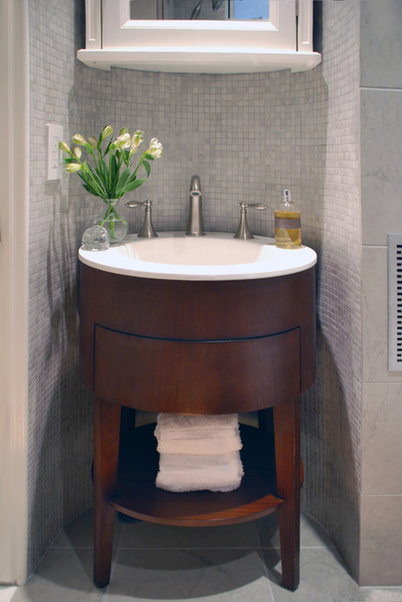
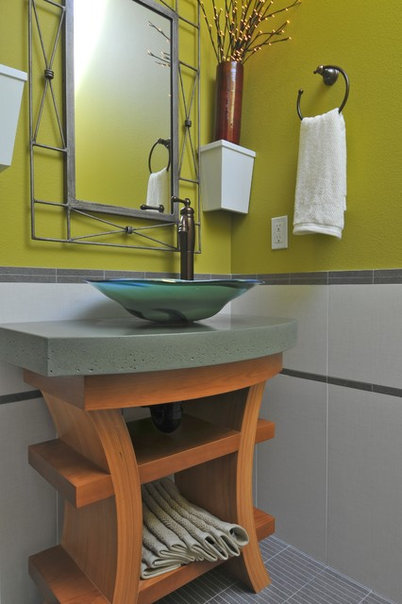
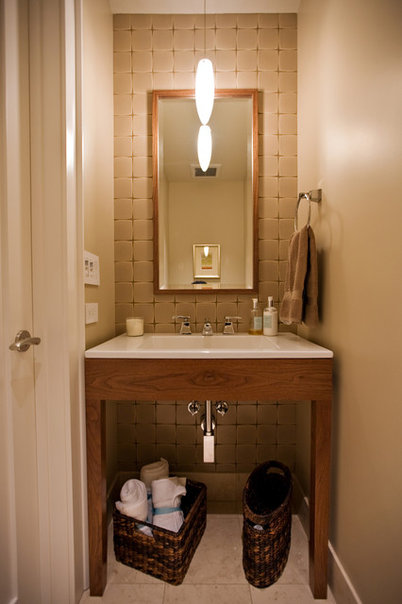
From traditional to contemporary, approaches to the powder room vanity allow for lots of creativity. And because of the modest scale, this is a place where you can indulge in higher-end materials and design solutions that might be too much for the budget in larger rooms. Let these 11 delightful examples of beautifully combined colors, shapes and details inspire your own powder room project.
By Steven Randel, originally published on HOUZZ

First-Time Homebuyer Guide

“This is a good high level overview of the steps and process of buying a home.  There are more steps once you start working with a Realtor and put an offer in on a home, but this is a great starting place.”

Denise Buck & Ed Johnson – DC Metro Realty Team 

Avoid First-Time Homebuyer Mistakes with This Checklist

By Jennifer Nelson, published on HouseLogic

A real yard. Closets bigger than your average microwave. The freedom to decorate however you darn well please! Making the switch from renting to owning is exhilarating, but many rookie homebuyers find the process trickier to navigate than they expected. This is why we created our First-Time Homebuyer Checklist. The 12-month timeline will help you sidestep common mistakes, like paying too much interest or getting stuck with the wrong house. (Yep, it happens!)

12 Months Out

Check your credit score. Get a copy of your credit report at annualcreditreport.com. The three credit bureaus (Equifax, Experian, and TransUnion) are each required to give you a free credit report once a year. A Federal Trade Commission study found one in four Americans identified errors on their credit report, and 5% had errors that could lead to higher rates on loans. Avoid last-minute bombshells by checking your score long before you’re ready to make an offer. And work diligently to correct any mistakes.

Determine how much you can afford. Figure out much house you can afford and want to afford. Lenders look for a total debt load of no more than 43% of your gross monthly income (called the debt-to-income ratio). This figure includes your future mortgage and any other debts, such as a car loan, student loan, or revolving credit cards.

There are plenty of calculators on the web to help you determine what you can afford. If you’re pushing the limits, start reducing your debt-to-income ratio now. To get a reality check on what you may actually be spending every month, use this worksheet.

Make a down payment plan. Most conventional mortgages require a 20% down payment. If you can swing it, do it. Your loan costs will be much less, and you’ll get a better interest rate. If, however, you’re not quite able to save the full amount, there are many programs that can help. FHA offers loans with only a 3.5% down payment. But they require mortgage insurance premiums, which will drive up your monthly payments. The U.S. Department of Housing and Urban Development (HUD) provides a list of nonprofit homebuying programs by state. Also check with credit unions; and your employer might even have an assistance program.

As you’re planning your savings strategy, keep in mind that banks like you to “season” your money. That is, they like to see that you’ve had stable funds in your account for 60 to 90 days before applying for a loan. Don’t worry: You can still use a financial gift from a family member or bonus received near the time you buy.

9 Months Out
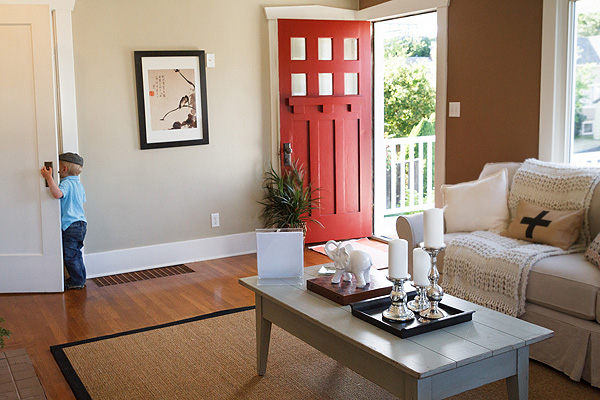
Child exploring a closet at an open houseImage: Emily Dunham

Prioritize what you most want in your new home.
What’s most important in your new home? Proximity to work? A big backyard? An open floor plan? Being on a quiet street? You’ll make a much better decision on what home to buy if you focus on your priorities. If it’s a joint decision, now is the time to work out any differences to avoid frustration and wasted time. Perhaps most important: Know what trade-offs you’re willing to make.

Research neighborhoods and start visiting open houses. But now’s when the fun begins, too. Use property listing sites, such as realtor.com, to find out about neighborhoods, public transport, and cost of living.

Start visiting open houses to get an idea of what kind of homes are in your price range and what neighborhoods appeal the most. Seeing potential homes will also keep you motivated to continue reducing your debts and saving for your down payment.

Budget for miscellaneous homebuying expenses. Buying a home has some miscellaneous upfront costs. A home inspection, title search, propery survey, and home insurance are examples. Costs vary by locale, but expect to pay at least a few hundred dollars. If you don’t have the cash, start saving now.

Start a home maintenance account. Speaking of saving, start the good habit now of putting a little aside each month to fund maintenance, repairs, and home emergencies. It’s bad enough to have to call a plumber. It’s worse if you’re paying credit card interest on that plumbing bill.

6 Months Out

Collect your loan paperwork. Banks are very particular when it comes to mortgage loans. They demand a lot of paperwork. What they’ll want from you includes:

  • W-2 forms — or business tax return forms if you’re self-employed — for the last two to three years
  • Personal tax returns for the past two to three years
  • Your most recent pay stubs
  • Credit card and all loan statements
  • Your bank statements
  • Addresses for the past five to seven years
  • Brokerage account statements for the most recent two to four months
  • Most recent retirement account statements, such as 401(k)

If you start collecting these documents now, it’ll lessen the stress when it’s time to get your loan. Bonus: Looking closely at your loan documents each month will also help you stay focused on saving for your down payment and keeping your debt-to-income ratio low.

Research lenders and REALTORS
®. Start interviewing REALTORS®, specifically buyers’ agents. A buyer’s agent will work in your best interest to find you the right property, negotiate with the seller’s agent, and shepherd you through the closing process. Your agent also can be instrumental in finding a lender who’s familiar with first-time homebuyer programs.

Even better, look for a mortgage broker, who will shop for a competitive loan rate for you among multiple lenders, unlike a bank, which can only offer its own products.

3 Months Out

People touring an open houseImage: Jesse Keen

Get pre-approved for your loan. At this point, if you’ve been following this timeline, your credit score, paperwork, and down payment should be on track. You’ve done your research on lenders and buyers’ agents. Now it’s time to start working with them. First you’ll need to get pre-approved for a mortgage.

Make an appointment with your lender or mortgage broker and bring all your paperwork. He’ll run a credit check on you and tell you how much of a loan you’re approved for. It often makes sense to borrow less than the maximum the lender allows so you can live comfortably. Draft a budget that accounts for mortgage payments, insurance, maintenance, and everything else you have going on in your life.

Start shopping for your new home. One you’re pre-approved, the buyer’s agent you’ve chosen will be able to target homes that meet your priorities in your price range. This way you won’t be wasting time looking at homes you can’t afford.

2 Months Out

Make an offer on a home. It usually takes at least four to six weeks to close on a home. So if you have a firm move-out date, allow enough time to deal with any hiccups that can delay closing.

Get a home inspection. One of the first things you’ll want to do after an offer is accepted is have a home inspector look at the property. If the home inspector finds something that needs repair, that’s a common example of something that can delay closing.

In the Last Month

Triple-check that all your financial documents are in order and review all lending documents before closing. You’re in the home stretch! If you’ve been keeping your documents up to date, and your down payment is in reserve, these final steps are the easiest. Reviewing the mortgage documents is probably the most difficult. Your agent can help guide you through them.

Get insurance for your new home. Don’t forget to secure insurance before closing. You’ll need to bring proof of insurance to closing.

Do a final walk-through. Do a final walk-through of your new home, usually a day or two before closing, to make sure the home is in the shape you and the seller have agreed upon.

Get a cashier’s check or bank wire for cash needed at closing. Make sure you get an exact amount of cash needed for closing. You’ll get that number a few days before closing so you can secure a cashier’s check or arrange to have the money wired. Regular checks aren’t accepted.

That’s it. Congratulations!

Read more: http://www.houselogic.com/home-advice/home-loans-mortgages/first-time-home-buyer-guide/#ixzz3prP3fQFN
Follow us: @HouseLogic on Twitter | HouseLogic on Facebook

Design Your Closet for the Real World

“Tired of digging through your closet to find things?  Get organized and speed up the morning process.”
Denise Buck & Ed Johnson – DC Metro Realty Team
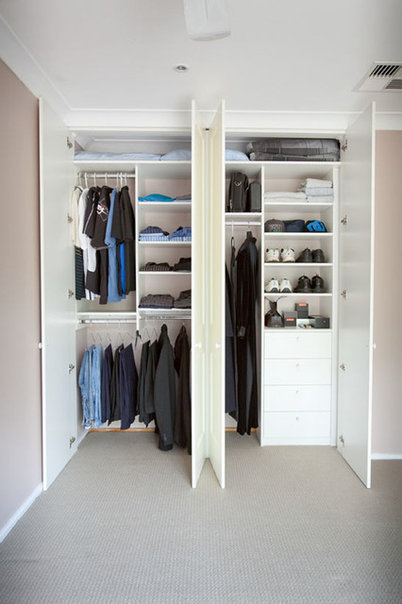
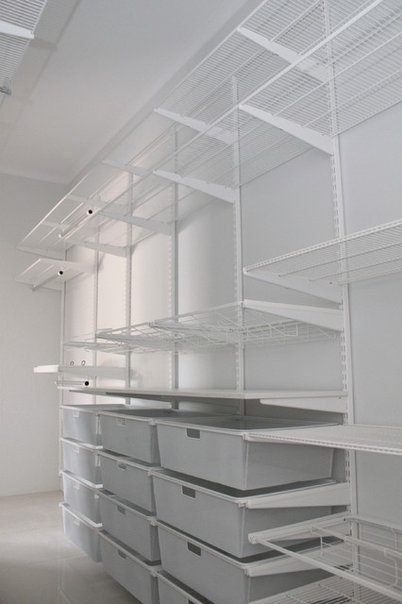
A poorly designed closet costs the same to build as a well-designed closet. It’s how you design and use the space that makes the difference. If you’re starting with a clean slate, this guide will help you decide what to build, what to store and how to get the most out of every inch of space.
Originaly published on HOUZZ, by Sally Hart

5 Ways to Cut Your Heating Costs

“The colder weather is starting to show up and it’s time to consider how you will control your heating bills.”

Denise Buck & Ed Johnson – DC Metro Realty Team

Winter doesn’t have to mean higher heating bills. Here are a few simple home improvement tips you can use to help keep your house warm and your bills under control.

home mattersPhoto by: iStock

Following these easy tips and tricks can help keep your bill from skyrocketing as temperatures plummet.

1. It’s the mantra of dads worldwide – don’t turn up the heat, put on a sweater. By maintaining a steady air temperature and changing your body temperature, you’ll nix bill spikes. For every degree you lower your heat in the 60 – 70 degree range, you can save up to 5% on heating costs.

2. Installing plastic film over your windows is an extremely affordable do-it-yourself project. Cutting down on the drafts from windows can save you about 14% on your monthly bill.

3. Another source of drafts is your front door. A simple door sweep will keep the heat in and cold out while likely costing you less than $10 at a home or hardware store.

4. Opening shades on west- and south-facing windows will allow sunlight in during the day. Conversely, closing these shades at night will help keep your heat in.

5. Make sure that you don’t have furniture blocking your heating vents. If you have a bed or sofa in front of a vent, your HVAC will work harder than necessary to maintain your desired room temperature.

These five tips should be a simple way to help out with your heating costs.

Originally appearing on AmericanHomeShield.com

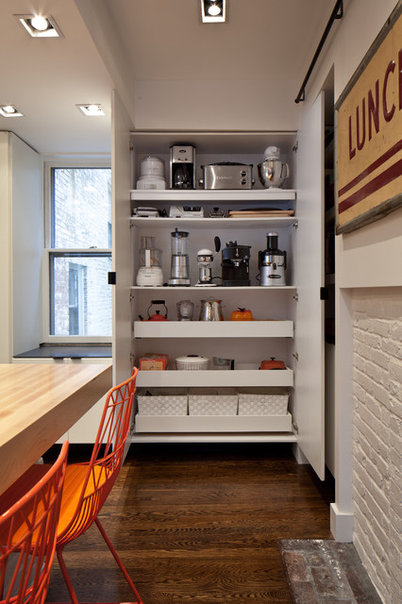
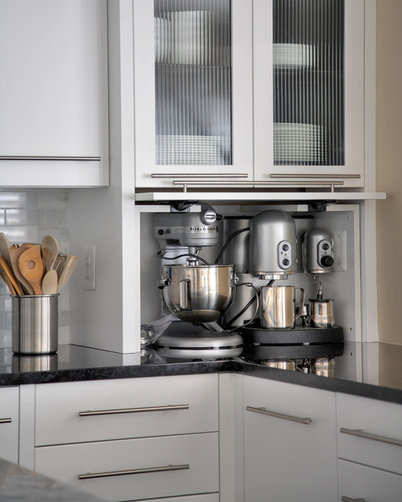
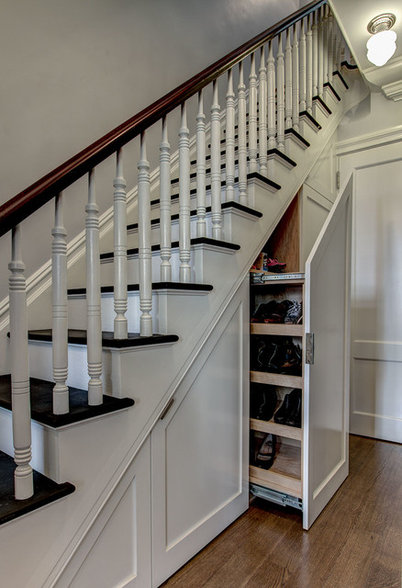
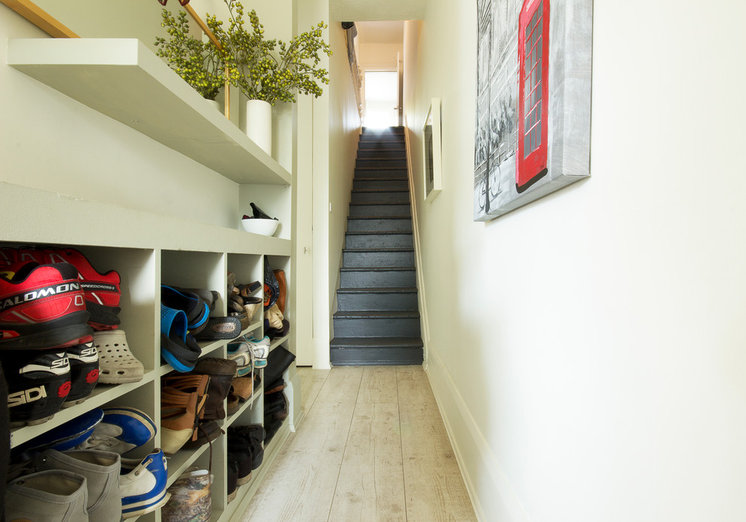
13 Storage Solutions to Banish the Clutter

“It’s amazing all the ‘stuff’ we accumulate over time.  And then you realize you have no place to put anything any more and your home is looking cluttered.  It might be time to get creative.”
Denise Buck & Ed Johnson – DC Metro Realty Team
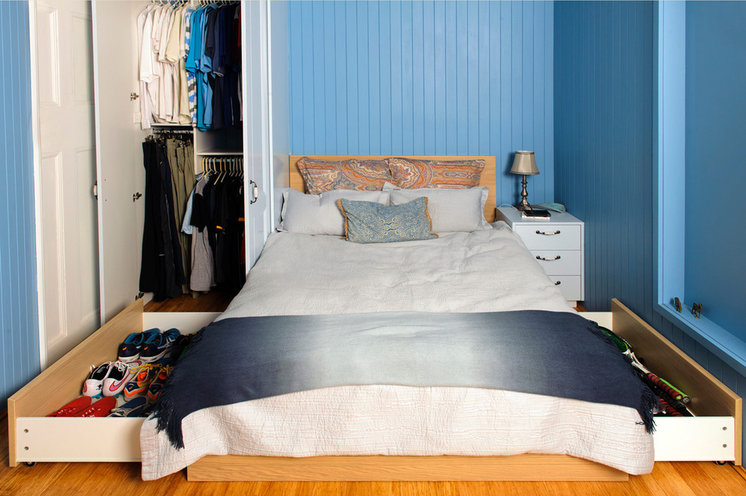
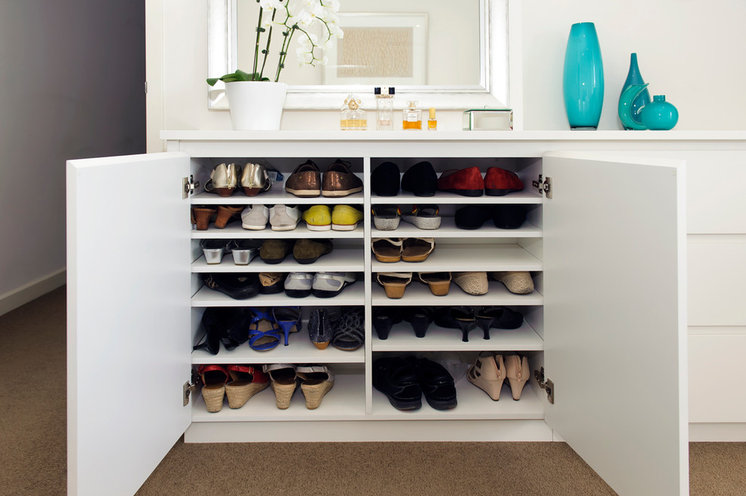
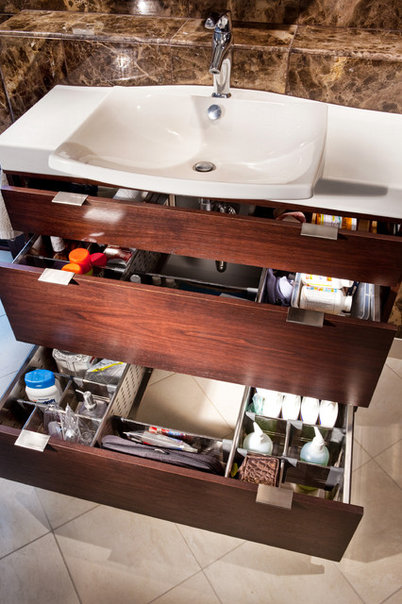
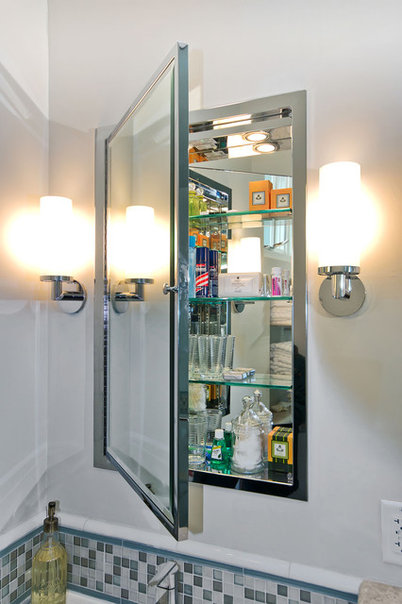
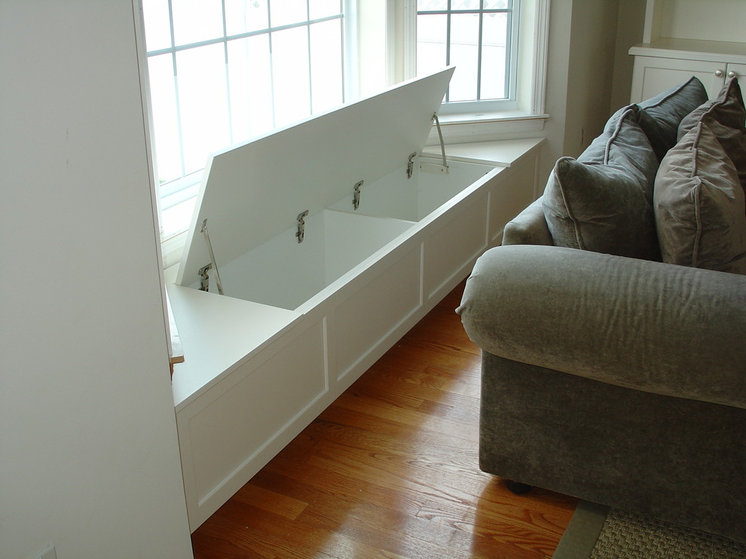
Don’t worry.  I’m not going to tell you to throw out your stuff or give it away. And I’m not going to give you advice on how to part with it. Instead, I’m going to give you design tips on how to get it out of sight, quickly and easily. The trick to living without clutter is to make it super easy for you and your family to clean up fast. Follow these tips, and you’ll be amazed at how quickly your home can go from chaotic to calm in no time.
Originally posted on HOUZZ, by Gillian Lazanik

Lifespan of Modern Home Appliances

“Wondering if it’s time to fix or replace your appliance.  Here are some average lifespans of 7 major appliances.” 

Denise Buck & Ed Johnson – DC Metro Realty Team

Homeowners often assume that with an increase in technology comes an improvement of everyday life. So it can come as a surprise that when appliance manufactures add tech, like sensors and displays, they are actually shortening the product’s lifespan.

home mattersPhoto by: American Home Shield

Major home appliances like washers, stoves and even refrigerators have plugged into the digital revolution thanks to the introduction of smart appliances by brands like LG and Samsung. You can now do things like scan food items into your fridge, and it will then make recipe recommendations based off of the current contents — that’s one less excuse for ordering takeout.

Unfortunately, the added bells and whistles have overshadowed the fact that appliances just don’t last as long as they use to. The current average lifespan of major home appliances is around 10-15 years — compared to roughly 20-30 years when appliances were mostly mechanical in nature. That’s why your mom’s avocado-green washing machine lasted so long.

Today, the presence of LCD screens, Wi-Fi and even load-sensitive sensors have increased the vulnerability of our modern appliances — the more gadgets, the more things that can fail. This, coupled with thinner plastic parts replacing the more durable porcelain and copper parts of the past means more calls to the repairman. Just like our cars, home appliances were once bulky behemoths made of heavier, more resilient materials.

Related:
High-tech Kitchen Appliances to Make Your Life Easier
Get the Most Out of Your Household Appliances

However, there are two simple recommendations on how to avoid premature breakdowns with modern appliances. First, simply reading through the manual and getting a sense of how to properly clean and maintain your appliance is highly recommended to preserve its lifespan. Second, when problems do arise, don’t jump the gun and swap it for a new one. If the appliance has not yet exceeded the average lifespan, chances are fixing the specific problem and keeping it for its full lifespan will save you more in the long-run.


Click here to download graphic

Although the lifespan of major appliances has decreased over the years, the added technology has greatly improved our lives. For what they now lack in years, these modern machines make up for in energy efficiency and technological versatility. It’s a small price to pay for managing more productive lives in our fast-paced digital age.

Originally appearing on American Home Shield

10 Ways to Use Ornamental Grasses

“Want some plantings that are easier to maintain?  Ornamental Grasses might be a perfect solution for you.”
Denise Buck & Ed Johnson – DC Metro Realty Team
Originally published on HOUZZ, by Laura Gaskill
Water-wise, low-maintenance and available in an impressive range of colors and heights, ornamental grasses have a lot to offer in the landscape. It is critical to choose the right variety for your region (native is best), because some ornamental grasses can be invasive. A good local nursery with knowledgable staff should be able to point you in the right direction. Whether you want to replace the front lawn, create a privacy screen or simply add beautiful texture, here are 10 ways to use these versatile plants around your garden.