Tag Archives: Home Repairs

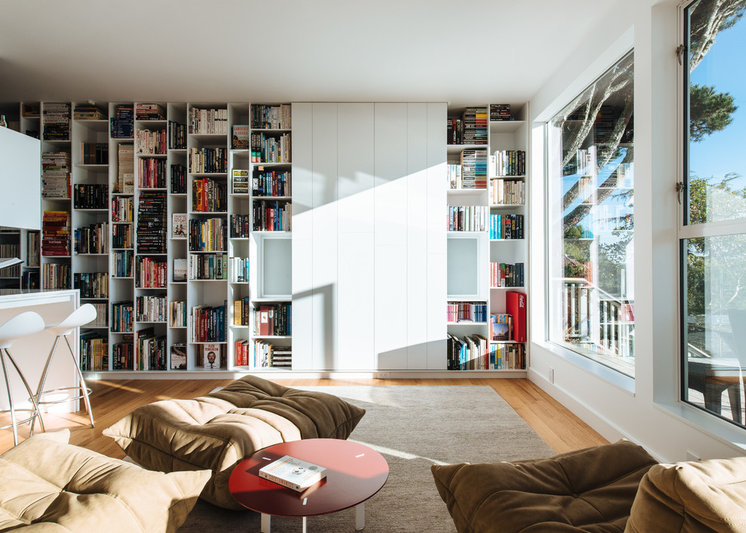
How to Care for Your Home Library

“Got a lot of books, but struggling with where to put them all?  Check out some creative ideas!”
Denise Buck & Ed Johnson – DC Metro Realty Team
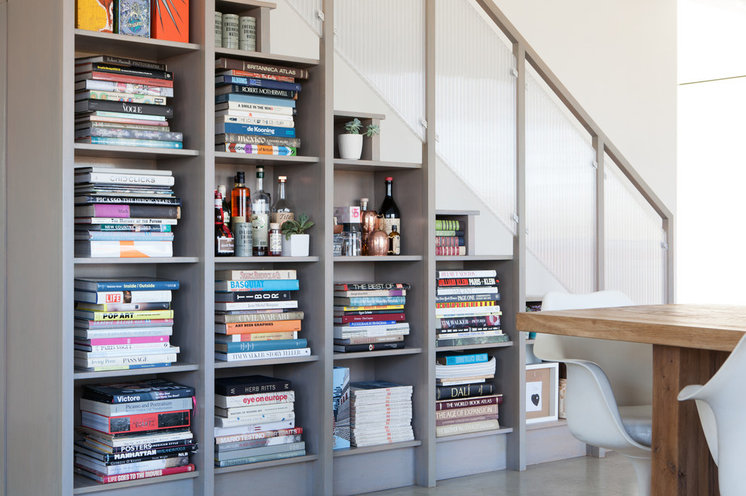
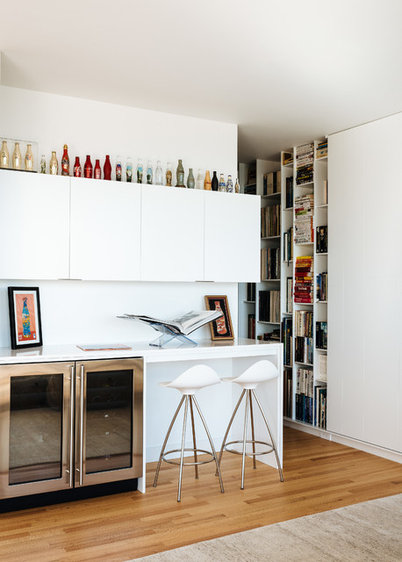
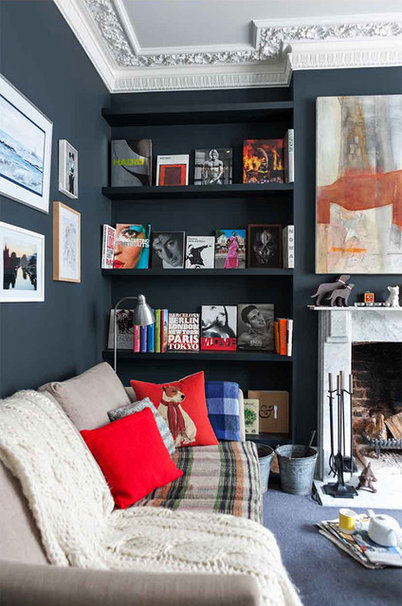
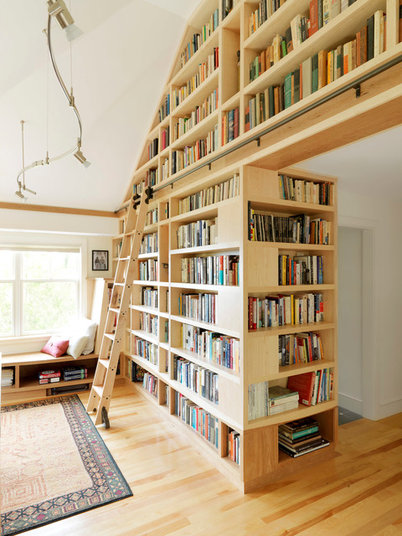
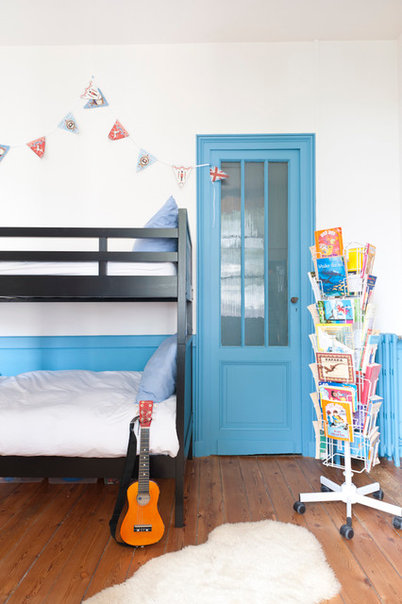
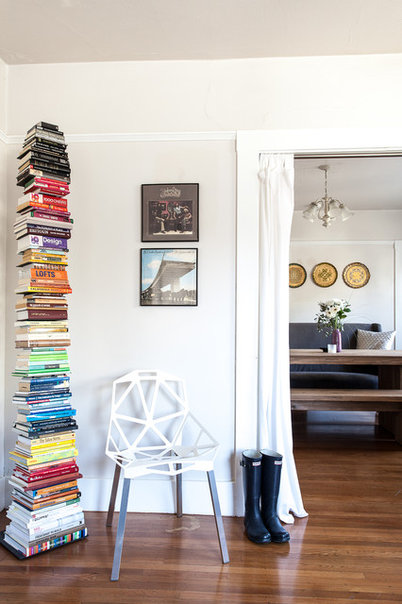
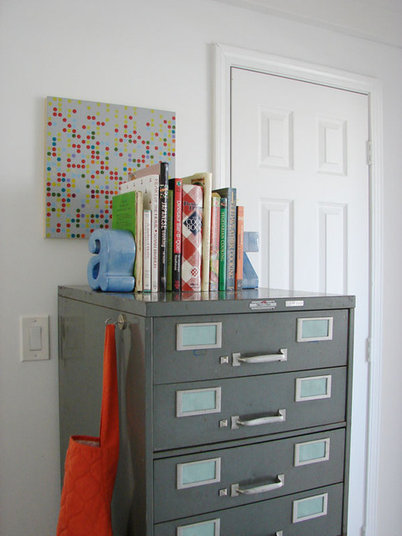
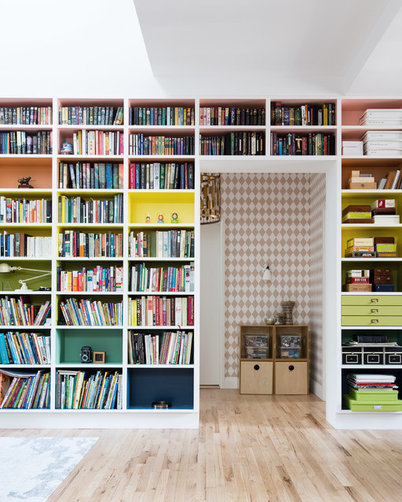
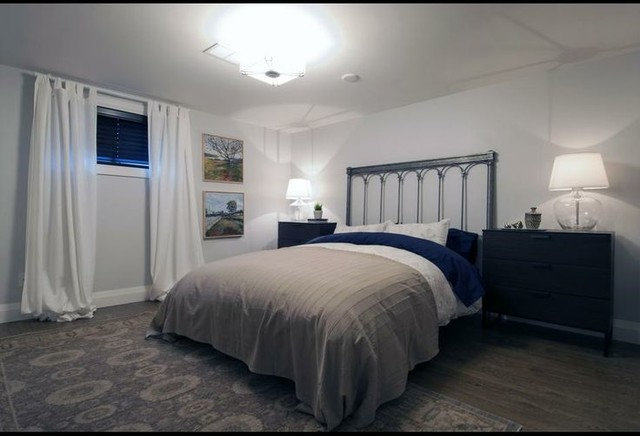
I’ve Harbored a passion for books as long as I can remember (my first job, in fact, was as a page in my hometown library), and I can spend endless hours perusing bookstores and library stacks. Whether you swoon for rare first editions or romance novels, keeping track of your beloved books will ensure that they will be easily found when you need them and will remain in good condition for years to come. Here are a dozen ideas for organizing, caring for and enjoying your home library.
Originally published on HOUZZ, by Laura Gaskill

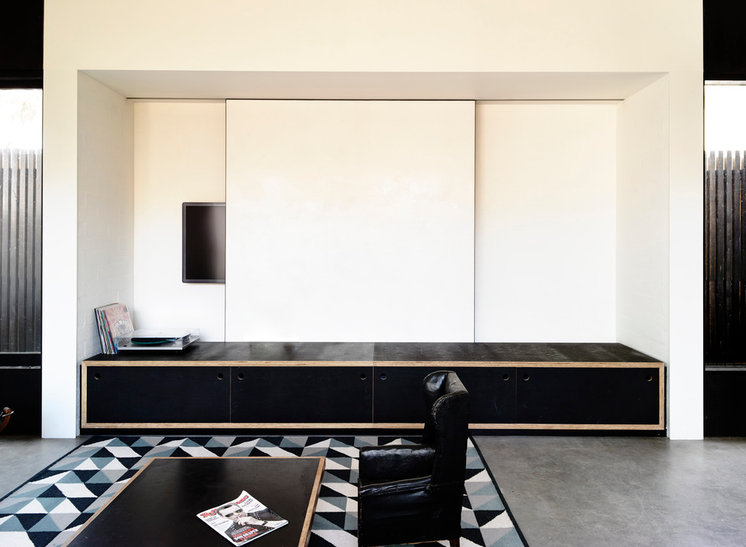
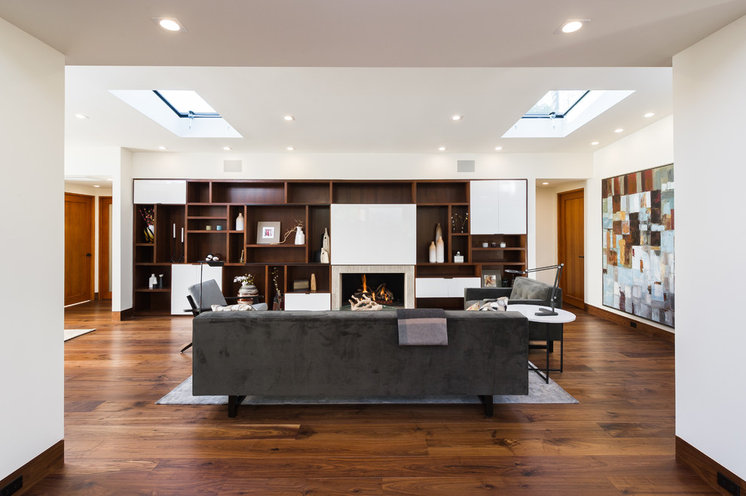
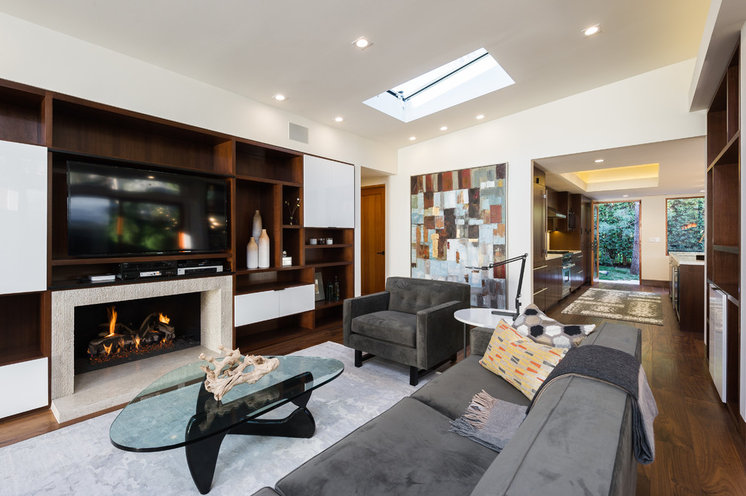
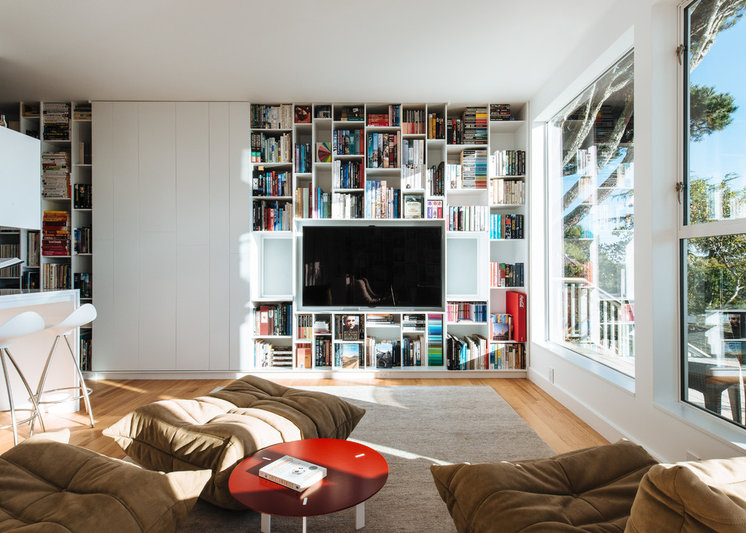
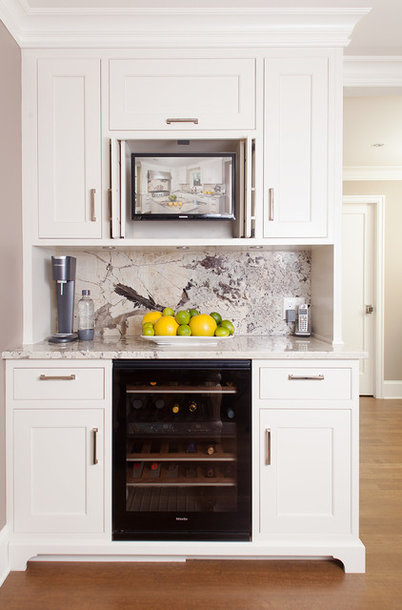
Can You Spot the TV?

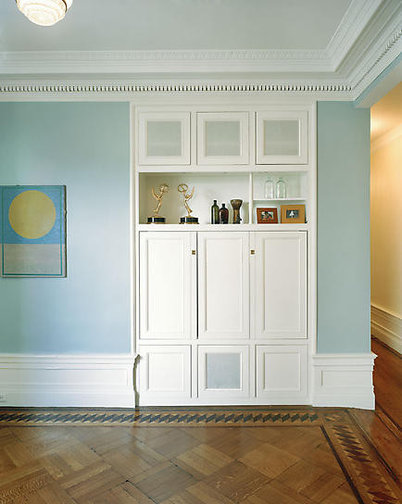
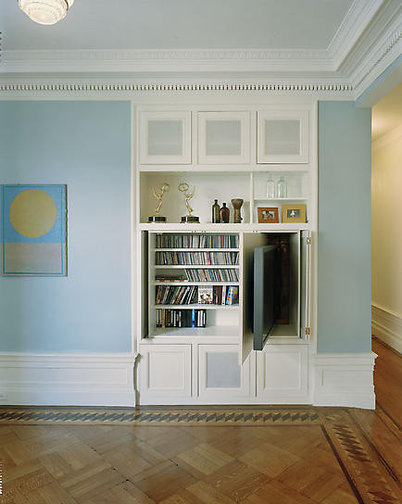
“Where to put the TV?  You’re going to have one, but you don’t want it to dominate the room.  These creations offer up lots of new options you may not have considered.”
Denise Buck & Ed Johnson – DC Metro Realty Team
By Grace Chamia, originally published on HOUZZ
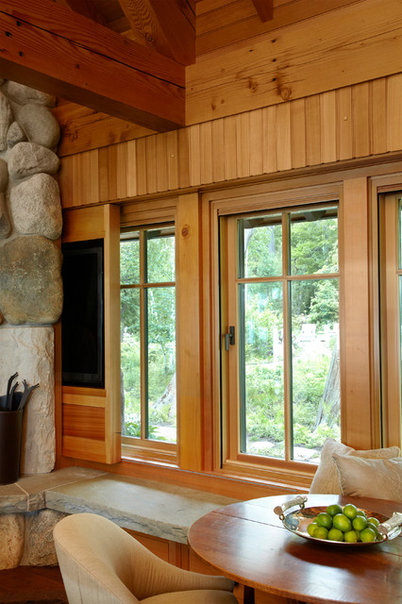
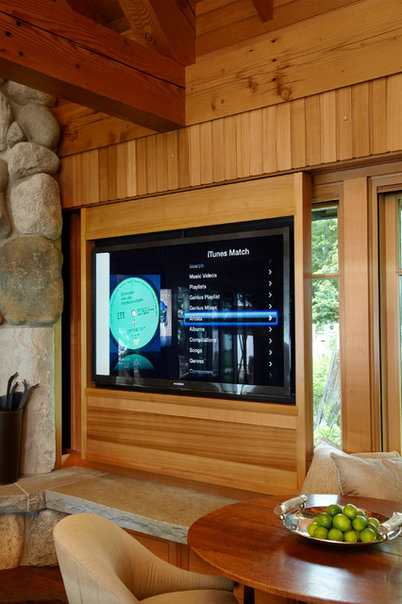
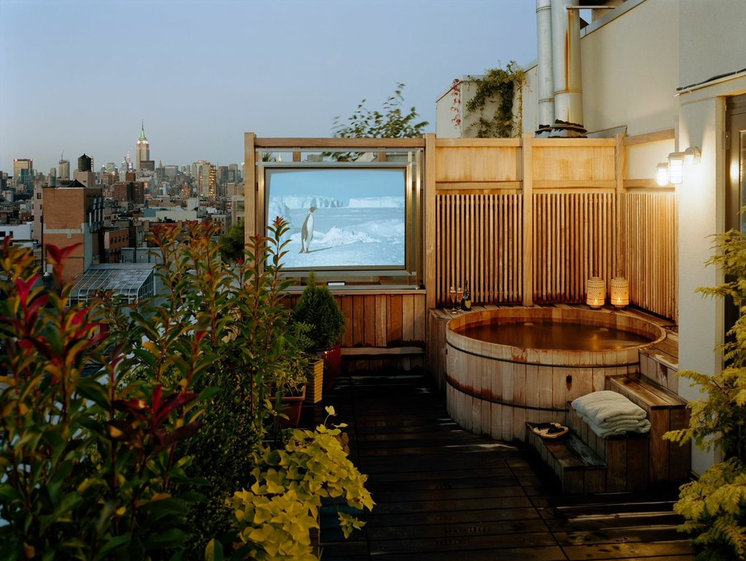
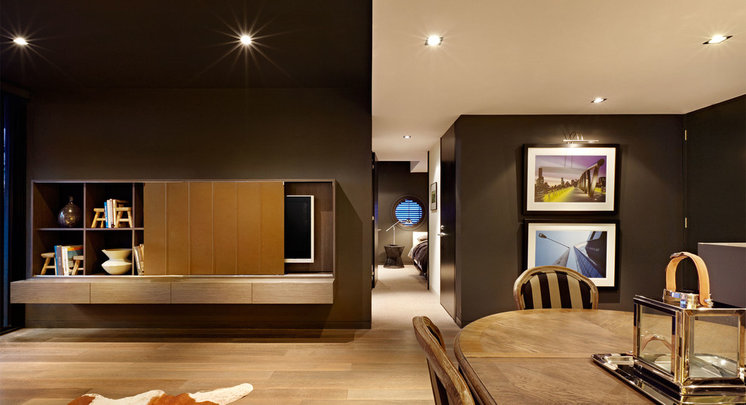
Sometimes a room design doesn’t seem to allow for a 60-inch television — maybe it disrupts the aesthetic flow and clean lines the designer worked so hard to achieve. Cue these now-you-see-me, now-you-don’t entertainment systems that blend in with their surroundings so well, they rival chameleons with their camouflage.

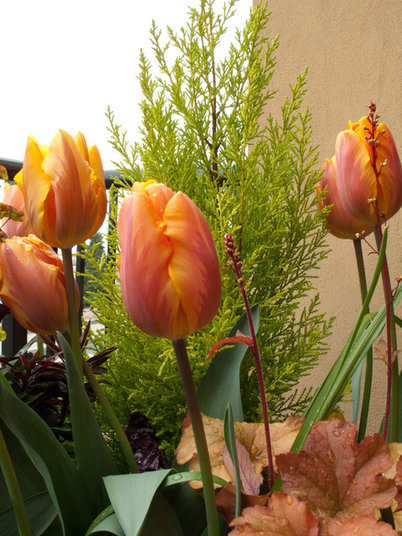
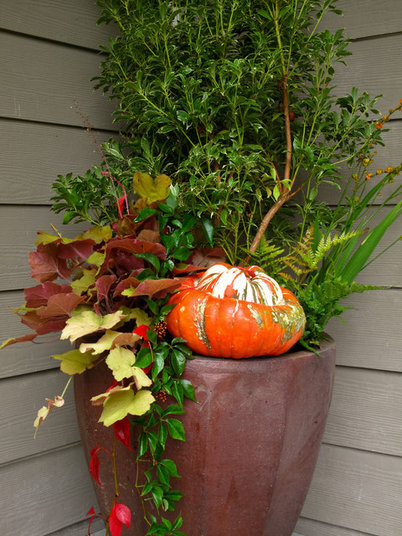
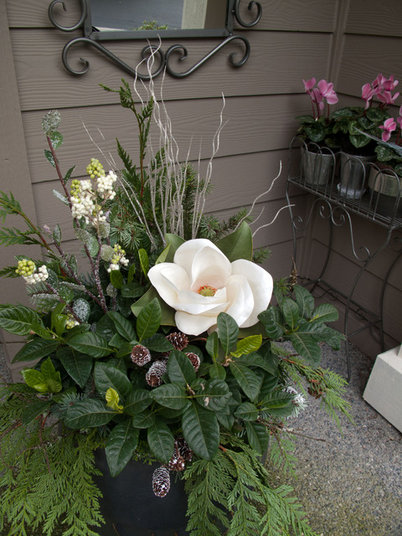
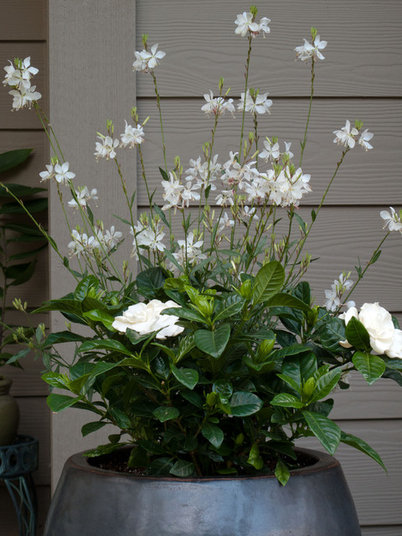
5 Container Gardens for Fall and Beyond

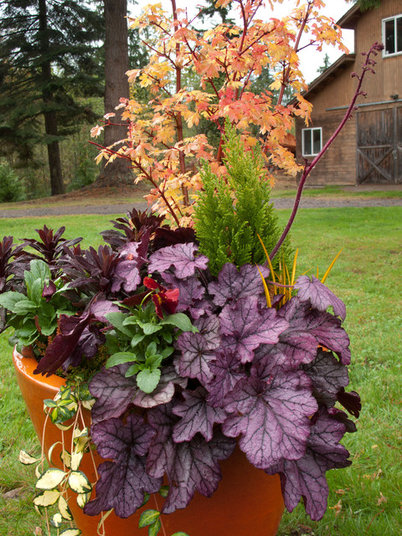
“We love container gardening.  It’s perfect for patios and decks and gives you more versatility.  Here are some ideas that will carry you through the whole year.”
Denise Buck & Ed Johnson – DC Metro Realty Team
By Karen Chapman, originally appearing on HOUZZ

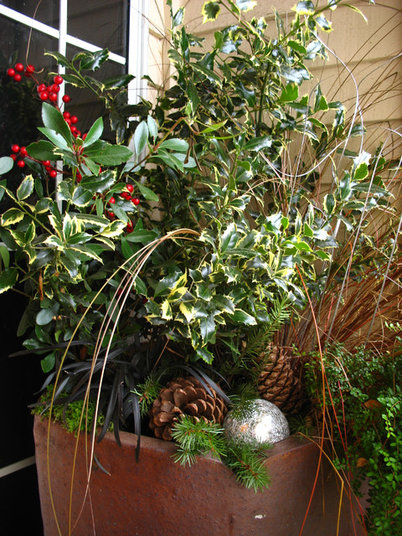
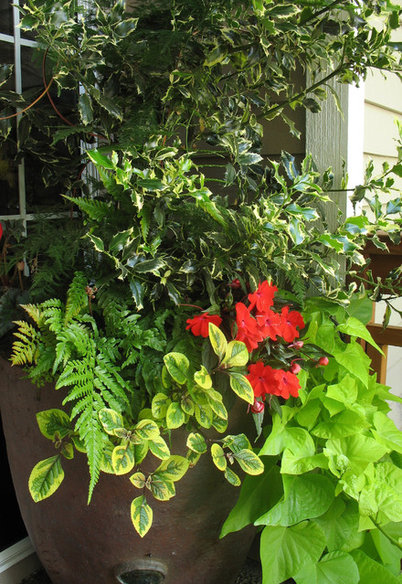
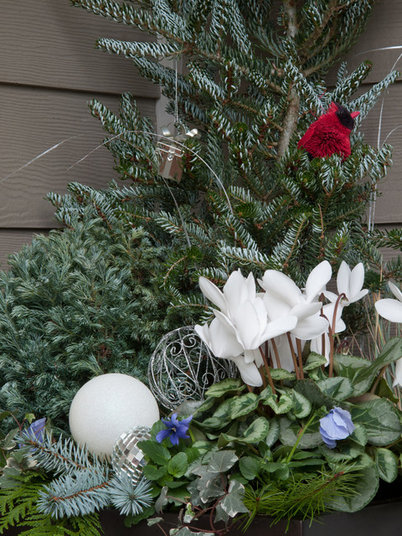
Whoever suggested we “deck the halls with boughs of holly” clearly wasn’t also trying to cook a turkey, wrap gifts and bake dozens of cookies. Planting a container garden is rarely on the holiday to-do list, yet it is such a perfect way to welcome friends and family to a home.

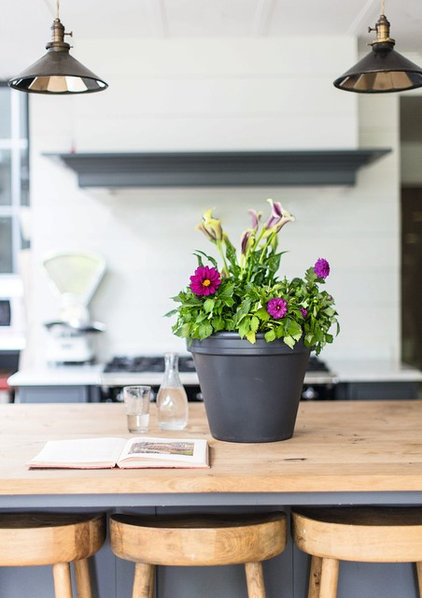
With a little creativity you can quickly transform any container gardens you may already have, and with some extra planning you can ensure that they continue to shine year-round. By starting with a backbone of great foliage and then adding a few seasonal highlights, you can have your container gardens mark each season with style while still having enough time to enjoy the festivities.

Here are five easy container garden designs and ideas on how to change them up for each season.

Fall Maintenance Checklist

fall-checklist-maintenance


“When Fall Arrives, it’s the perfect time to start getting ready for the colder months ahead.  Get these things done while it’s still nice out side.”

Denise Buck & Ed Johnson – DC Metro Realty Team


By John Riha, Originally published on Houselogic

1. Stow the mower.

If you’re not familiar with fuel stabilizer, you should be. If your mower sits for months with gas in its tank, the gas will slowly deteriorate, which can damage internal engine parts. Fuel stabilizer ($10 for a 10-ounce bottle) prevents gas from degrading.

Add stabilizer to your gasoline can to keep spare gas in good condition over the winter, and top off your mower tank with stabilized gas before you put it away for the winter. Run the mower for five minutes to make sure the stabilizer reaches the carburetor.

Another lawn mower care method is to run your mower dry before stowing it.

1. When the mower is cool, remove the spark plug and pour a capful of engine oil into the spark plug hole.

2. Pull the starter cord a couple of times to distribute the oil, which keeps pistons lubricated and ensures an easy start come spring.

3. Turn the mower on its side and clean out accumulated grass and gunk from the mower deck.

2. Don’t be a drip.

Remove garden hoses from outdoor faucets. Leaving hoses attached can cause water to back up in the faucets and in the plumbing pipes just inside your exterior walls. If freezing temps hit, that water could freeze, expand, and crack the faucet or pipes. Make this an early fall priority so a sudden cold snap doesn’t sneak up and cause damage.

Turn off any shutoff valves on water supply lines that lead to exterior faucets. That way, you’ll guard against minor leaks that may let water enter the faucet.

While you’re at it, drain garden hoses and store them in a shed or garage.

3. Put your sprinkler system to sleep.

Time to drain your irrigation system. Even buried irrigation lines can freeze, leading to busted pipes and broken sprinkler heads.

1. Turn off the water to the system at the main valve.

2. Shut off the automatic controller.

3. Open drain valves to remove water from the system.

4. Remove any above-ground sprinkler heads and shake the water out of them, then replace.

If you don’t have drain valves, then hire an irrigation pro to blow out the systems pipes with compressed air. A pro is worth the $75 to $150 charge to make sure the job is done right, and to ensure you don’t have busted pipes and sprinkler head repairs to make in the spring.

4. Seal the deal.

Grab a couple of tubes of color-matched exterior caulk ($5 for a 12-ounce tube) and make a journey around  your home’s exterior, sealing up cracks between trim and siding, around window and door frames, and where pipes and wires enter your house. Preventing moisture from getting inside your walls is one of the least expensive — and most important — of your fall maintenance jobs. You’ll also seal air leaks that waste energy.

Pick a nice day when temps are above 50 degrees so caulk flows easily.

5. De-gunk your gutters.

Clogged rain gutters can cause ice dams, which can lead to expensive repairs. After the leaves have fallen, clean your gutters to remove leaves, twigs, and gunk. Make sure gutters aren’t sagging and trapping water; tighten gutter hangers and downspout brackets. Replace any worn or damaged gutters and downspouts.

If you find colored grit from asphalt roof shingles in your gutters, beware. That sand-like grit helps protect shingles from the damaging ultraviolet rays of the sun. Look closely for other signs of roof damage (#5, below); it may be time for a roofing replacement.

Your downspouts should extend at least 5 feet away from your house to prevent foundation problems. If they don’t, add downspout extensions; $10 to $20 each.

6. Eyeball your roof.

If you have a steep roof or a multistory house, stay safe and use binoculars to inspect your roof from the ground.

Look for warning signs: Shingles that are buckled, cracked, or missing; rust spots on flashing. Any loose, damaged, or missing shingles should be replaced immediately.

Black algae stains are just cosmetic, but masses of moss and lichen could signal roofing that’s decayed underneath. Call in a pro roofer for a $50 to $100 eval.

A plumbing vent stack usually is flashed with a rubber collar — called a boot — that may crack or loosen over time. They’ll wear out before your roof does, so make sure they’re in good shape. A pro roofer will charge $75 to $150 to replace a boot, depending on how steep your roof is.

7. Direct your drainage.

Take a close look at the soil around your foundation and make sure it slopes away from your house at least 6 vertical inches over 10 feet. That way, you’ll keep water from soaking the soils around your foundation, which could lead to cracks and leaks.

Be sure soil doesn’t touch your siding.

8. Get your furnace in tune.

Schedule an appointment with a heating and cooling pro to get your heating system checked and tuned up for the coming heating season. You’ll pay $50 to $100 for a checkup.

An annual maintenance contract ensures you’re at the top of the list for checks and shaves 20% off the cost of a single visit.

Change your furnace filters, too. This is a job you should do every two months anyway, but if you haven’t, now’s the time. If your HVAC includes a built-in humidifier, make sure the contractor replaces that filter.

9. Prune plants.

Late fall is the best time to prune plants and trees — when the summer growth cycle is over. Your goal is to keep limbs and branches at least 3 feet from your house so moisture won’t drip onto roofing and siding, and to prevent damage to your house exterior during high winds.

For advice on pruning specific plants in your region, check with your state extension service.

10. Give your fireplace a once-over.

To make sure your fireplace is safe, grab a flashlight and look up inside your fireplace flue to make sure the damper opens and closes properly. Open the damper and look up into the flue to make sure it’s free of birds’ nests, branches and leaves, or other obstructions. You should see daylight at the top of the chimney.

Check the firebox for cracked or missing bricks and mortar. If you spot any damage, order a professional fireplace and chimney inspection. An inspection costs $79 to $500.

You fireplace flue should be cleaned of creosote buildup every other year. A professional chimney sweep will charge $150 to $250 for the service.

Read more: http://www.houselogic.com/home-advice/seasonal-maintenance/fall-checklist/#ixzz3nJfKQ200
Follow us: @HouseLogic on Twitter | HouseLogic on Facebook

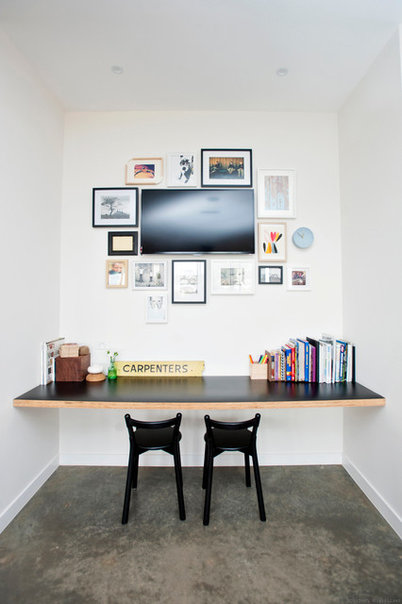
Healthy Home: 8 Ways to Add a Standing Desk

“We’ve all heard that sitting all day is not good for us, but how do you add a standing desk at home?  Here are some interesting ideas….”
Denise Buck & Ed Johnson – DC Metro Realty Team
By Becky Harris, originally published on HOUZZ

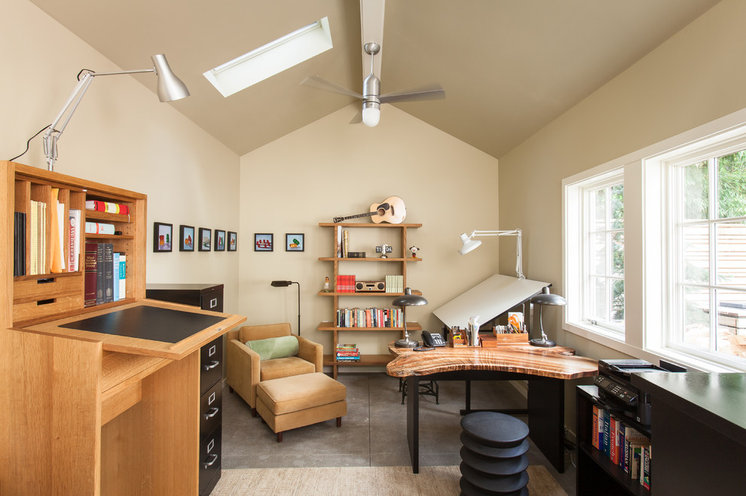
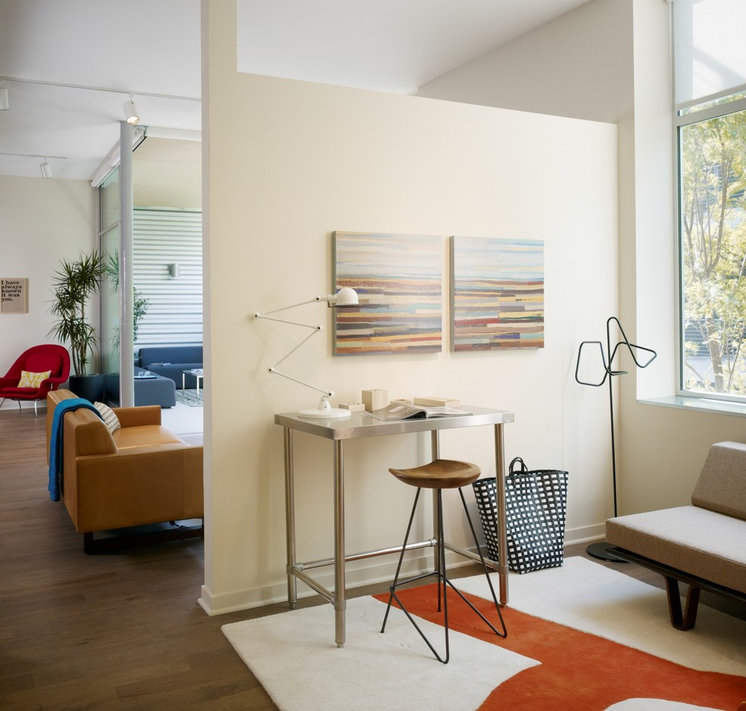
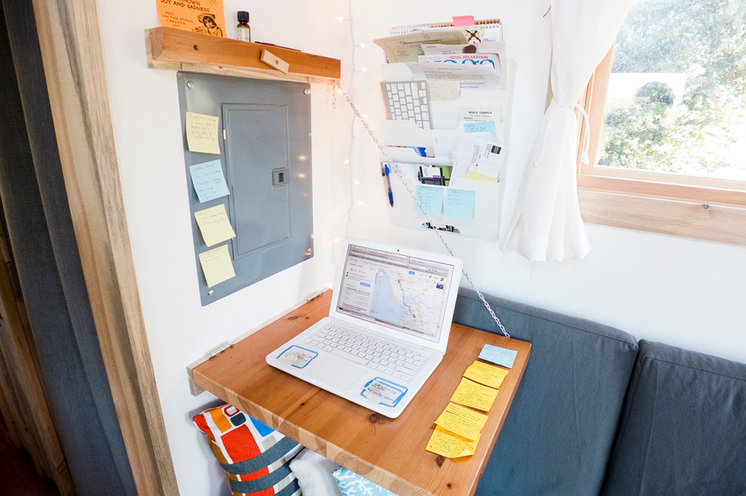
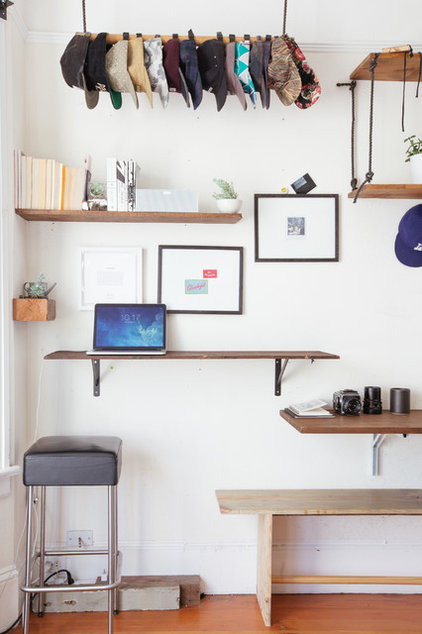
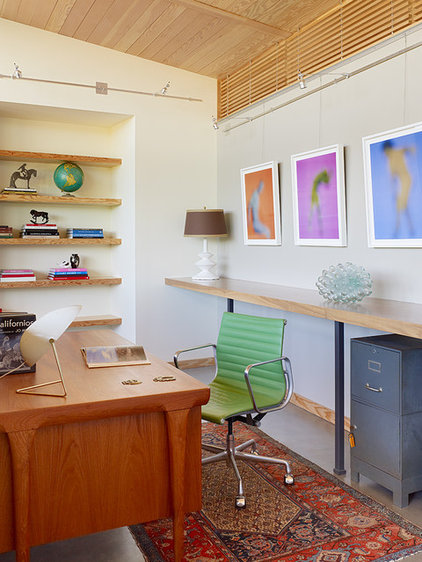
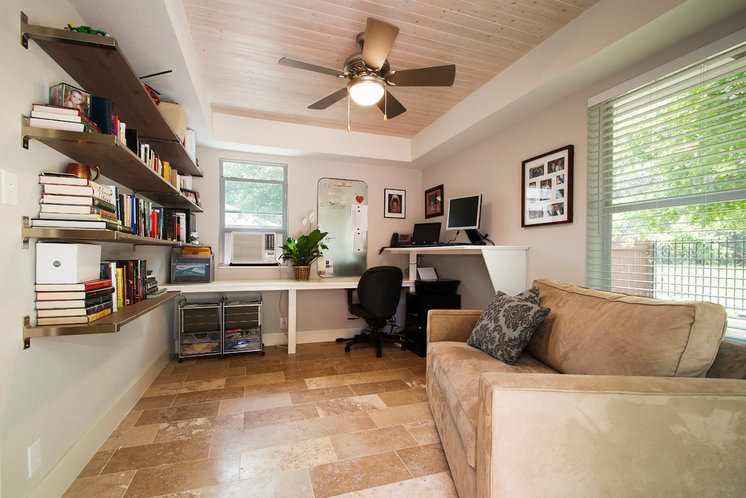
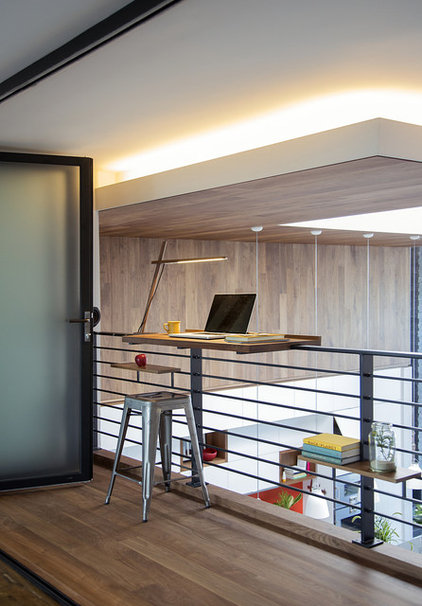
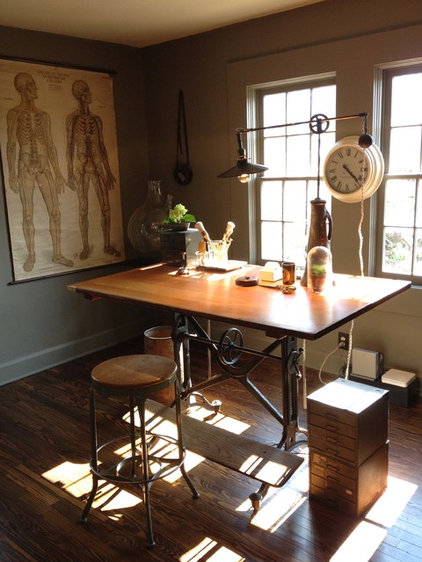
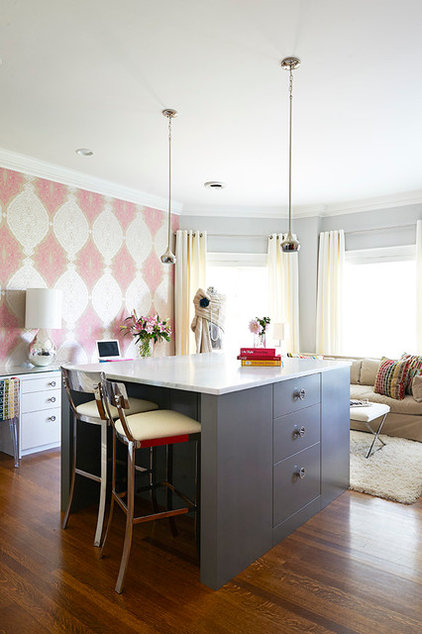
Studies showing that sedentary lifestyles are killing us have launched a thousand headlines. By now you’ve probably heard the catchphrase that “sitting is the new smoking,” in terms of danger to our health. The notion has even invaded pop culture. On sitcoms, the forceful corporate female character has swapped her power suit’s shoulder pads for a treadmill desk.

Switching things up from sitting to standing keeps the blood flowing and, according to studies, can help prevent illnesses such as Type 2 diabetes and cardiovascular disease. Here’s how to incorporate some standing room in your office space at home.

Your Guide to Choosing Patio Stones

paito pavers

“Creating that special outdoor space to relax in takes some planning.  Patio stones are an easy choice that you can usually do yourself.”

Denise Buck & Ed Johnson – DC Metro Realty Team

Originally published on Houselogic

By: Andrea Nordstrom Caughey

Published: April 9, 2013

With so many patio stones on the market, it can be hard to choose. So we’ve done the research to help you make the right choice for your home.

Brick

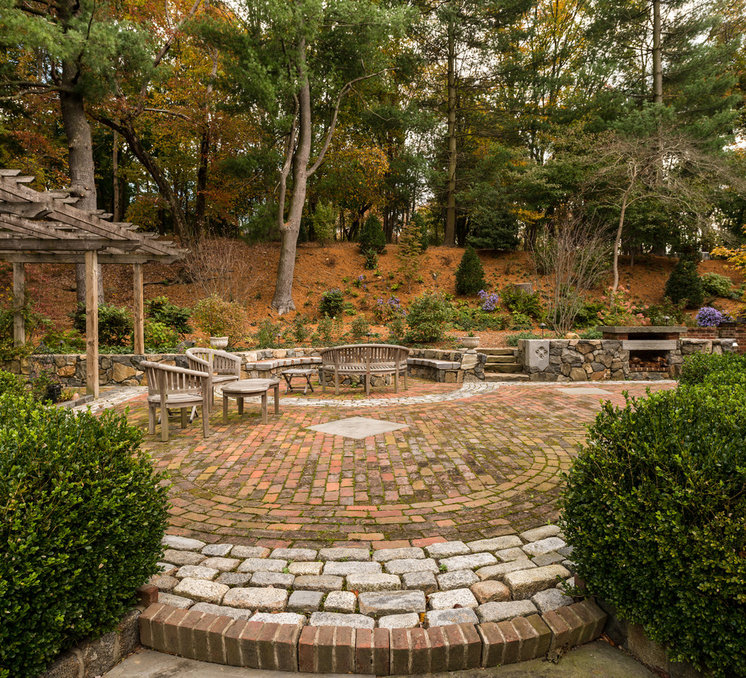
Brick pavers are classic. They’ve got lots of character, and you can explore your creative chops by setting them in intricate patterns. Thinner than typical “builder bricks” used on home siding, they’re made to hold up under heavy foot traffic.

Brick pavers come in a variety of shapes, sizes, colors, and finishes, and can look old or new. Because they’re smaller than other pavers, they take a while to put in place, and installation costs can be higher.

You can do the job yourself for $3 to $5 per square foot. You’ll need to rent a brick saw — a heavy table-mounted saw that makes cutting masonry a snap. Cost: $60 to $95 per day. Don’t forget: You’ll need to figure out a way to get the brick saw to your house.

For a pro-installed brick patio, you’ll pay $12 to $18 per square foot, professionally installed.

Concrete

Concrete can be finished off in lots of imaginative ways — brushed, acid washed, scored, and stamped — and lots of colors. Its long lifespan and relatively inexpensive installation make it a popular choice.

“For colder climates, consider adding $1 to $2 per square foot for a specialized base preparation and concrete additive,” says Chris Fenmore, principal with Garden Studio Landscape Design.

Stamped concrete can simulate flagstone, brick, cobbles, and other decorative patterns, but adds about $3 per square foot to installation costs.

Figure $6 to 12 per square foot, depending on finish and color.

Concrete Pavers

Concrete pavers offer an embarrassment of riches — there are shapes, sizes, textures, and colors galore. Some are plain; some look like real stone; others have intricate patterns embossed on their surfaces. They’re readily available at home improvement centers and are well-suited to DIY patio projects.

Interlocking concrete pavers have tabs and slots so they fit together like pieces of a very simple puzzle. They’re fairly inexpensive, have minimal maintenance, and install quickly.

Concrete pavers are $2 to $8 per square foot. If you’d rather have a pro do it, you’ll pay $7 to $15 per square foot, including materials.

Rubber Tiles

Rubber tiles are made from recycled tires. They’re designed to go over any surface, and their light weight means you can use them on decks. They look like concrete tiles, with finishes that resemble brick and terra cotta. They’re fairly new on the market, so the jury is still out on how they perform over time.

Rubber tiles are strictly a DIY material, and they snap together with connector clips. They’re good for quickly covering up old, cracked, worn patio surfaces. You’ll pay $3 to $5 per square foot.

Flagstone, Slate, and Marble

Almost any stone can work as a paver, but most are either sandstone, limestone, slate, or granite. The materials you select will be especially cost-efficient if they come from locally operated quarries; check your local stone supplier before looking at national home improvement chains.

Stone pavers are cut into modular shapes; 6-by-12, 12-by-12, and 18-by-18-inch sizes are standard. Uncut pavers have rough, irregular edges and come in various sizes.

When it comes to installing uncut stone, an experienced pro works quickly and is your best bet for a good-looking patio with even spaces between stones.

Pro installation is $12 to $28 per square foot, depending on the stone you choose.

Want to see some stone patios that really rock?

Decomposed Granite and Pebble Surfaces

Decomposed granite is made up of very small pieces of granite, ranging in size from 1/4-inch to the size of sand. It’s an affordable way to go, and some folks really love the slightly crunchy texture underfoot, and the way rain disappears — no puddles!

You’ll probably have to refresh and replenish the granite now and then, as the surface can erode with time, so there’s some preventative maintenance involved. Figure about $1 per square foot every three years for upkeep.

Also, decomposed granite isn’t solid and furniture legs tend to sink into the stones. Adding stabilizers that help bind particles together can strengthen the surface.

Cost: $1.50 per square foot without stabilizers, $2 with stabilizers.

Finding Your Own Recycled Materials

Like the idea of upcycling? A patio is a good way to reuse old building materials, and it’s a cost-effective and eco-friendly alternative to new materials. Plus, you’ll be building a one-of-a-kind creation. Tip: Look for materials that provide uniform thickness.

  • Cast-off concrete sections from a neighbor’s old driveway or sidewalk.
  • Check nearby construction sites for old materials — be sure to ask permission before hauling anything away.
  • Know of a building scheduled for demolition? See if there’s any old brick or stone is going to be discarded.

Although the materials are usually free, it’s a good idea to enlist some strong-backed helpers and the use of a pick-up truck. For a typical 12-by-12-foot patio, you’ll save $500 to $800 versus new pavers. Spend some of that on a patio party for your helpers.

(If you’re a salvaged materials aficionado, check out our slideshow on clever ways to use salvage in your home.)

Mixing Materials

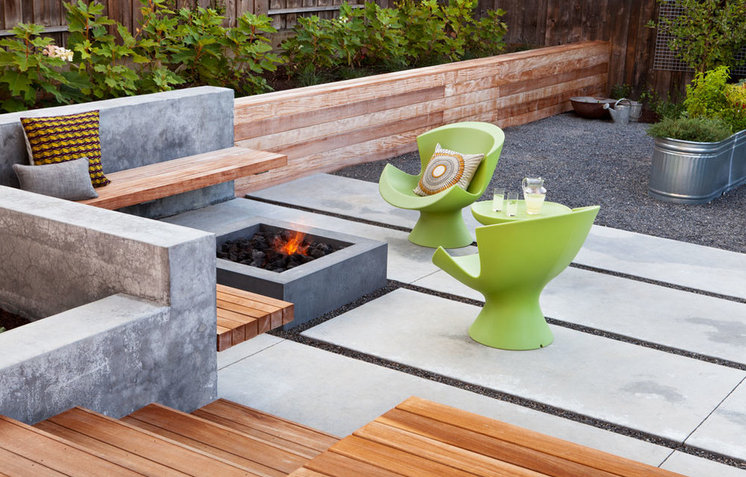
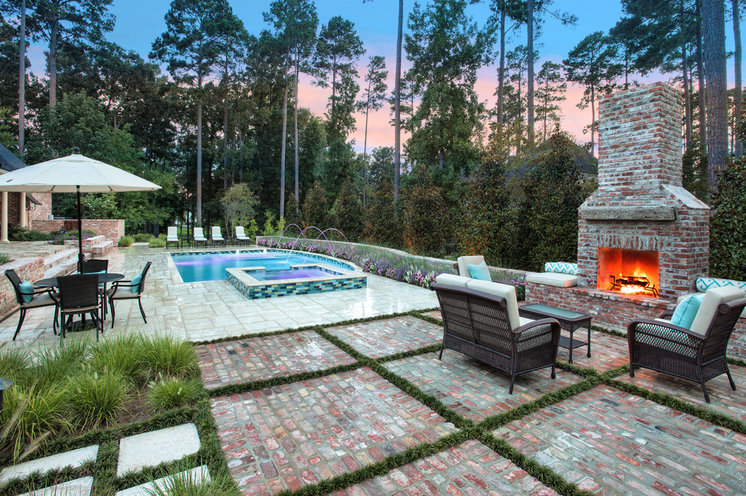
Remember, you’re not stuck with one type of patio paver. Combining different materials — such as brick together with concrete, or stone with rock trim, can create a cool, customized look.

Southern California designer Chris Fenmore notes, “Too much hardscape can be tedious. I often like to use four-inch troughs separating masonry from concrete that can be filled with gravel, beach rocks, or ground cover. They provide a bit of relief from the hardscape and nice detail, adding to the custom look of the yard.”

Getting on Base

Choosing paving materials begins with a basic: the base or foundation. The base supports your pavers, and it’s got to be firm, strong, and designed to stand up to years of wear and weather. A poorly installed base leads to shifting and settling that’ll crack concrete and make your patio pavers look like choppy seas.

A sand-and-gravel base is a good DIY project; leave a concrete slab base to the pros.

A gravel and sand base is a simple foundation that lets you “dry set” pavers — you put the pavers on top of the base, then sweep fine sand into the joints to hold them there. Building a gravel-and-sand base is an easy (but time-consuming) DIY project. You’ll pay $2 to $3 per square foot for a DIY job. If you’d rather have a pro do the work, figure $3 to $5 per square foot.

With a sand or gravel base, chances are there’ll be some settling over time. Every couple of years, plan on resetting individual pavers that have gotten out of whack because of settling.

A concrete base offers greater longevity and stability, with less potential for settling. On a concrete slab base, the paving materials are set permanently with mortar, and ongoing maintenance is minimal.

Working with concrete is a challenge for weekend warriors, so skip experimentation (mistakes in concrete are permanent) and go with a pro. You’ll pay $5 to $8 per square foot for a professionally installed concrete base.

If you’re a fan of concrete, check out these imaginative ways to use concrete inside your house.

Read more: http://members.houselogic.com/articles/smart-options-patio-pavers/preview/#ixzz3liNs4OY5
Follow us: @HouseLogic on Twitter | HouseLogic on Facebook

Your Guide to 10 Landscape Materials

“Sometimes you want to do something ‘different’ in certain areas of your yard, but your not sure what that might be.  Here are some great ideas as alternatives to grass for your outside areas.”
Denise Buck & Ed Johnson – DC Metro Realty Team

Paving a landscape investment, and the cost varies considerably based on the type used and how readily available it is. Cast-in-place concrete is usually the cheapest and most easily installed paving option, but those who live in regions with naturally occurring stone like limestone, granite or slate can use that local stone at a more affordable price.

Here are our guides to 10 of the most popular paving materials. Whether you are repaving or paving new, you can use them to understand the basics about paving to make an informed decision based on your situation and where you live.

Originally published on HOUZZ, by Falon Mihalic

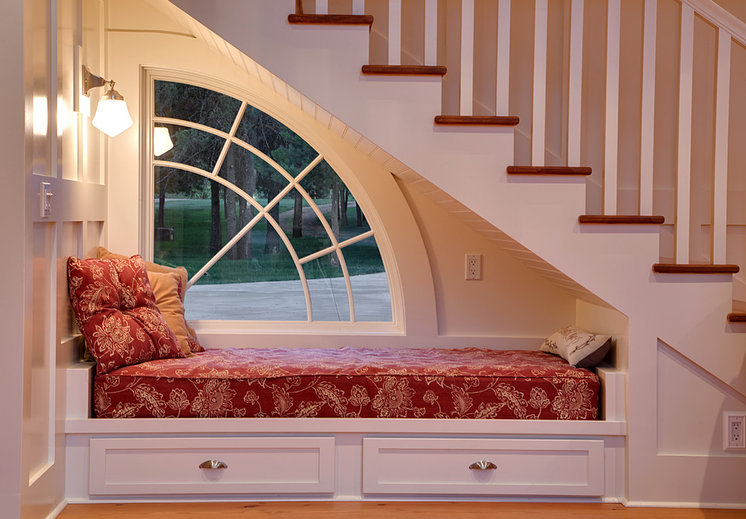
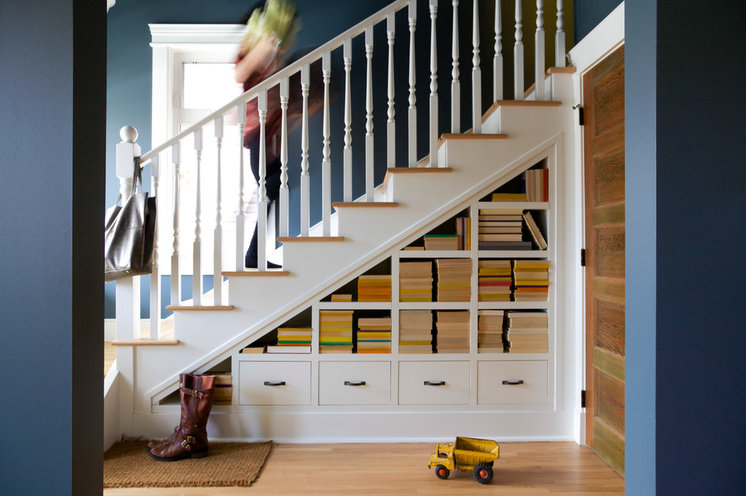
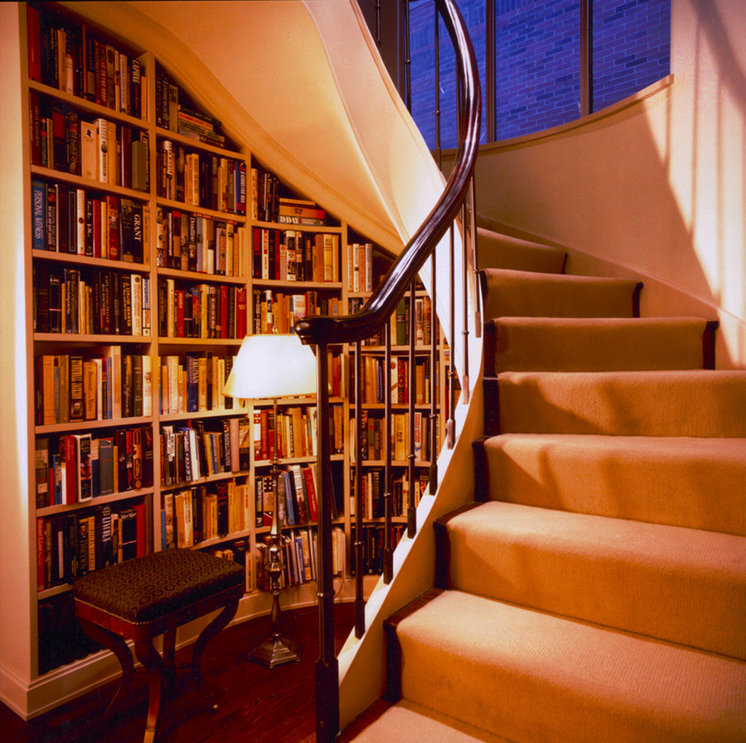
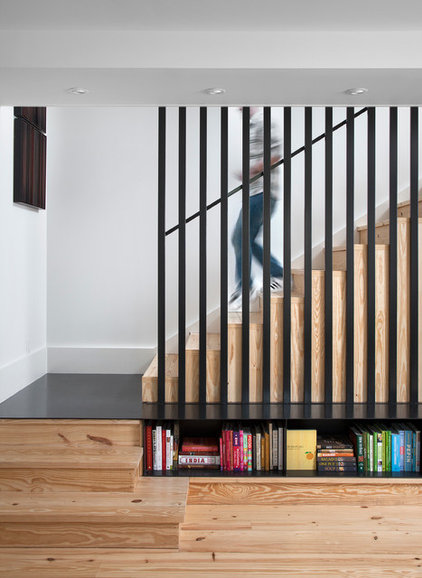
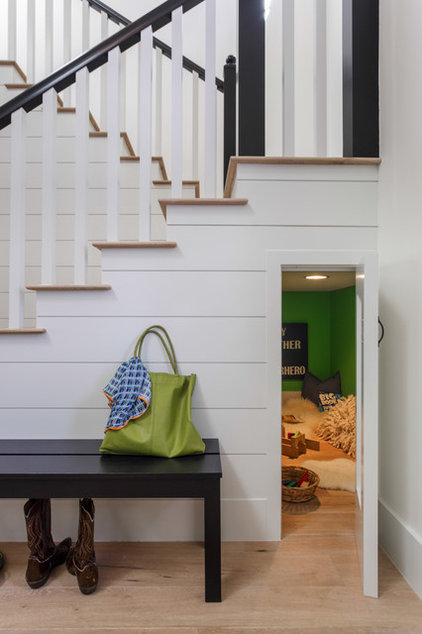
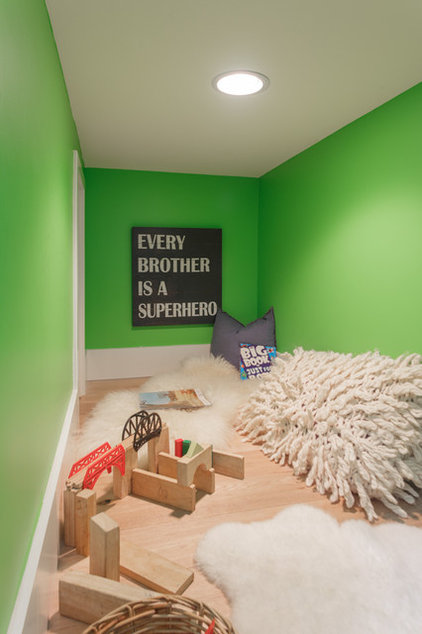
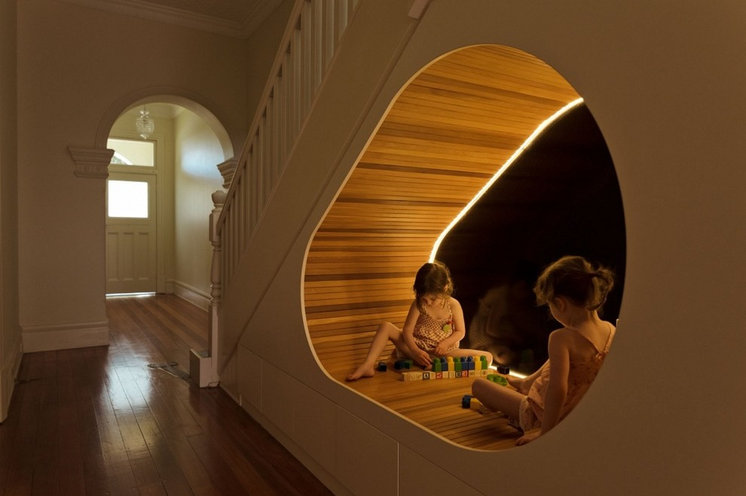
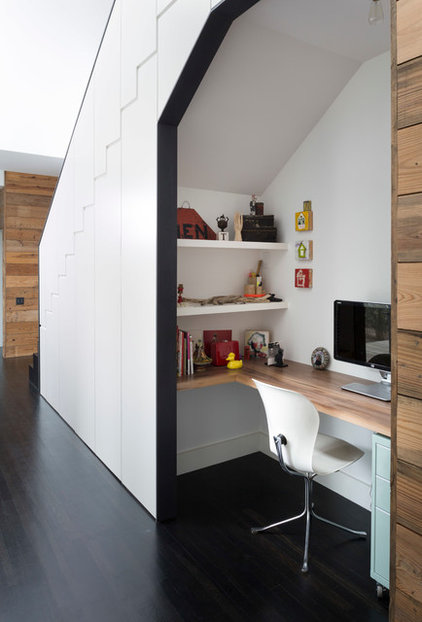
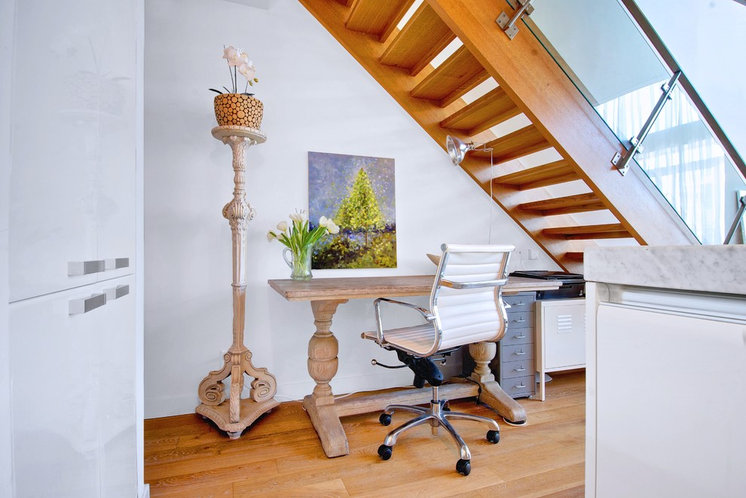
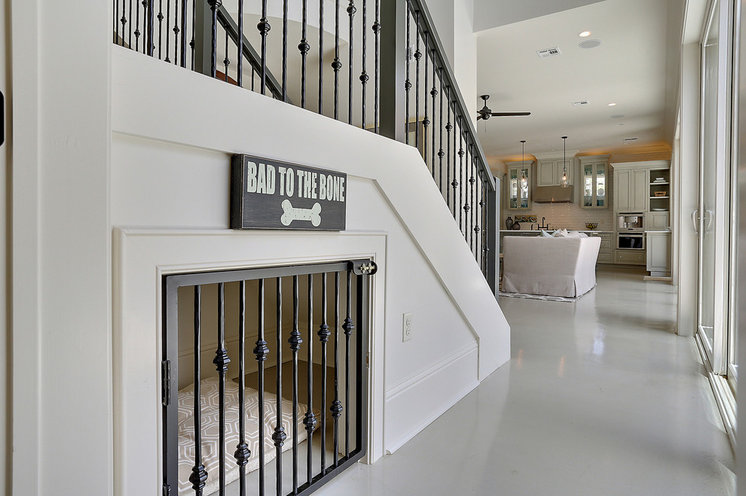
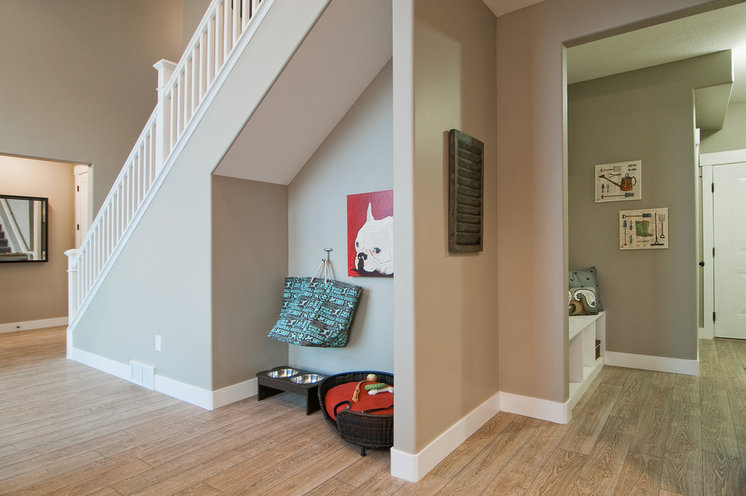
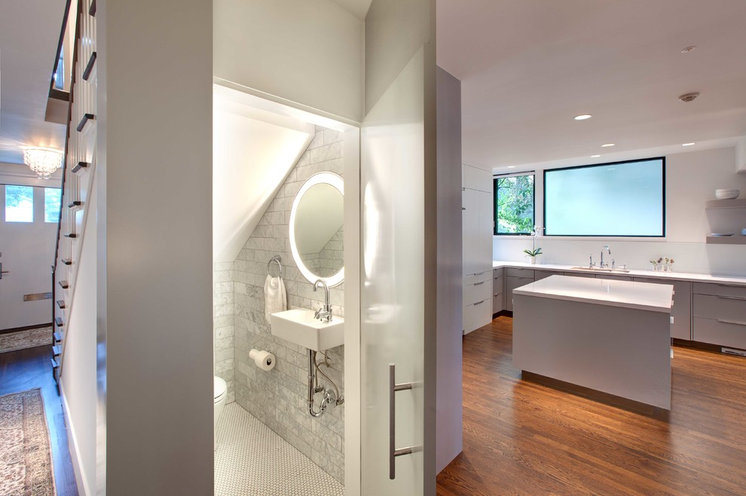
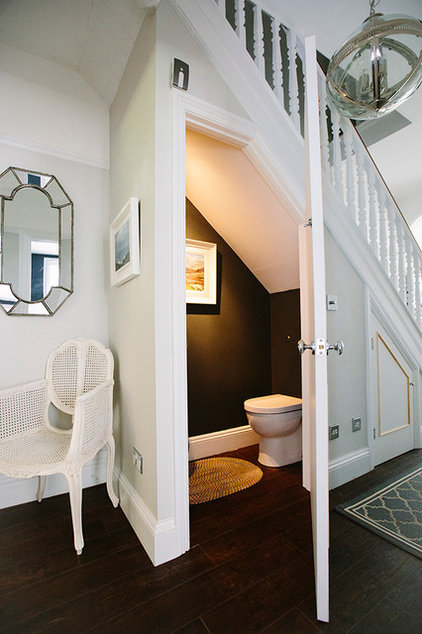
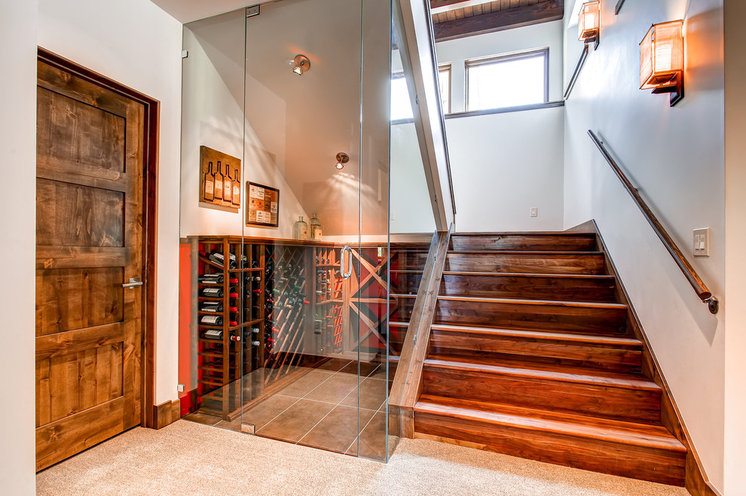
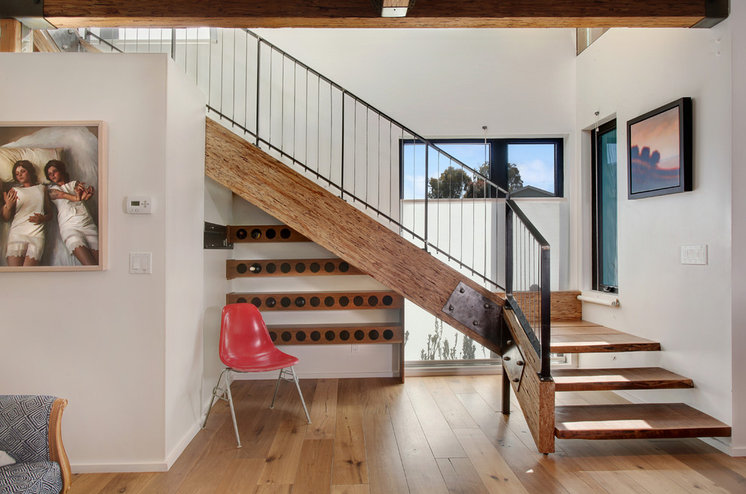
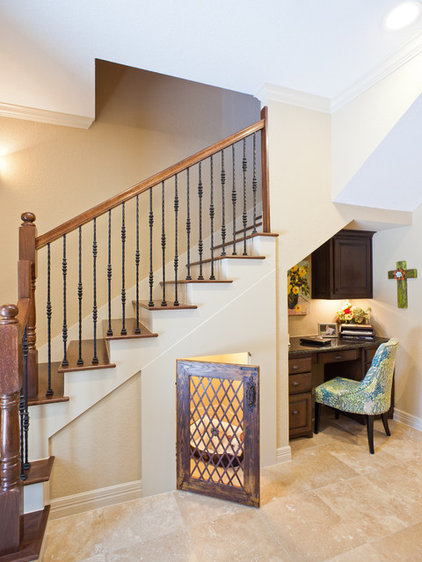
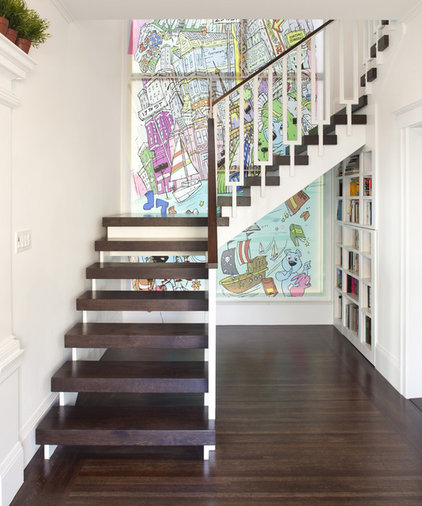
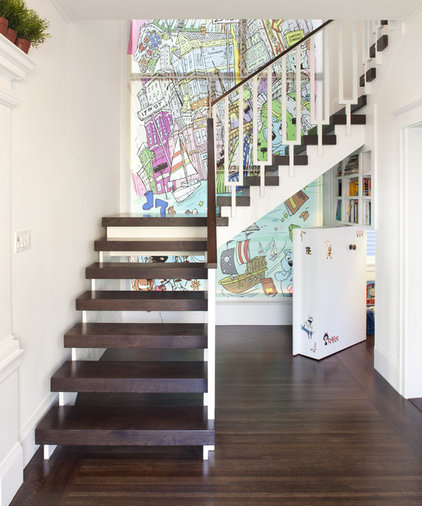
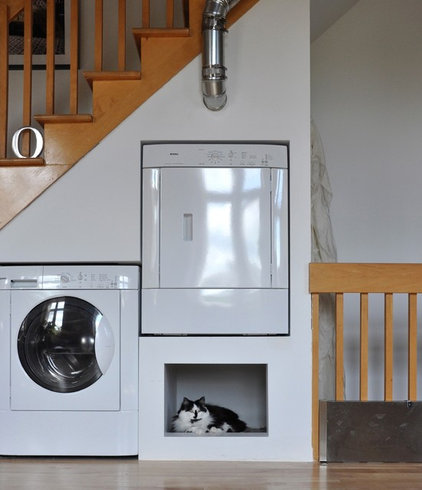
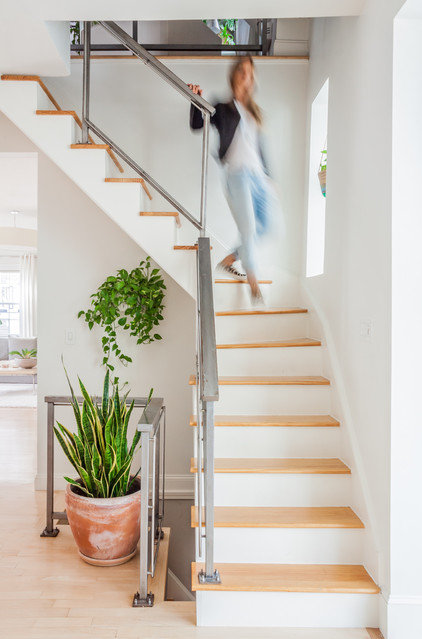
8 Clever Ideas for Under Your Stairs

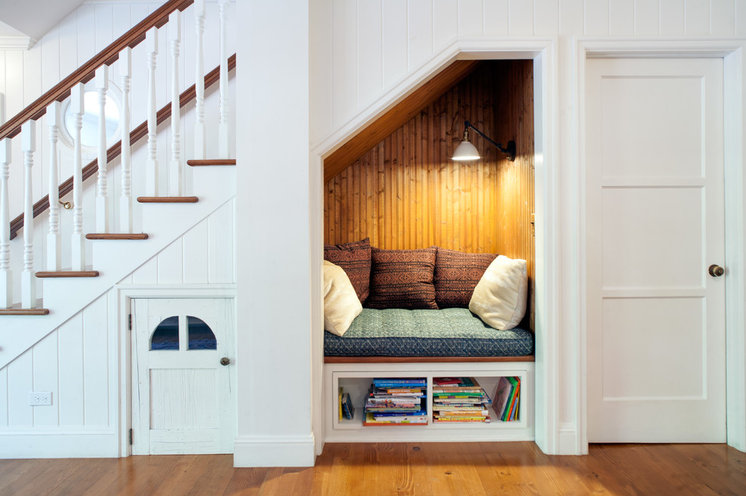
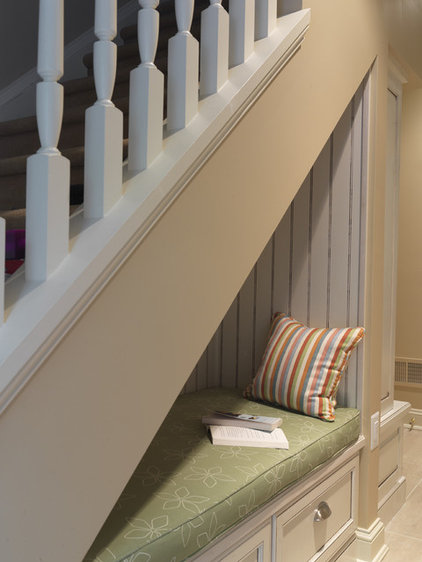
“There are so many ways to use that space under the stairs…Sitting Area, Bookshelves, indoor door house.”
Denise Buck & Ed Johnson – DC Metro Realty Team
The proverb “Waste not, want not” applies to many aspects of life, and interior design is no exception. Making the most of every square foot of your home is a great way to gain the most value (both financially and emotionally) from it. If you live in a house with stairs, the space beneath them is a gold mine of creative possibilities. Here are eight ways to make the most of it.
Originally Published on HOUZZ, by Bryan Anthony

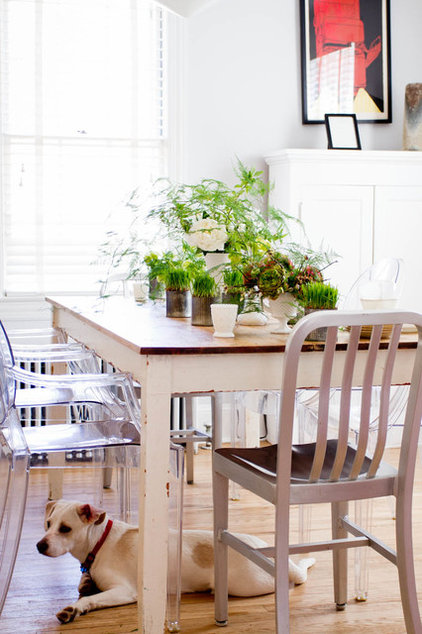
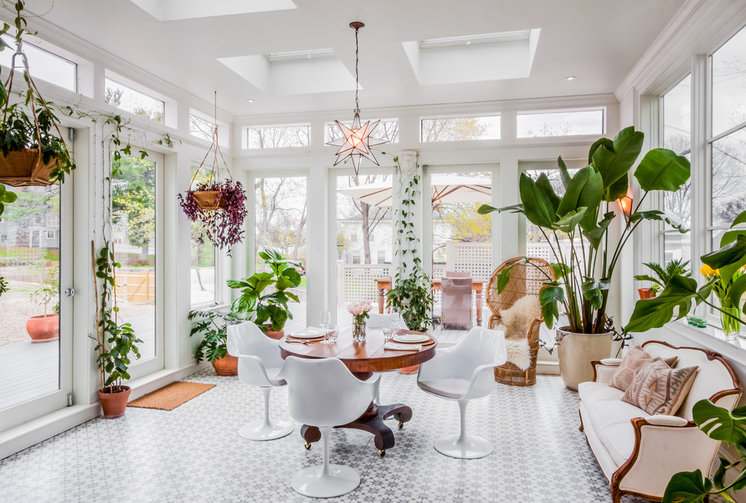
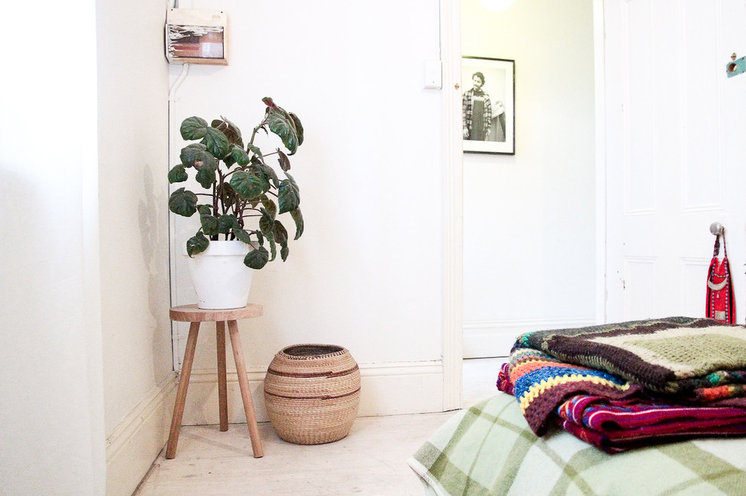
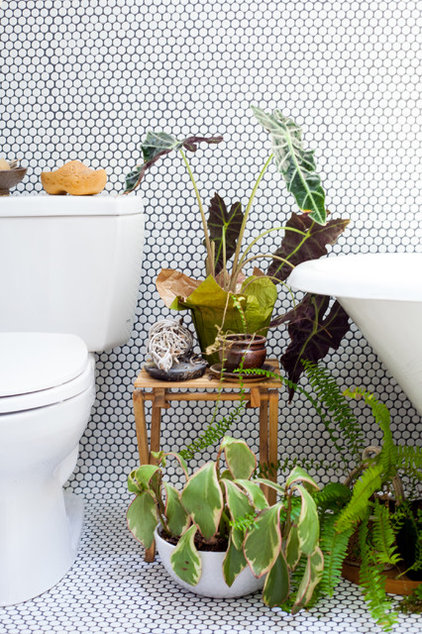
Happy Houseplants, Happy People

“Plants can soften a room, as well as bring energy into a room.  You can put them in just about any room in the house to liven things up.”

Denise Buck & Ed Johnson – DC Metro Realty Team

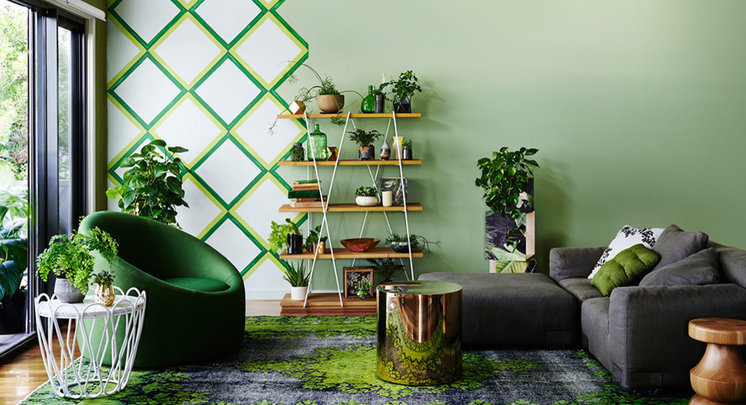
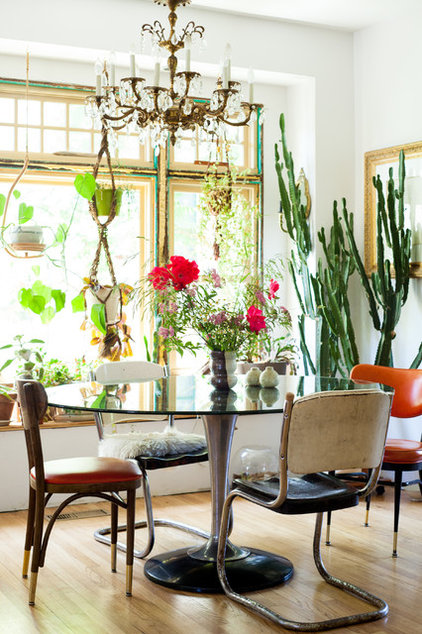
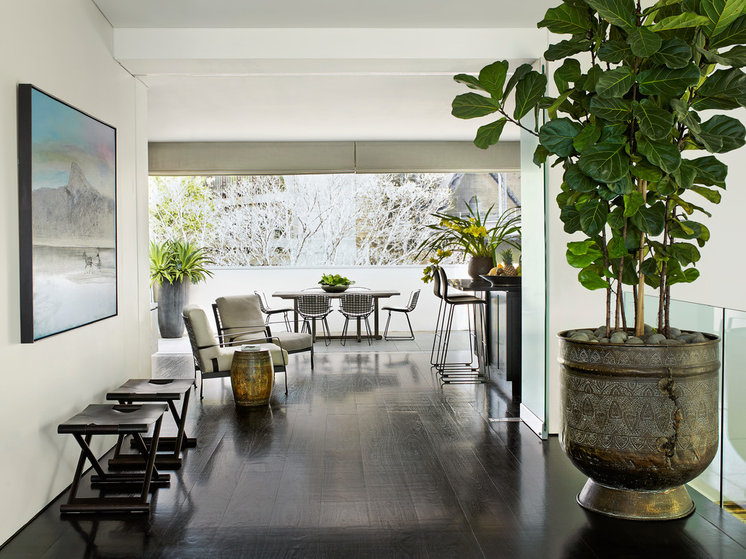
Walk into a home filled with happy houseplants, and you’re bound to feel instantly more relaxed. Living plants boost oxygen, clean the air and enhance any room they’re in with fresh, organic style.Of course, if you think you are not blessed with a green thumb, then keeping houseplants alive, let alone happy, can seem next to impossible. Read on for styling ideas, encouragement and easy-care tips for keeping houseplants to boost health and happiness.
Originally published on HOUZZ, by Laura Gaskill

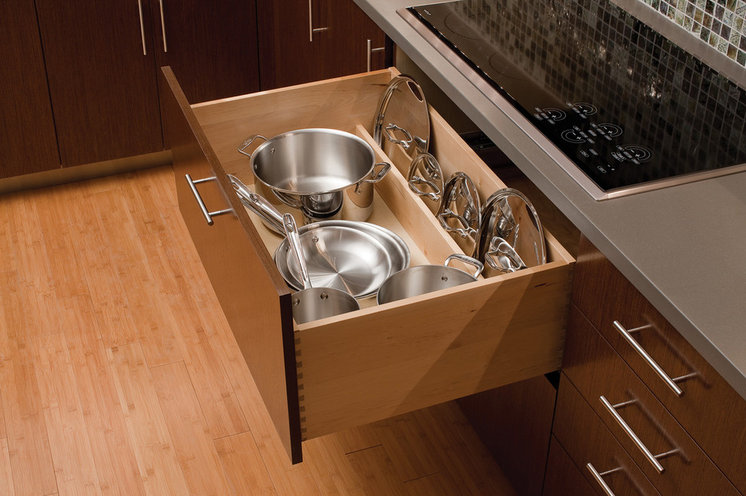
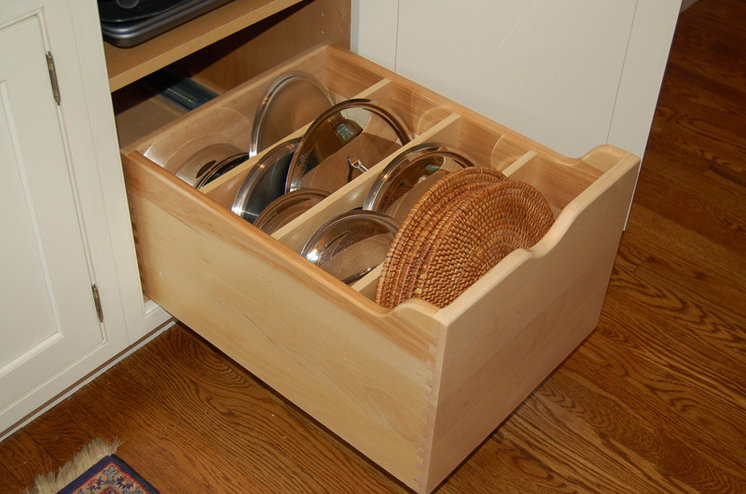
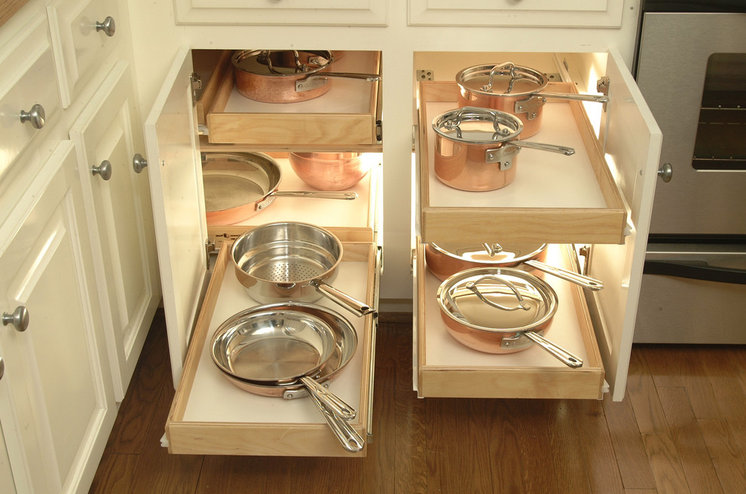
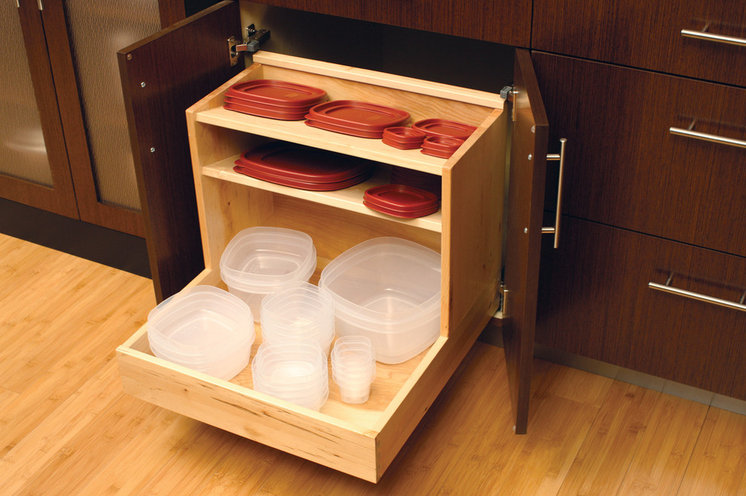
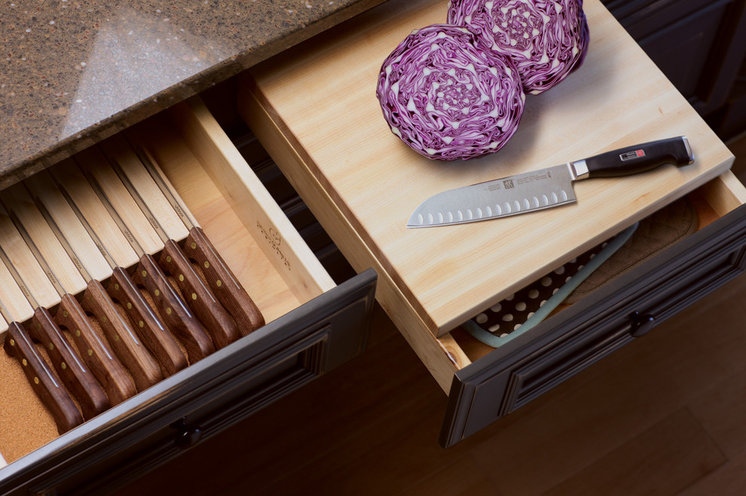
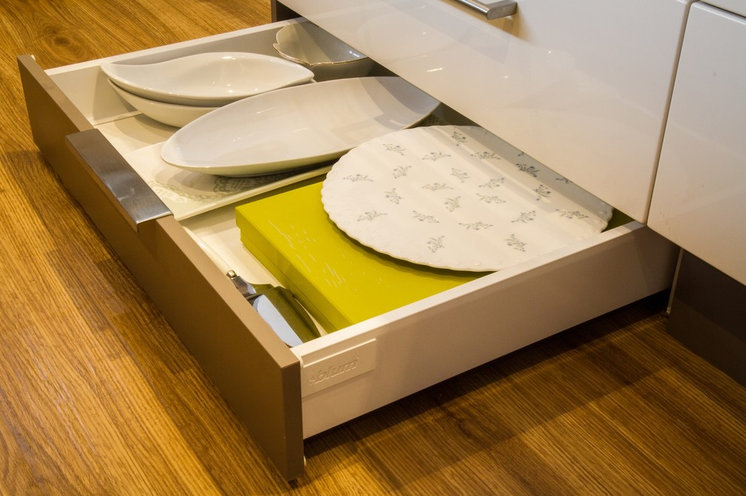
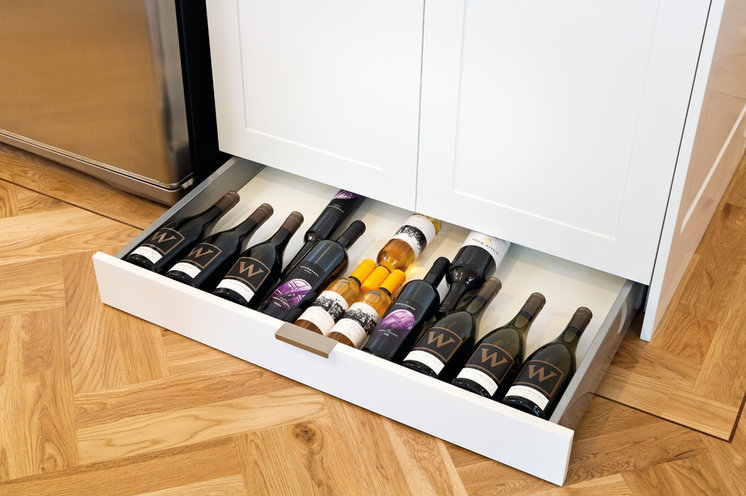
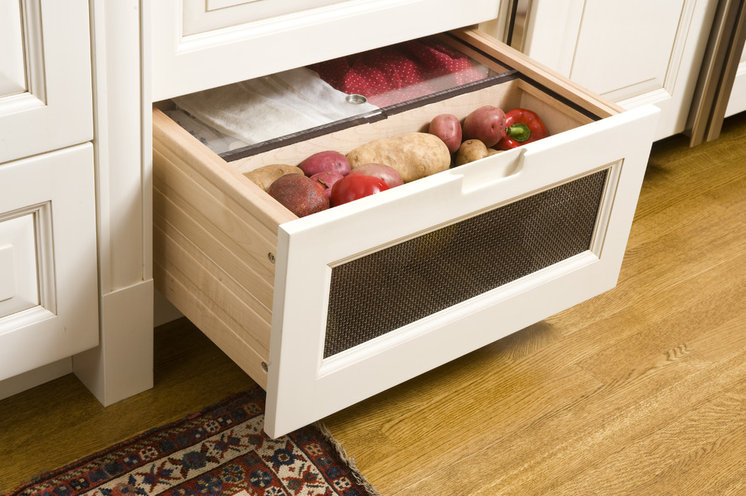
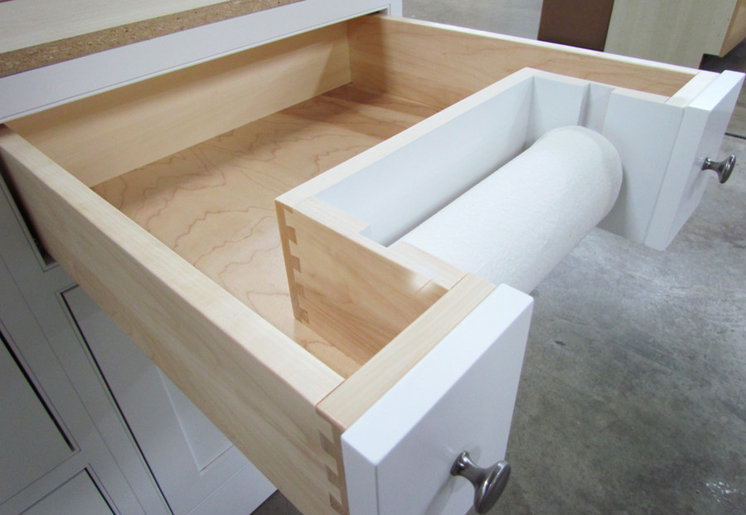
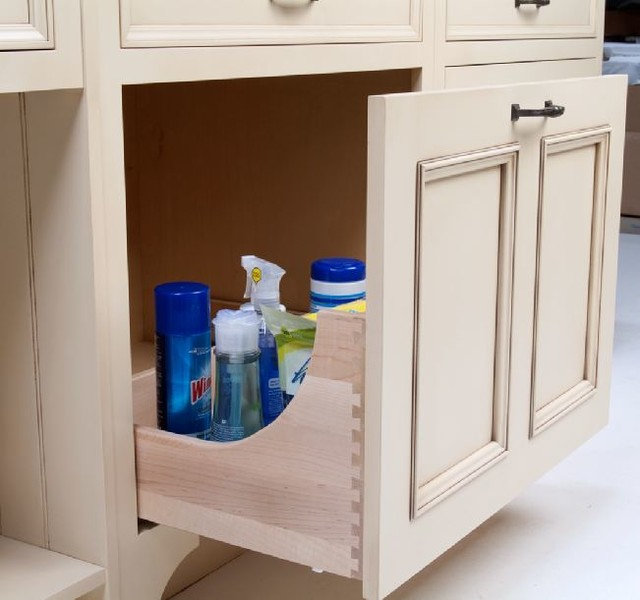
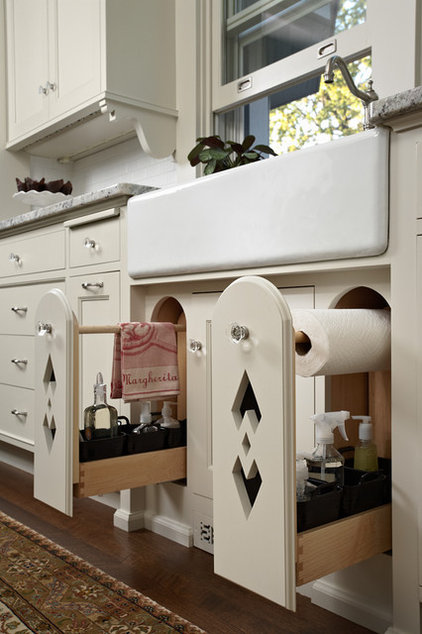
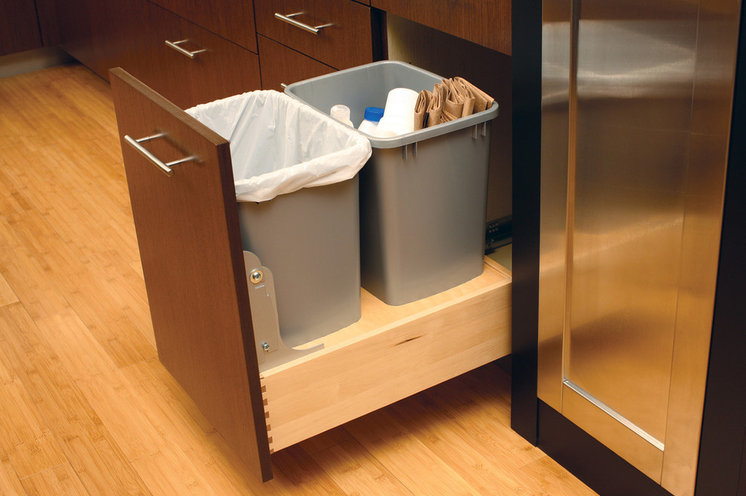
Clever Drawer Tactics for Kitchens

“Tired of cluttered drawers and cabinets in your kitchen? Want some clever ideas for storage?  Here are a number of interesting solutions that you might want to consider.”
Denise Buck & Ed Johnson
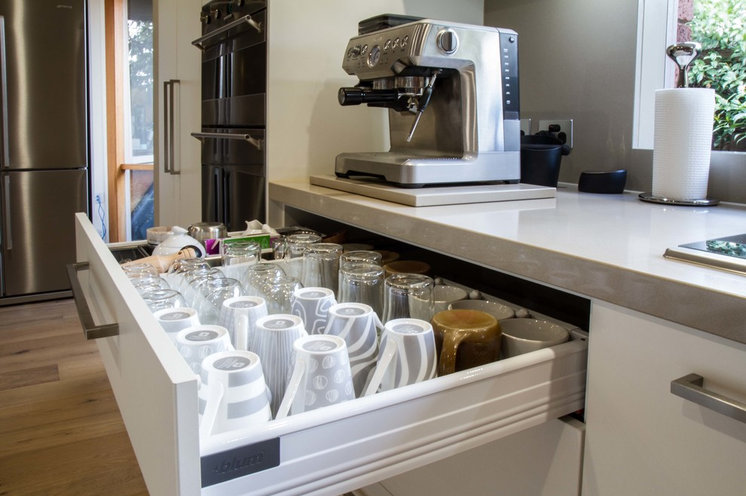
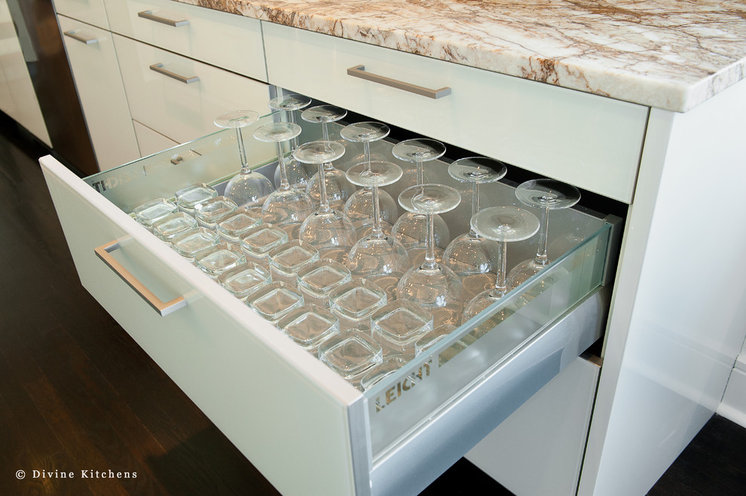
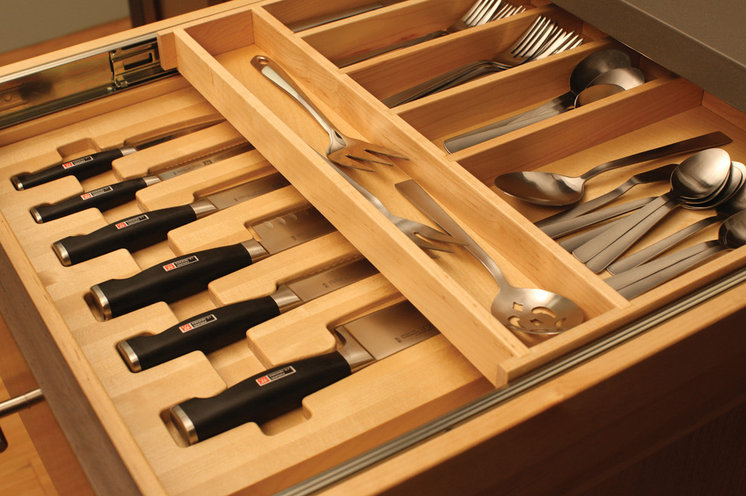
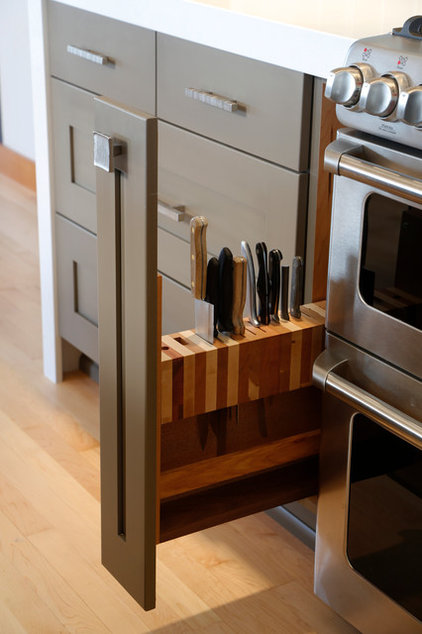
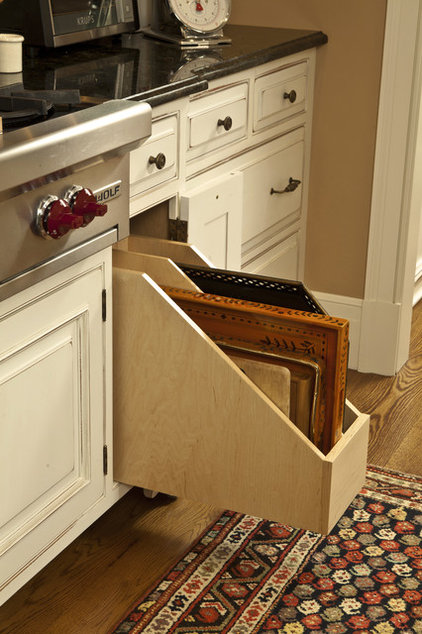
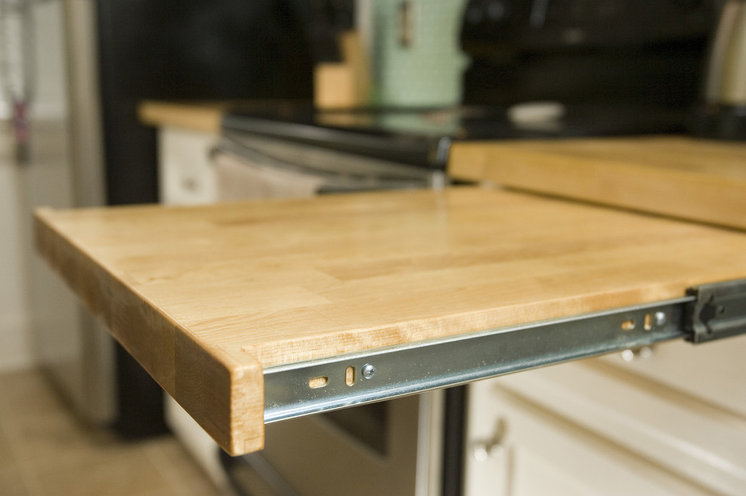
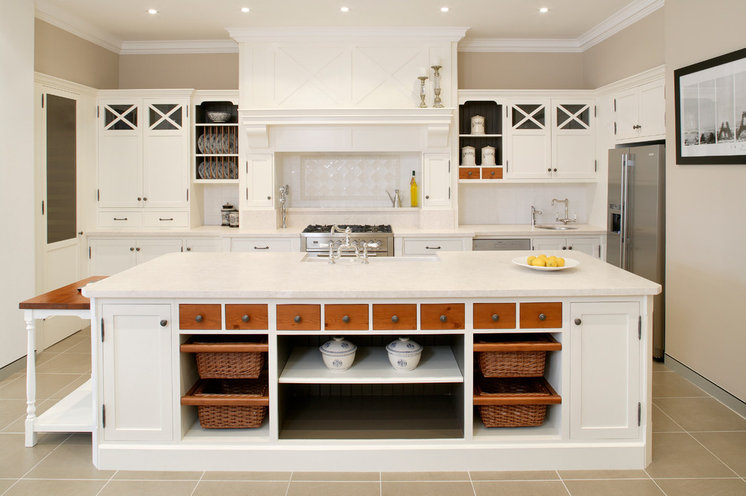
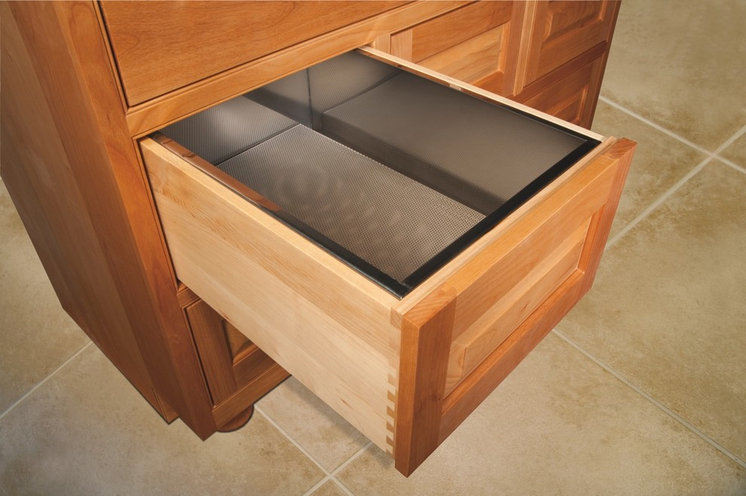
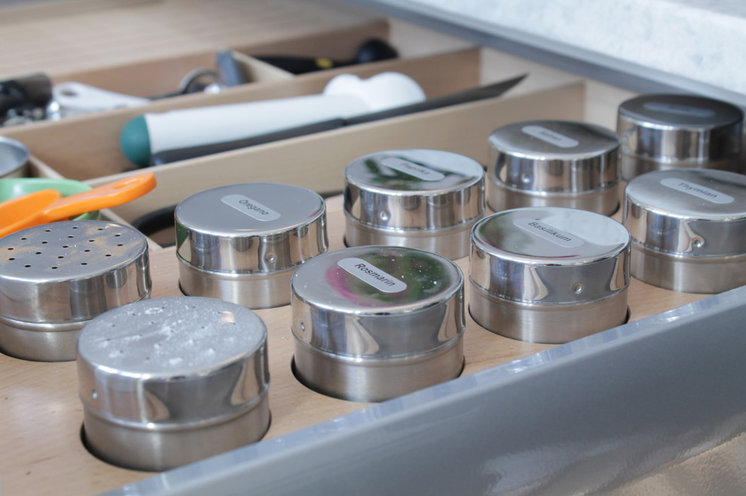
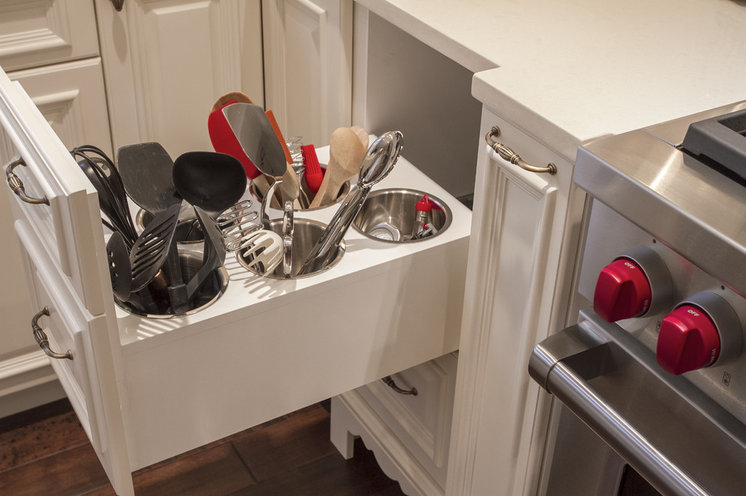
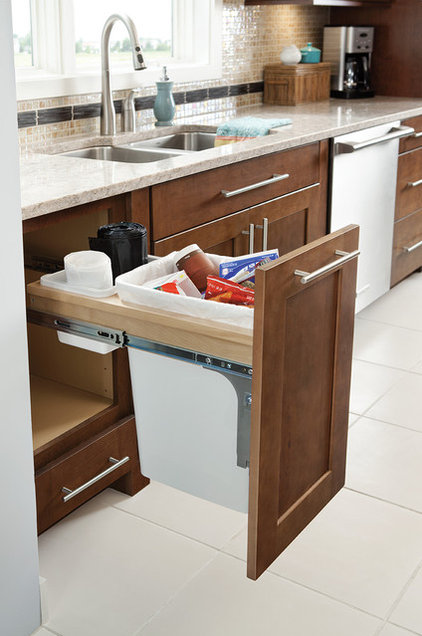
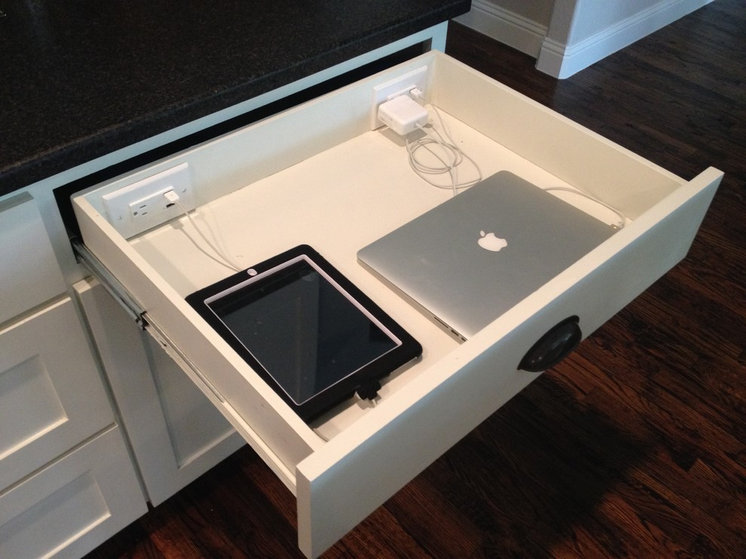
Have your kitchen-drawer contents turned into alarming tangles of plastic and metal, cunningly hiding whatever you are hunting for? Are your knives nicked and blunt from being thrown into the fray? Coffee cups chipped? Can’t find the cinnamon or the lid of your favorite pan? All hardworking kitchens descend into disarray occasionally, but if chaos is your daily kitchen companion, it may be time to reassess your storage. Putting everything back where it belongs (and where it can be found again), and saving precious countertop and fridge space are a piece of cake with some basic drawer strategies. See how to maximize pullout convenience to keep your kitchen shipshape.
Originally Published on HOUZZ, by Janet Dunn